


Antique Baby Carriage Makeover

by
Marcela Pena
4 Materials
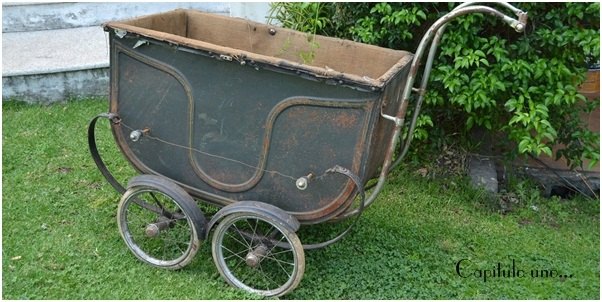
I found this very antique baby carriage at an auction. It was really junk!But it had survived for so many years! I had to give it a new life!
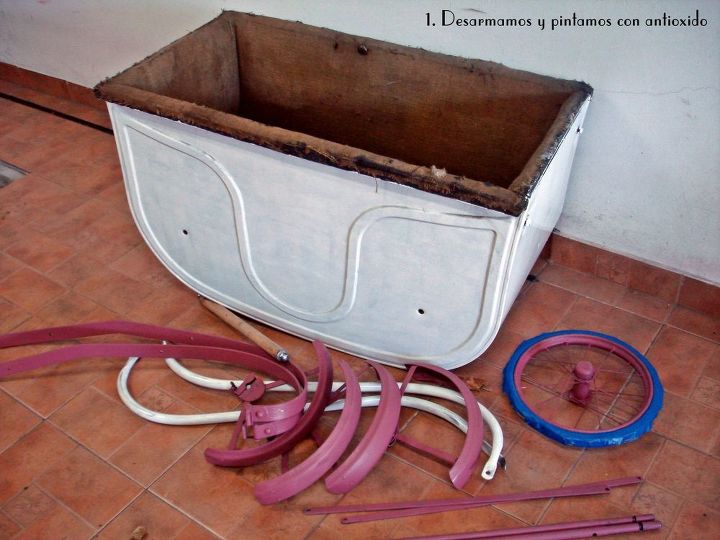
I put every part apart and started painting. Anti rust paint over all pieces at first. Cream for the body,
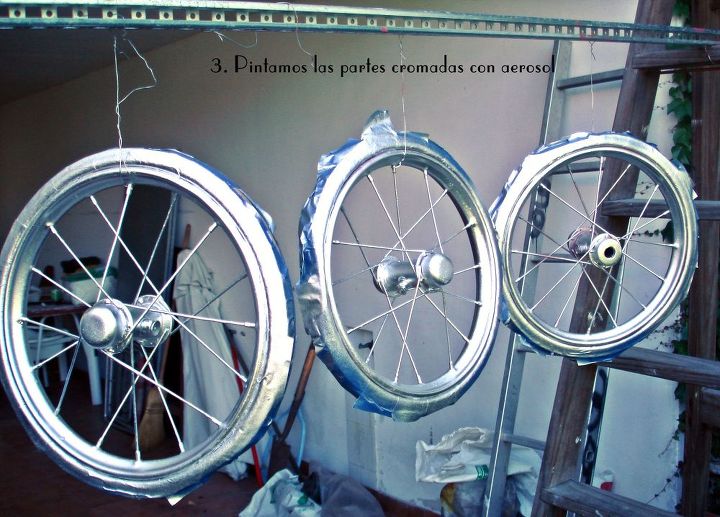
silver on wheels
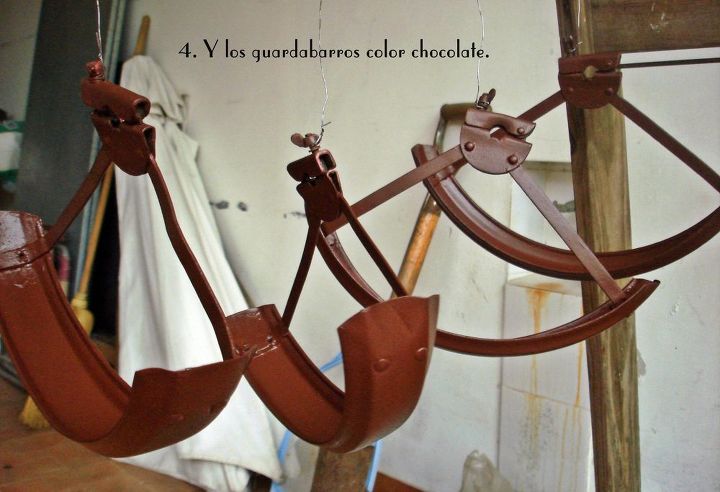
and brown for the rest
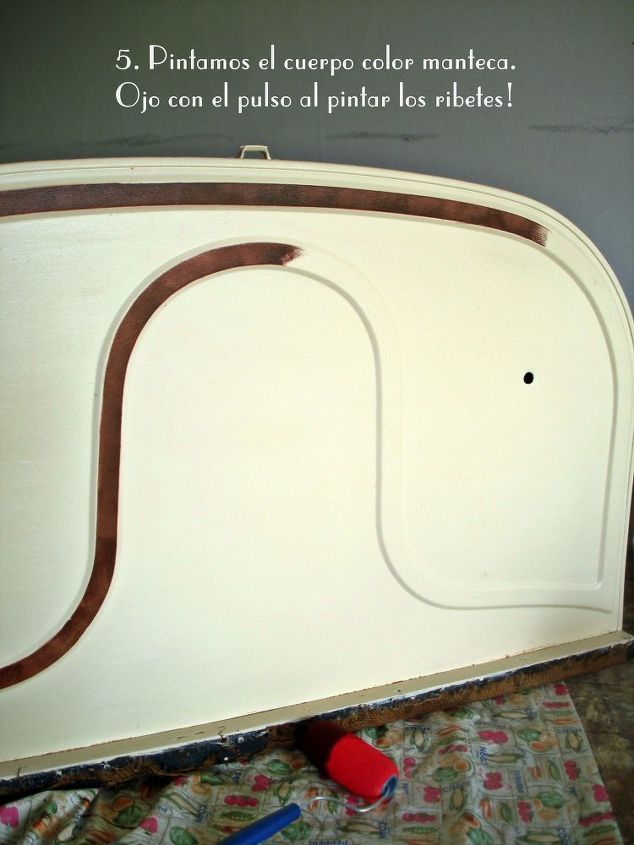
Decorated the body with brown lines
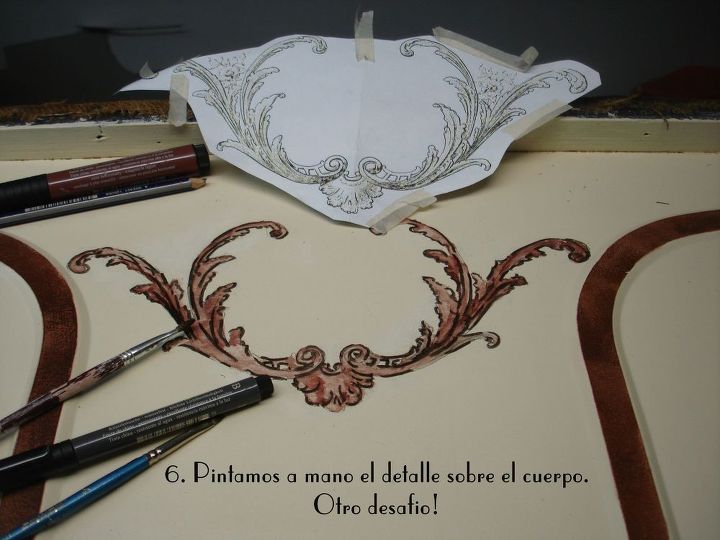
And hand painted an ornament in the front
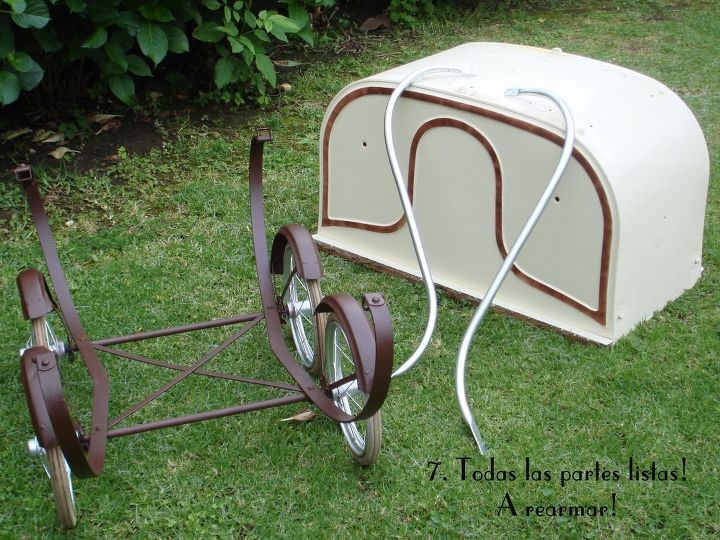
Ready to put everything together again!
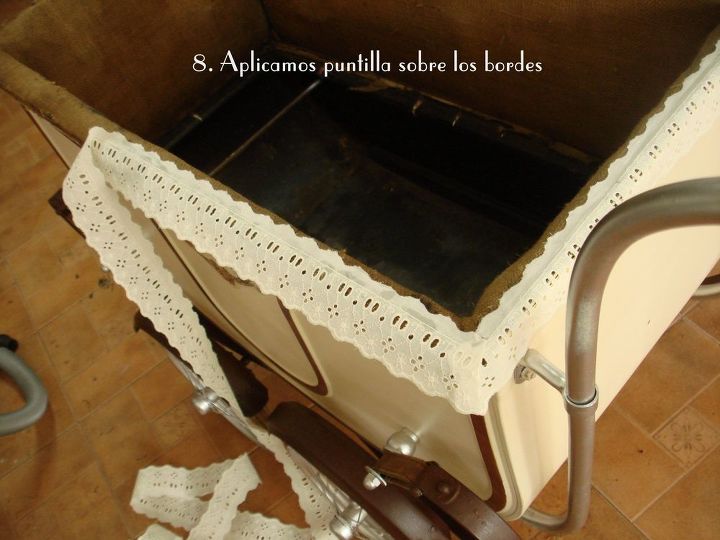
The original interiors were made of burlap. I cleaned it but left it as it was.Trimmed wiht lace (is this the correct name in English?)
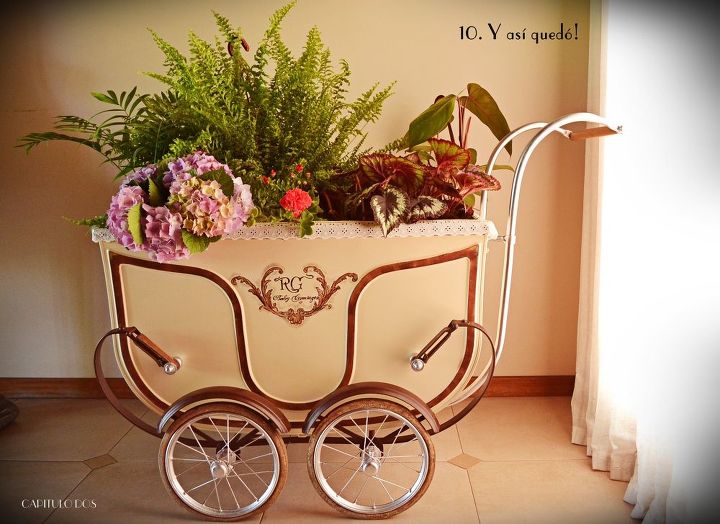
And here it is! A beautiful new planter for my living room!
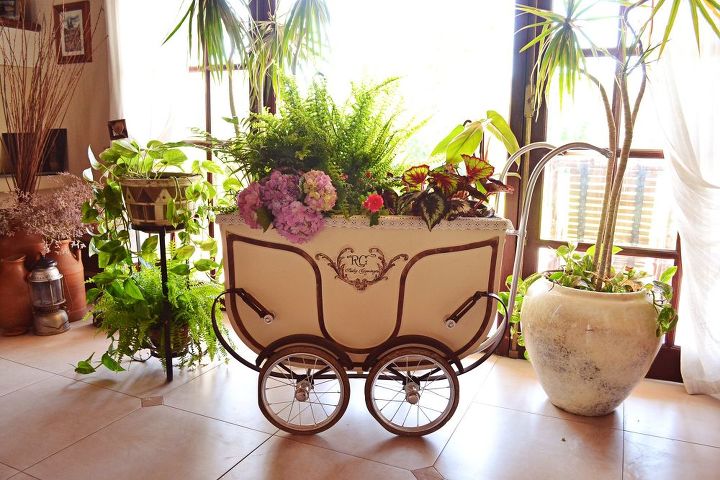
I don´t know if you like it or not, but I love it!
Want more details about this and other DIY projects? Check out my blog post!
Comments
Join the conversation
2 of 295 comments
-
What a charming restoration you were able to carry out. This piece is stunning.
-
Beautiful. Love it. Great job.


Frequently asked questions
Have a question about this project?