


Intergalatic IKEA Hack

My little boy Joshua is obbesessed with STAR WARS and anything OUTTER SPACE! So when he said he wanted a cool bedroom for his 9th birthday I knew just what to do. With a budget limited to $250 for a full bedroom set, we went on the hunt! With a little help from Goodwill, IKEA, Unicorn SPiT & Famowood Glaze Coat, me and Josh are here to show YOU how to take the IKEA HACK from Level 1 to Level OUT OF THIS WORLD!
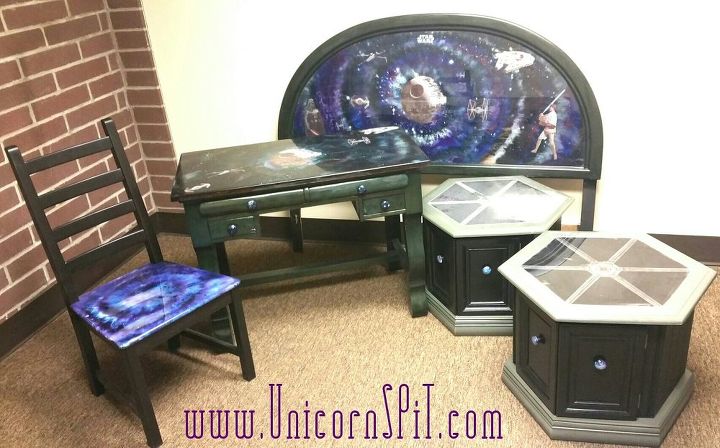
First step was to find all our pieces. We found a 1980's Headboard for $10, an old Empire Style Desk for $40, and two 1970's Hexagon Side Tables for $15 each at our local Goodwill. The bones on these bigger items were solid and sturdy and needed nothing more than a light sanding, Unicorn SPiT Gel Stain, Wise Owl Paint, and sealer. Couldn't find a chair that was very sturdy at any of the thrift stores and if your house is anything like mine, kids chairs HAVE to be sturdy because of the mulitiuse. I mean, kids chairs become forts, stools, high dive platforms, you name it, lol! So for our chair we went to IKEA and found the modern, solid wood, sturdy Chair for only $49! I even picked up a couple extra to slick up and sell in my Gallery!
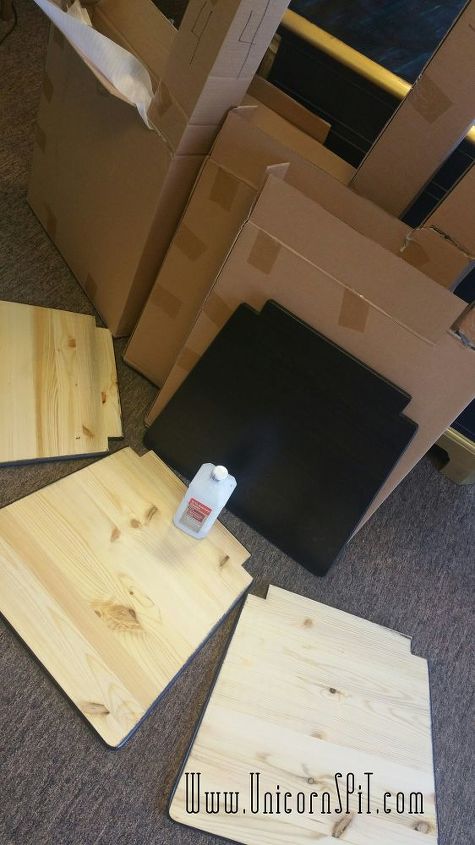
We got them home and took them out of the box. We were prepared to sand but were pleasantly surprised to see that one side of the seat was stained and sealed and the other was bare wood! The seat would fit either way too! So with in minutes we were set up and ready to start our project.
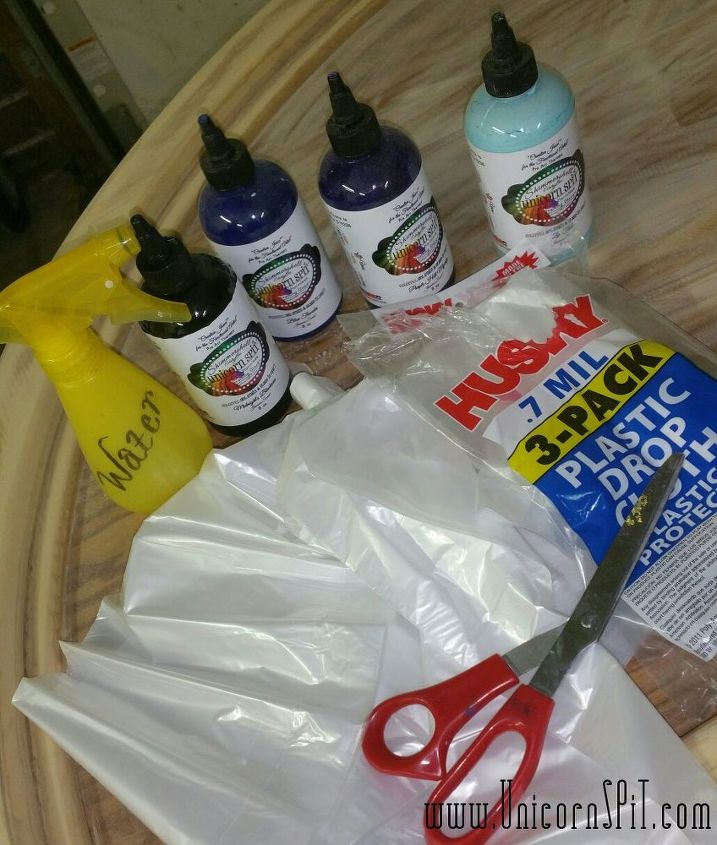
For the Galaxy Technique this is what you will need: 1. Plastic Drop Cloth (cut to about 3 inches larger than your surface) 2. Spray Bottle of Water 3. Famowood Glaze Coat 4. Unicorn SPiT Gel Stain
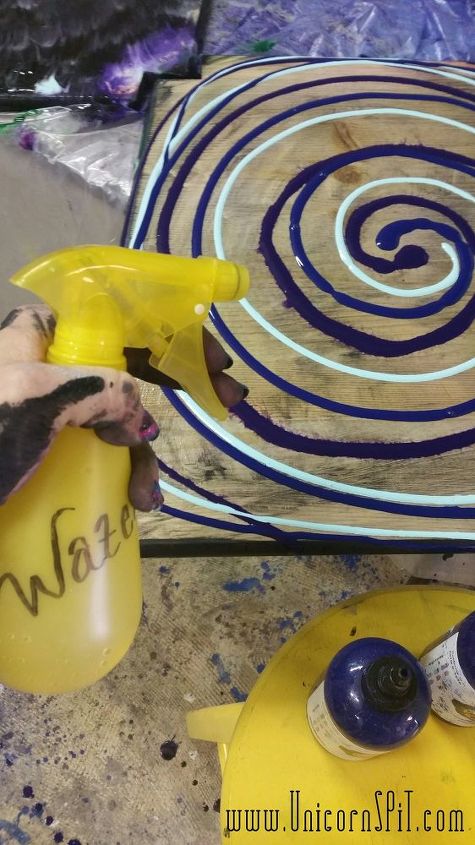
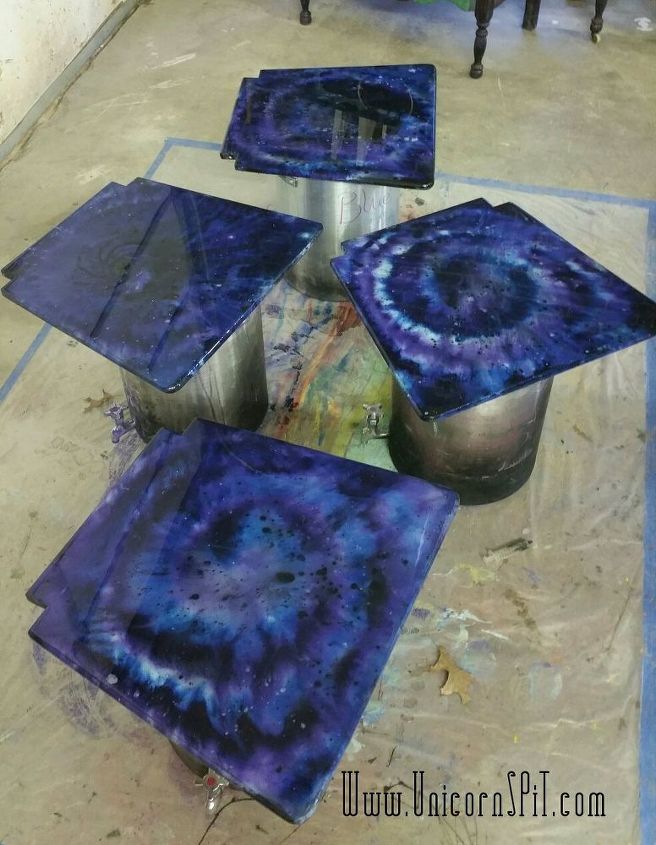
On a level surface, set up your work place. On the bare wood side of your IKEA seat apply your Unicorn SPiT in a spiral pattern and mist with water.

Lay your piece of plastic drop cloth over your IKEA Seat and allow it to suction down on its own as much as possible. Tug on the corners and the sides to pull tight to rid of any wrinkles or bubbles.
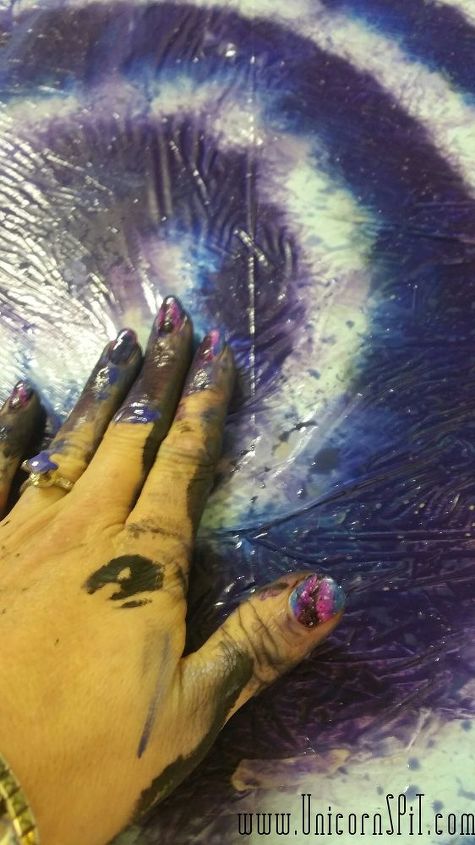
Once your plastic is on, mist the top with water to make it slick for your hand to glide across it like a slip and slide! Start in the middle and slide your hand out spreading the Unicorn SPiT out to the edges. You will see a tie dye pattern evolve.
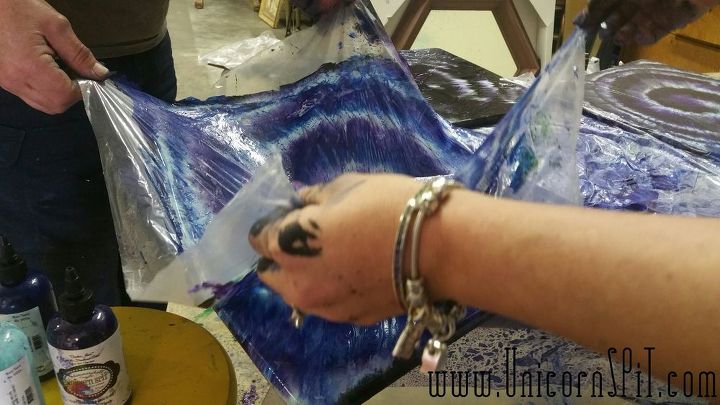
Now your pattern is on there and your surface is covered in SPiT ;0), all you have to do it grab the corners and lift the drop cloth revealing the center last. In doing so, you cause the SPiT to flow in a movement that looks like it's shooting inwards!
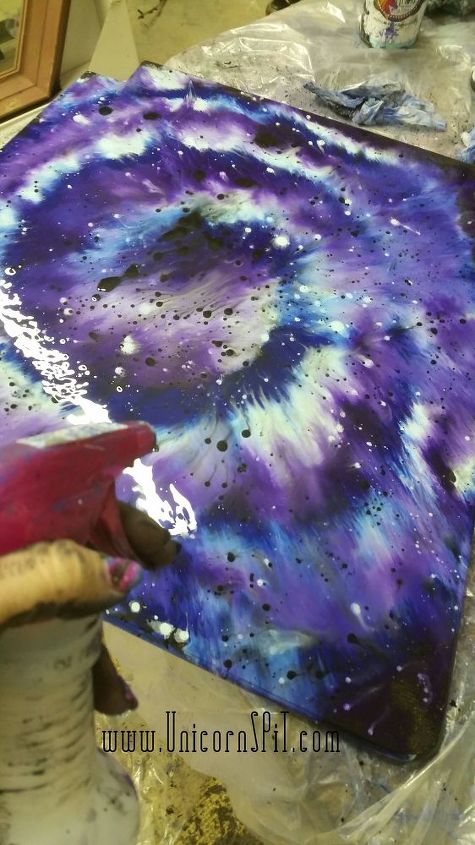
Now your Tie Dye Pattern is down, put a little bit of Midnight's Blackness on your fingertips and flick the SPiT onto your design from a distance. Repeat the flicking with Zia Teal then mist with water. When you mist these little flicks with water it turns them into shooting stars and meteors! LET DRY. (Unicorn SPiT dries to a chalky finish but once sealed with any OIL BASED sealer it turns as vibrant as it was when it was wet.)
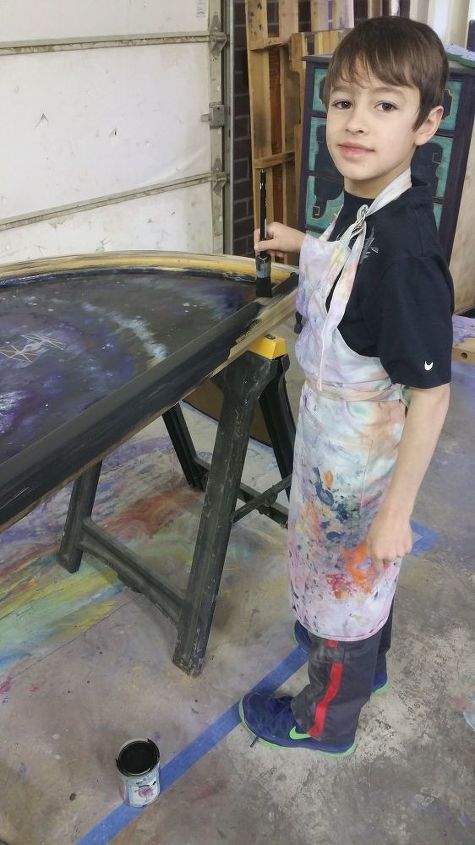
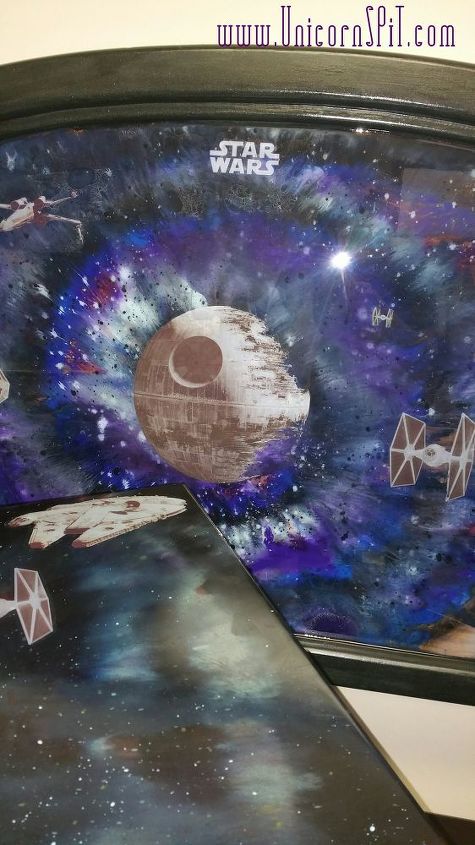
While the chairs where drying, Josh and I did the same Galaxy Technique on the Headboard and even added a few STAR WARS wall decals after the SPiT dried with a little mod podge. I love that Unicorn SPiT is NON TOXIC, NO VOC and smells like JASMINE. Being able to have my children help in projects like this gives them a real sense of ownership and pride. He's so excited and happy to help!
Once Josh was done playing with me in Unicorn SPiT I moved onto sealing the seats, headboard, side tables and desk in Famowood Glaze Coat. This Stuff is super duper durable! It's water resistant, heat resistant up to 120 degree F, hard as a rock and looks like glass! One coat is equal to 70 coats of varnish! Surely it was the best choice for my rough and tuff little boys.
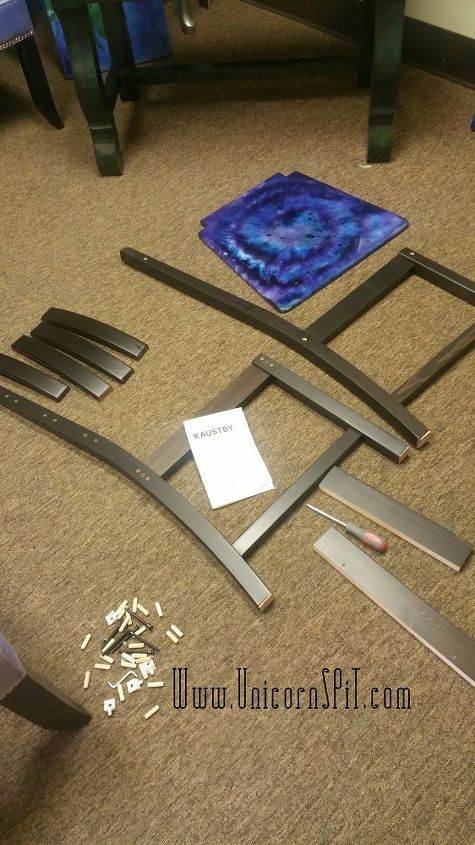
Over night the dried to a rock hard, glass like finish but had a couple little drips on the underside. Took my sander to them and started assembly. IKEA had everything you need to put the frame together. Every little wooden dowel, screw and even a little crank tool, but you do need your own Phillips Head Screw Driver to secure the seat to the frame.

The KAUSTBY Chair went together so easily. It took me about 10 minutes from beginning to end. The quality of this chair is just crazy great! Super sturdy, nice weight to it and very Modern. This little idea really opened my eyes to the awesome quality, paint and stain ready furniture Ikea has to offer. I honestly never knew. The way this chair turned out makes me never want to go thru all the pain staking effort and expense of buying a $20 thrift store chair. By time you fix any wobbles, buy sand paper, sand it down, buy wood putty, and all the cuts and bruises along the way you have more than $49 invested. You can just go pick up one of these high quality, ready to go, simple to slick up the seat with a big punch, ready for your touch, showcase chairs! I can't wait till my next!
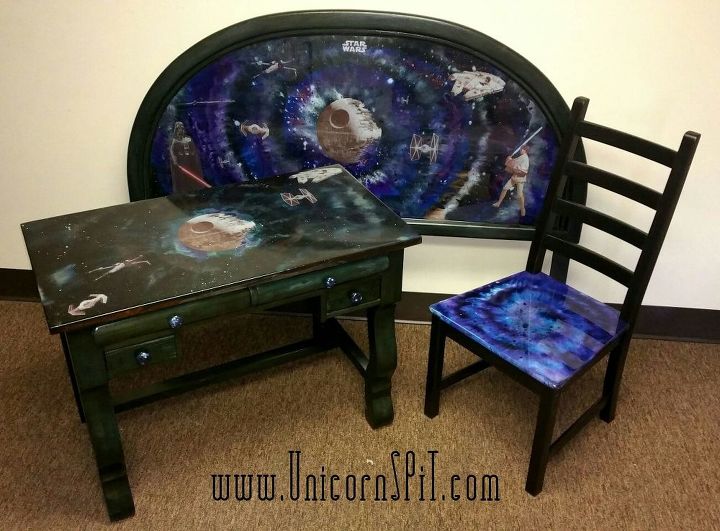
The whole set is just so cool! I could have never thought that $250 would have gone so far! Famowood dried to a rock hard, glass like finish and made the Unicorn SPiT look 3 DIMESIONAL! I couldnt believe my eyes! Like you were actually looking out of a window of a spaceship looking into a far off galaxy! My Little Boy is going to flip his lid when he sees his room all set up after he comes home from his dad's!
Thank you for taking the time to read my post. I hope you enjoyed my out of this world idea of home furnishings. I encourage everyone to let your imagination flourish and never feel like you are stuck in a box. Playing with your kids is also teaching them a trade without them even knowing. Life is full of color and creativity. Live it, live in it, LOVE IT and always let your CREATiVE JUiCES FLOW!
Be sure to find us on Facebook at www.Facebook.com/groups/unicornspitgelstains/ for more fun and creative ideas!
See more at www.MichelleNicoles.com
Resources for this project:
See all materials


Comments
Join the conversation
-
This is awesome! It truly is. I love how everything looks 3 dimensional. I love doing projects of all kinds, so I am definitely going to try this. Thank You so much. I believe my grandson would go crazy for something like this.
-
I LOVE this ‼️‼️ I always look and go to Tie-Dye and blues are my favorite ‼️ I could possibly try this on a small side table for any room really. GREAT ideas & its great how you included your son ‼️💙‼️


Frequently asked questions
Have a question about this project?
Can you use the unicorn spit and the gloss on canvas ? Great job !!!
What colors of spit did you use
Does this technique work on a table that is a hard type plastic felling materisl?