


Hollow Core Bore to a Beautiful Updated Door: DIY Slab Door Makeover
Let me start this post by saying how much I loathe hollow core "slab" doors. I really do. There is not one redeeming quality about them. whoever came up with this sorry excuse for a door should be shot. Ok, maybe that's a little harsh. If you have boring, flat, hollow core slab doors you know exactly where I'm coming from, especially if you don't have loads of cash laying around to buy solid wood paneled doors. We could cry on each other's shoulders, or we could do something about these atrocities. I'm all about the doing ;).

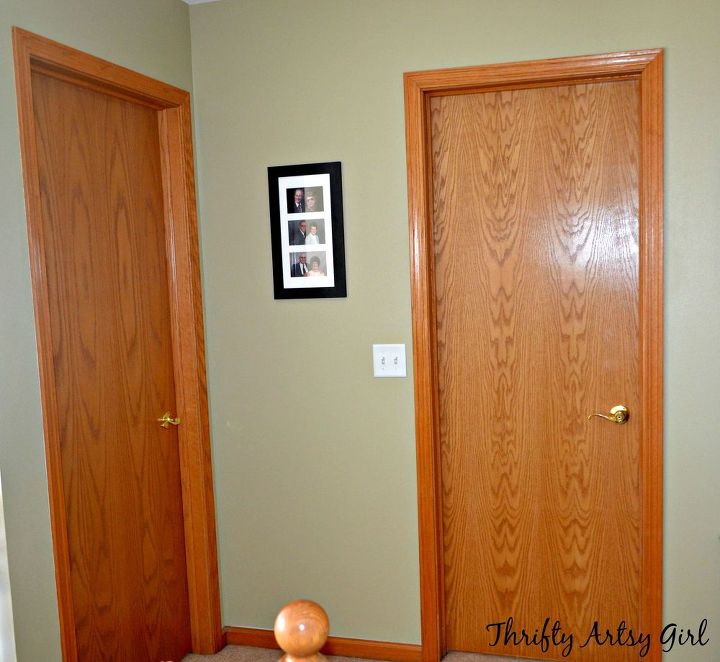
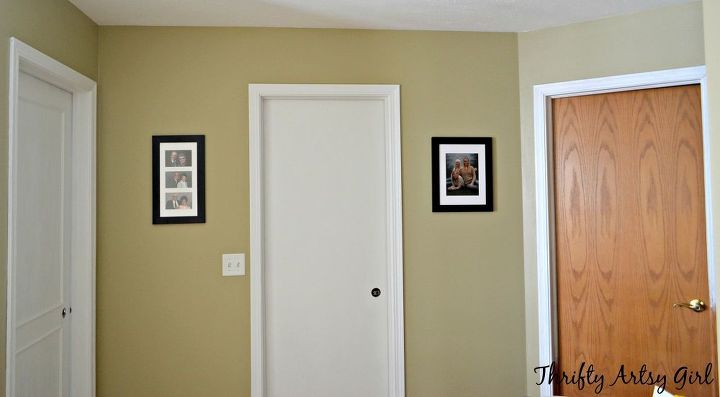
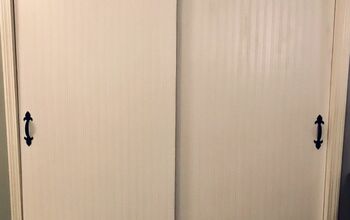
I'm here to show you an easy (and awesome) door transformation that I did for $20 or less a door. Here's a before shot of the two doors I decided to start with first. Of course Jackson's bathroom door is one of them since it's the last step to finishing that bathroom up and the guest bedroom right next door.
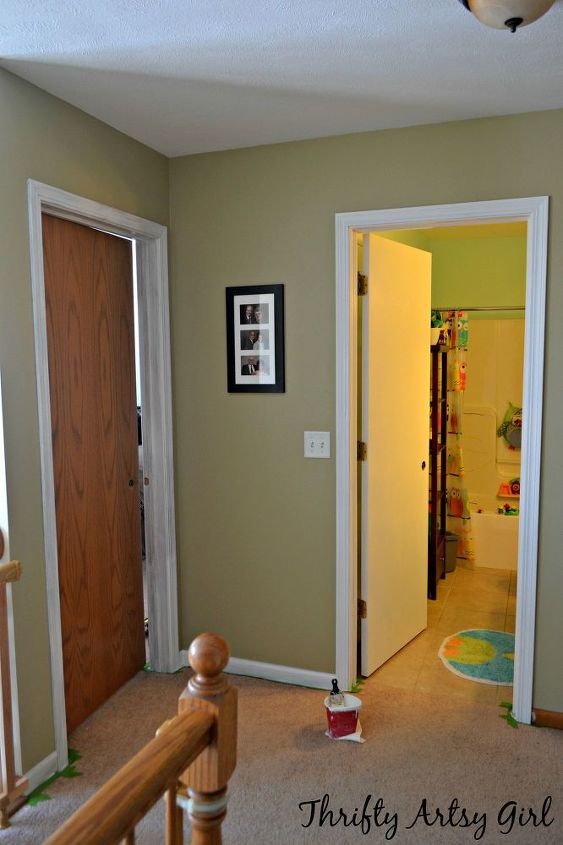
So first things first I had to paint the doors and of course the trim. Here's a pic of the in-progress painting of this small section of my house.
After painting the door it was time to work my magic and transform a flat door into a masterpiece. Supplies for making a flat door into a paneled door •door •decorative trim •tape measure •T-square or carpenters square •pencil (I used a dry erase marker for the first door, not the best idea) •miter box with saw (or just a saw if you're good like that) •liquid nails, or other comparable wood glue •tape •paint •level (not necessary but if you want to check how awesome you are at putting level panels on your doors this will reassure you ;) •time
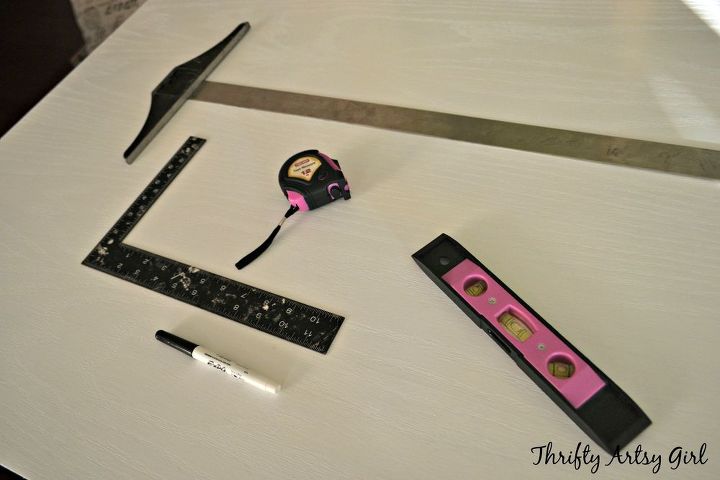
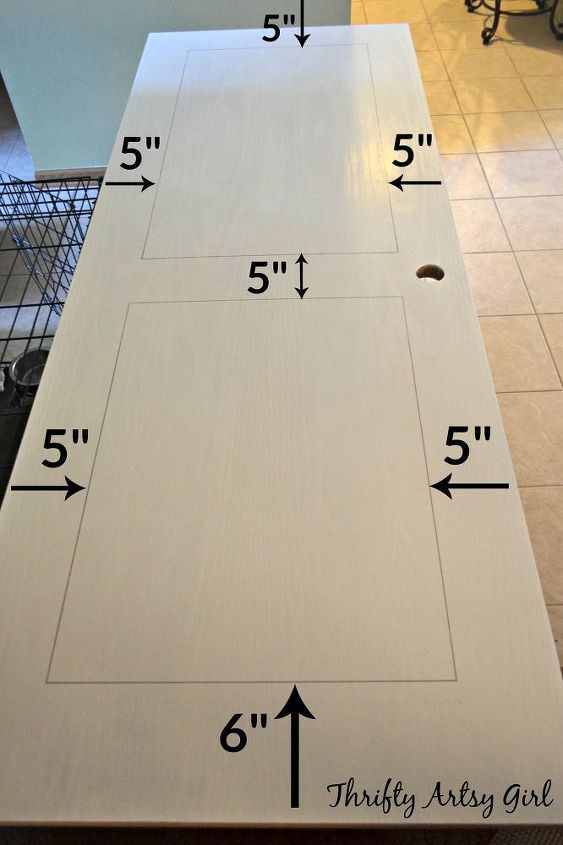
First you need to measure and mark where your trim for the panels will go. I found that I didn't even really need to use the carpenters square, just the T-square because the length of the blade was great for drawing lines and the head was perfect for keeping everything straight and right where I wanted it to be by resting it on the edge of the door. But if you don't have a T-square the carpenters square will work just fine.
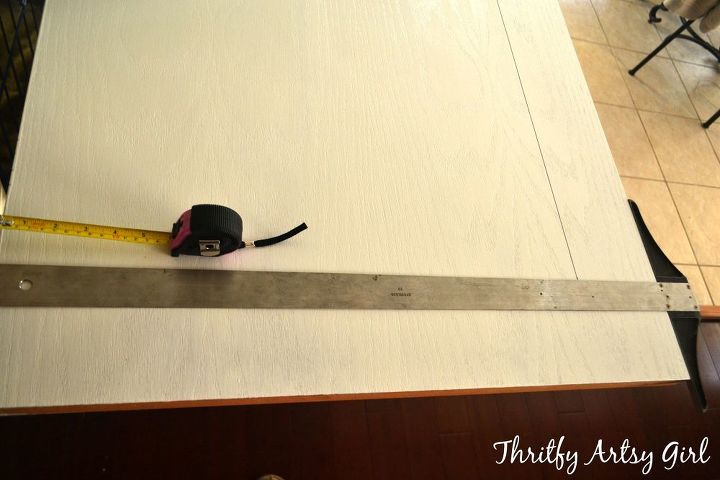
Here's a picture of the panels drawn out. I wanted a pretty standard panel look for my doors so I used 5" in everywhere except on the bottom of the door where I did 6" up.
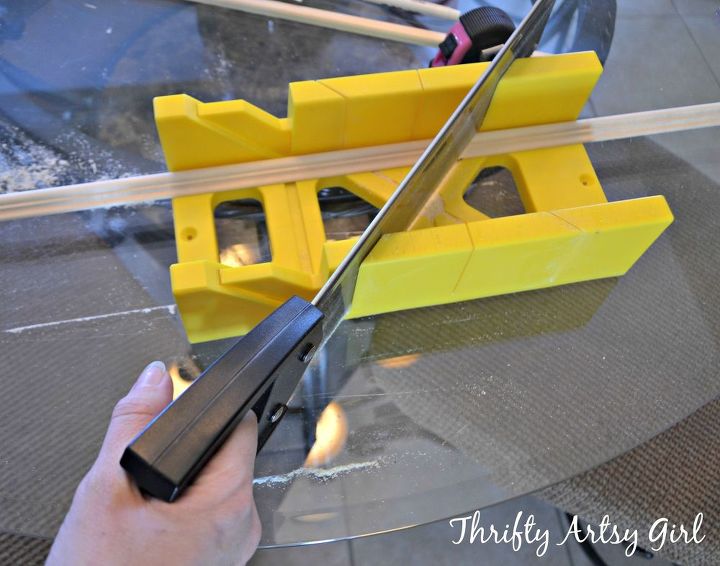
After you have your panels drawn out it's time to measure them to cut your trim. I bought my trim from Home Depot. They have some decorative trim pieces that come in 8 foot sections for $5 a piece. When I bought my first batch (about a year ago) they were only $4 a piece. When you snooze, you lose, I guess. I got out my trusty miter box and saw (that you can buy at any home improvement store for under $10). The miter box makes it very easy for an amateur like myself to cut mitered cuts. It also is very convenient since I wanted to cut the trim inside while I had Jackson playing right by me. I put the miter box on my kitchen table and cut the trim at 45 degree angles. After I was done I simply wiped up the sawdust and put the miter box and saw away. No muss, no fuss.
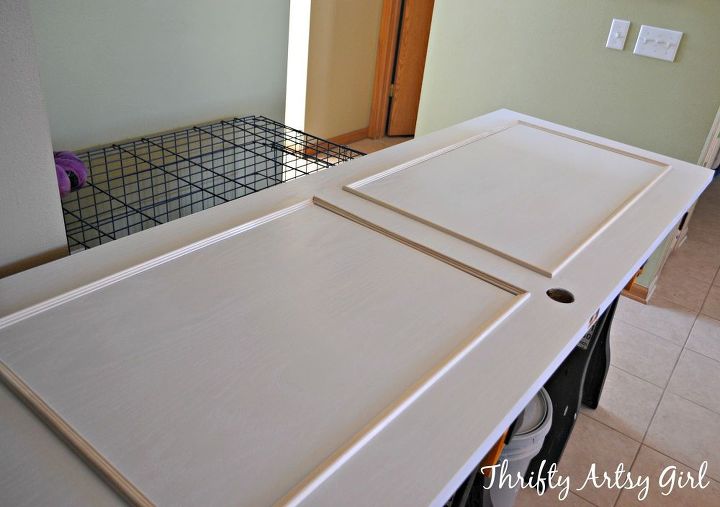
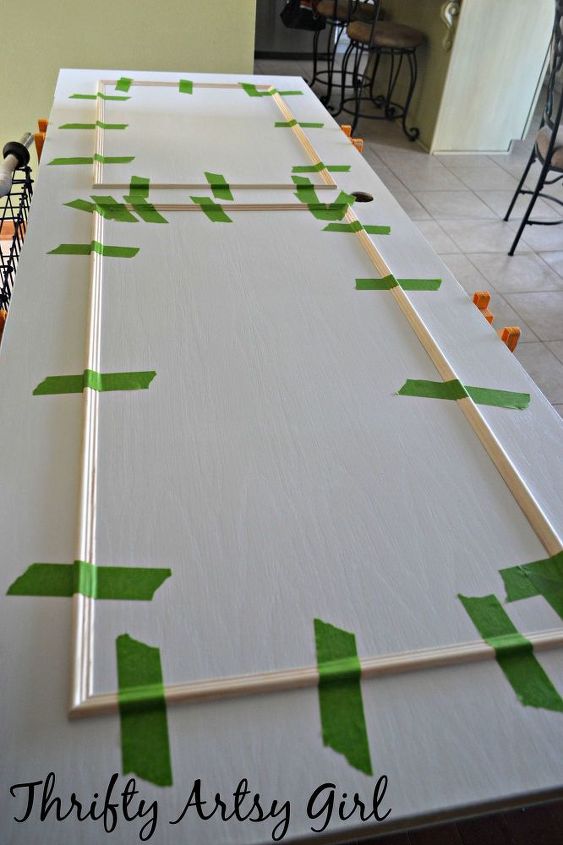
I placed all the cut trim pieces on the door where I would be gluing them down like so. I used approximately four 8' trim pieces per door for making panels on both sides. For the smaller doors it will be less and for the four small pantry/closet doors I will only do the front of the door that faces out. So essentially I'm spending $20 or less a door. Much less than buying a solid wood paneled door from the store!
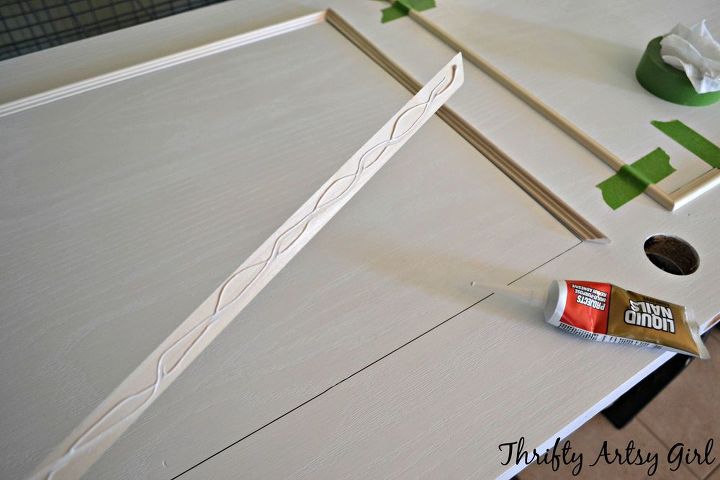
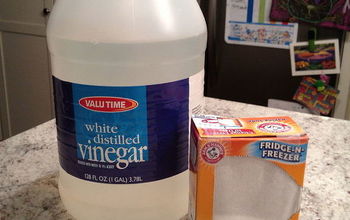
I then gathered my liquid nails, tape and a damp paper towel for any glue seepage. I put the glue on quite liberally since I really wanted the trim to stick well with no gaps. I simply placed the trim with the glue side down on my drawn out lines and taped it down for about 24 hours or so.
Depending on if your trim is warped or not you may have to apply more tape. This is a picture of Jackson's bathroom door and it needed twice the amount of tape as the guest bedroom door. After you have removed the tape all that's left to do is paint the trim to match the door and hang the door back up.
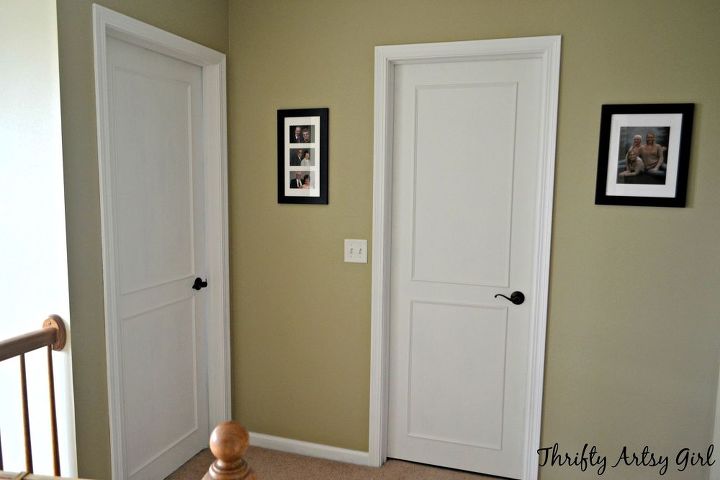
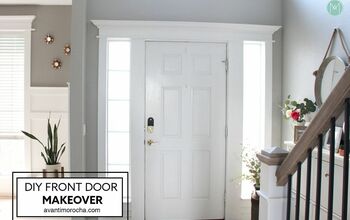
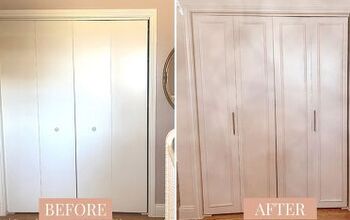
Here's a pic of just one door done with panels, one door just painted and one door untouched. You can see the difference it makes. It looks much more refined and "finished".
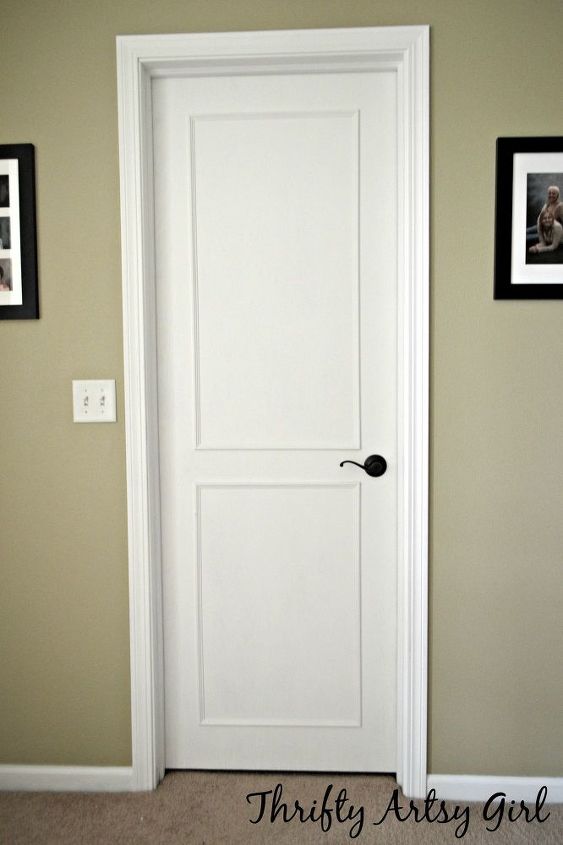
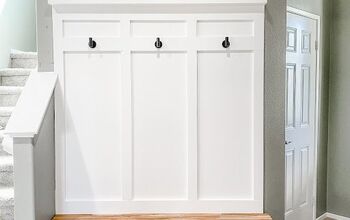
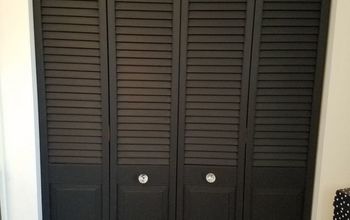
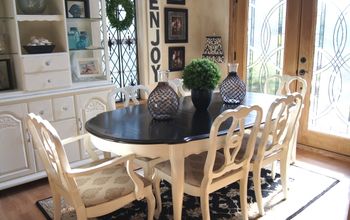
And here's the finished doors complete with my DIY spray painted doorknobs.
One more shot. I just love how these doors have turned out!!
Updating these doors has given me hope that my hollow core doors will stop bringing the value of my house down and possibly add some profit when we eventually move on to bigger and better things(sweat equity for sure!). Hope you become inspired to change your own hollow core doors into something you love! To see more pictures of the finished door (including close-ups), tips and tricks on painting trim or the complete tutorial visit my blog :) https://www.thriftyartsygirl.com/2016/04/from-hollow-core-bore-to-beautiful.html
Resources for this project:
See all materials


Comments
Join the conversation
-
Great instructions. this is something I have wanted to do for a while Thank you.
-
We have these doors in our mid century modern home and we do not find them UGLY at all! We love and appreciate the grain of the birch wood. Painting them makes them boring. The makeover that was needed was to paint the walls a different color as they do not go with the wood. We have white walls and it pops the wood grain.


Frequently asked questions
Have a question about this project?
Really looks great but I have stained woodwork as I noticed you did as well before you started your project. Do you regret having to paint the woodwork? I have such mixed feelings about doing this project because of this. I can't see leaving the woodwork the same color and have the pretty white doors. I have even thought of doing this with stained doors.
Did you indicate that you did both sides of each door? Or just the outside of each door. I was trying to calculate trim amount necessary.
I feel your pain with those hollow core doors! They can really bring down the look of a room. But hey, no need to dwell on it when there's a solution, right?Your $20 door transformation sounds like a game-changer. Painting them is a great first step, and I bet it already makes a huge difference. Can't wait to see how they turn out!When I was renovating, I found some awesome ideas for door makeovers from joineryforallseasons.co.uk. They might have some tips that could help you take your doors from drab to fab without breaking the bank.