


Easiest plants to keep in the house! Years ago a nursery place told me to put 2 TBSP of water on my orchids every 8 days

by
Ana M
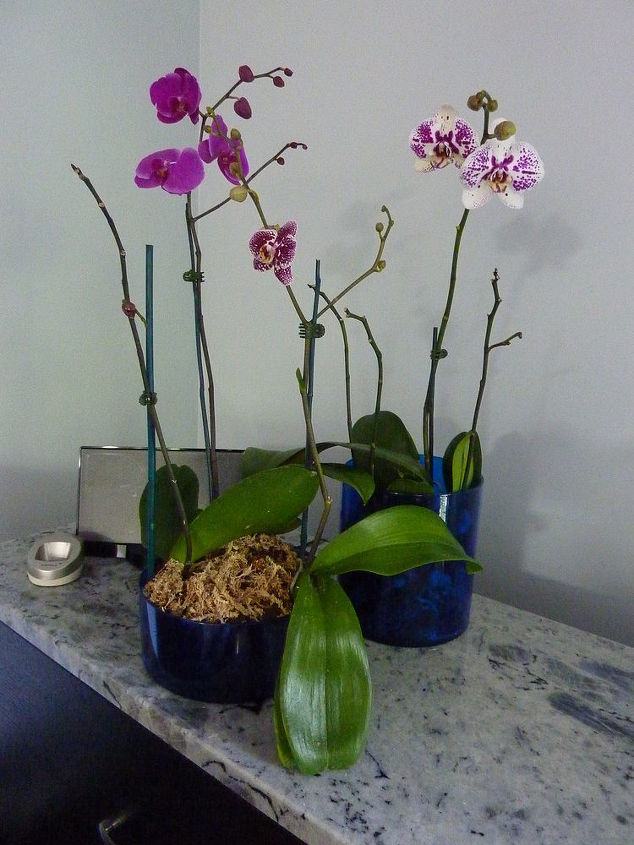
Easiest plants to keep in the house! Years ago a nursery place told me to put 2 TBSP of water on my orchids every 8 days or when their 'soil' is dry, they do not like to be wet. Just put them in a non-drafty area and indirect sunlight. I keep them all over my home now and they last forever and re-bloom for me. I even pot them in my bigger pots and put several in the same pot. I LOVE to give them as flower arrangements for special occasions or birthdays!
I have luck with Kroger's orchids priced from 9.99 to 19.99 and IKEA's orchids 9.99 to 17.99.
I have luck with Kroger's orchids priced from 9.99 to 19.99 and IKEA's orchids 9.99 to 17.99.
Orchids in the Den

Orchids over the fireplace
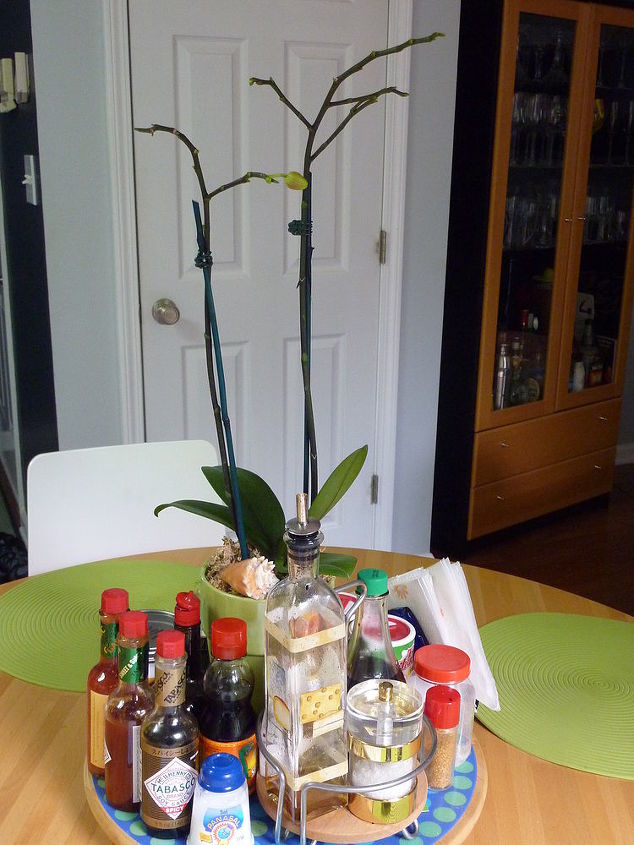
Orchids about to give me new blooms on kitchen table
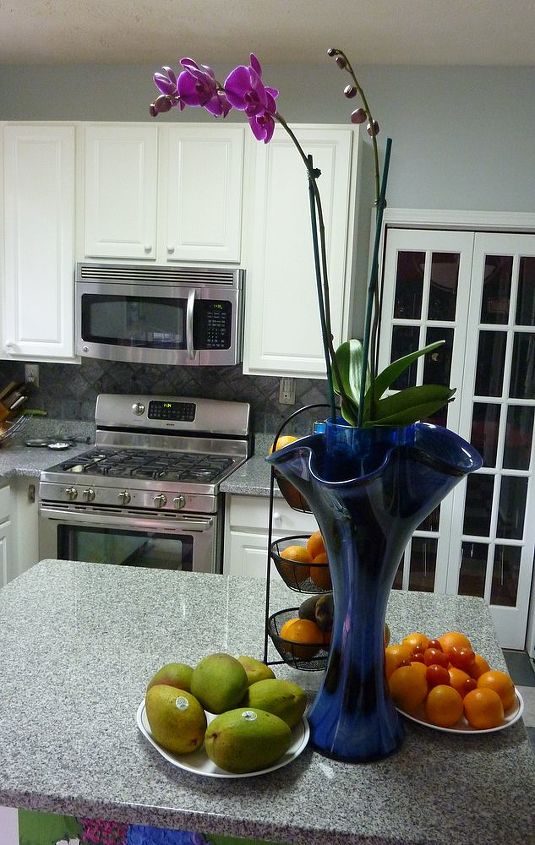
Orchid in the Kitchen

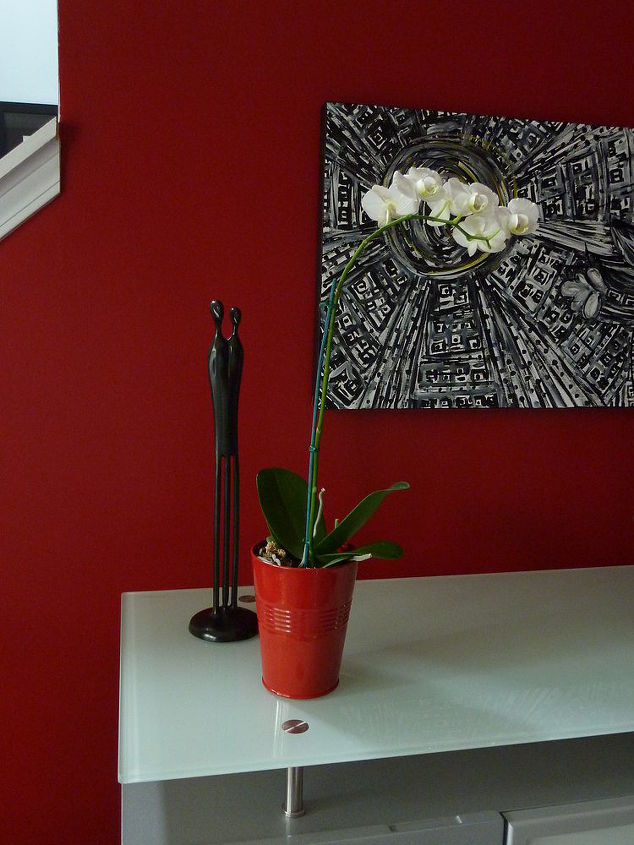
Orchids on the Foyer table
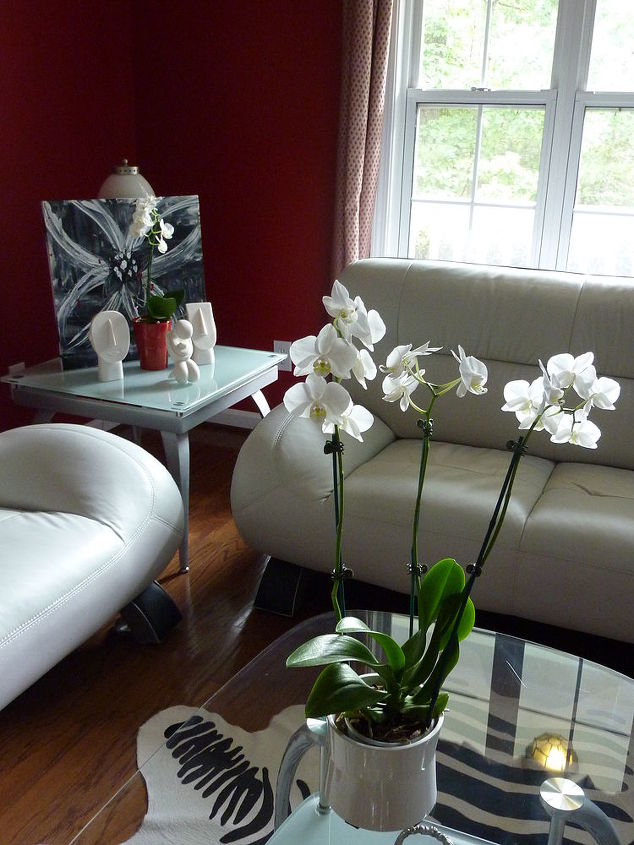
Orchids in the Living Room
Orchid on living room buffet
Comments
Join the conversation
4 of 87 comments
-
Ok I have orchids that never rebloom but the roots are crazily overgrowing and I only have green bottom leaves no blooms can you help?
-
I agree with the author. Phalaenopsis are very forgiving orchids. Every two or three weeks I run about a quart of water through the pot, and let it drain thoroughly. I always add heavily diluted orchid food to the water (about 1/8 the recommended mixture). As long as you do not force the plant to flower more than once in a given year, you should see blooms yearly. Enjoy!!!!!


Frequently asked questions
Have a question about this project?
My orchid has 3 buds but how do you get them to grow straight up without breaking stem?