


Ugly Leather Bench Makeover With Cotton Canvas

2 Materials
What do you do when your leather bench could use a makeover? Cover it with Canvas for an updated fresh look. Just a few simple steps and they look like new. The canvas is very durable cloth that coordinates with virtually any design style.
Size it up: Measure your bench from side to side, across and down, adding about 5-6" extra to all sides to give you a little extra to work with and wrap around.

Before Photo: Leather Bench - wipe down the entire bench making to prepare it for recovering. We decided to leave the leather in place for a few reasons. One, we were not sure what was underneath so we thought we better not remove it and two it is a protective layer. The heavy duty canvas will cover any tears or cracks in the ugly leather. Remove the feet of your bench and set them aside along with any screws or hardware. If they are in bad shape you can paint or stain them or let the vintage wood accent your fresh new fabric.
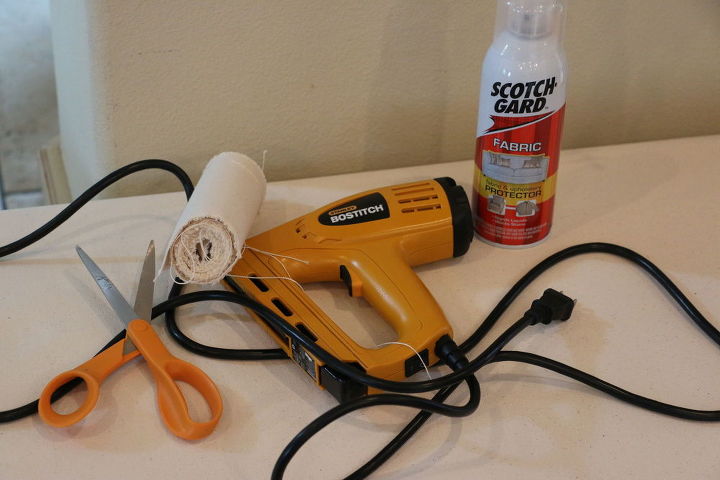
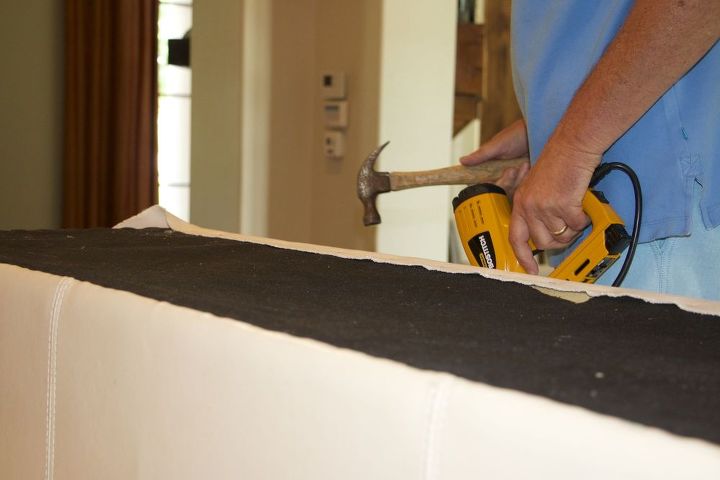
Tools: gather a few handy tool that will make the project go much quicker. Bostitch Electric Staple Gun (very handy), Screwdriver (you might need to pull a staple or two out), Hammer (you might need to drive a staple or two in), scissors, tape measure, Scotch Gard
Fabric: choose a heavy duty fabric that suits your style. This heavy duty canvas offers a clean fresh look. We choose a 14 ounce weight, which will really stand up to all this bench will handle. If you cannot find it locally, Canvas Corp Brands offers it by the yard online.
Lay the fabric on top of your bench, centering it making it even on all sides. Verify before you start that the fabric will cover all exposed areas on the top and sides and wrap around the bottom.
Smooth out any wrinkles and begin on one of the longer sides, which will help you achieve the smoothest look.
Staple one side starting in the middle and work your way to each end to avoid any extra wrinkles. You can go back and add more staples when you have what you need in place.
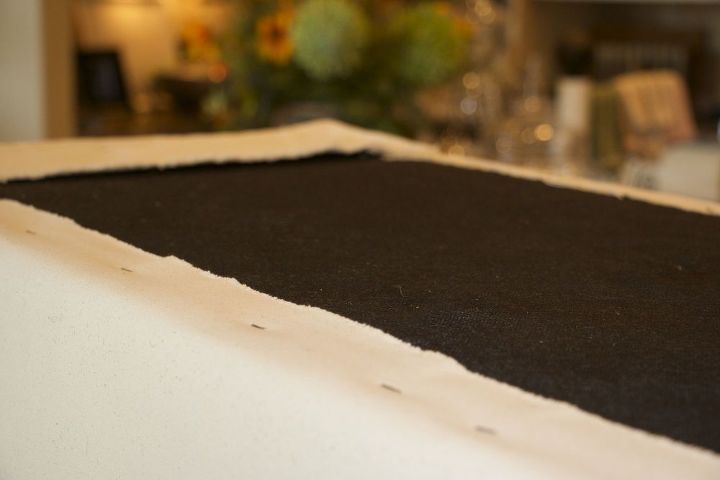
Then pull the fabric tight and staple the other side covering the bench and leaving the sides undone, they will be handled next. You can trim the sides, but leave the ends long until you make the corners.
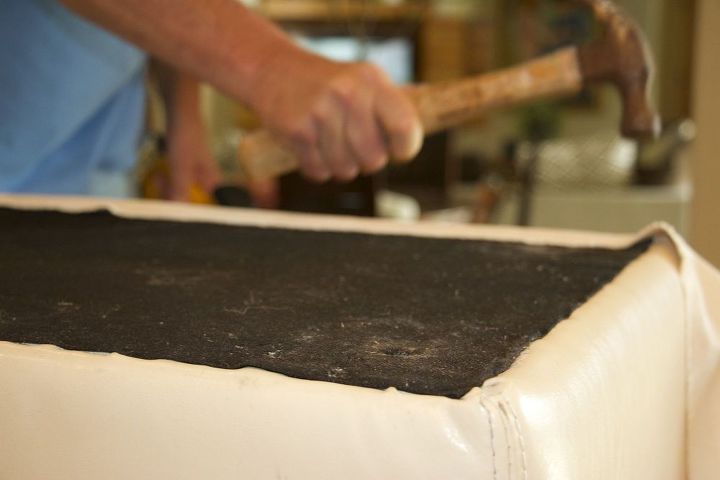
When stapling find the wood or most secure place to staple, if the staples do not go in all the way gently tap them with a hammer. You can also use small nails to secure the fabric, but the staple gun works so much better. Don't forget to put pressure down when you staple so that the staples go into the wood.

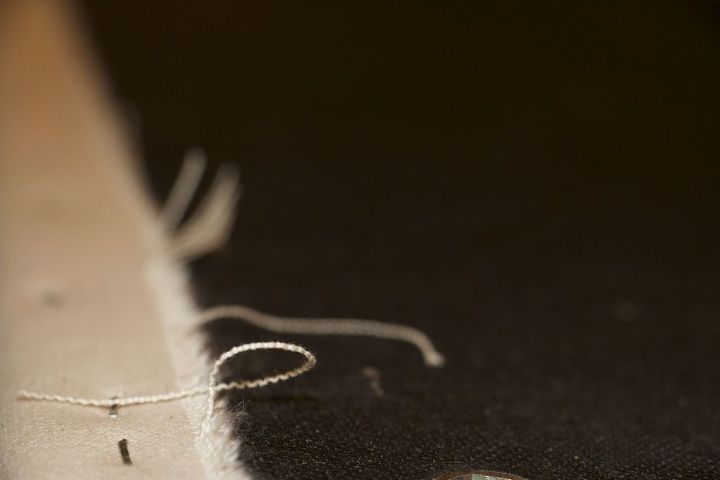
If the staples are bent or crooked, pull them out and try again. The more secure the fabric is put in place the better it will look when you are done.
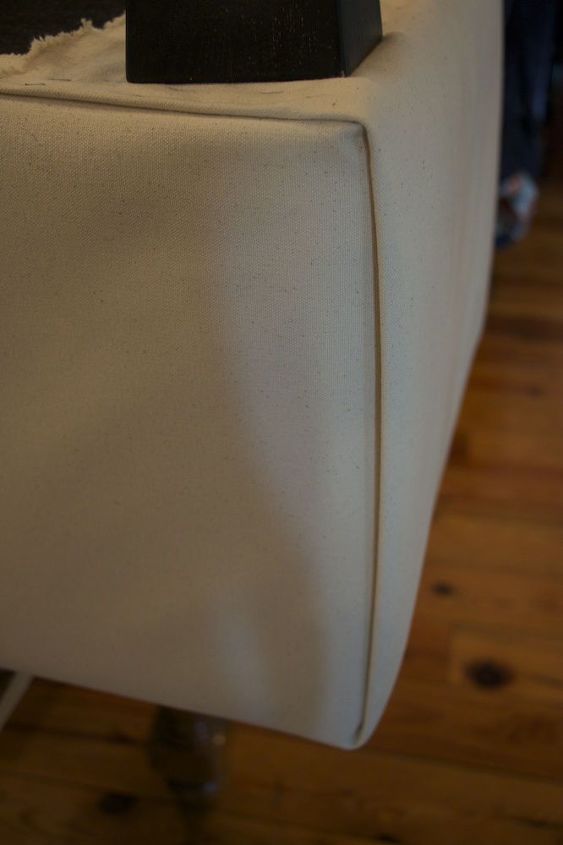
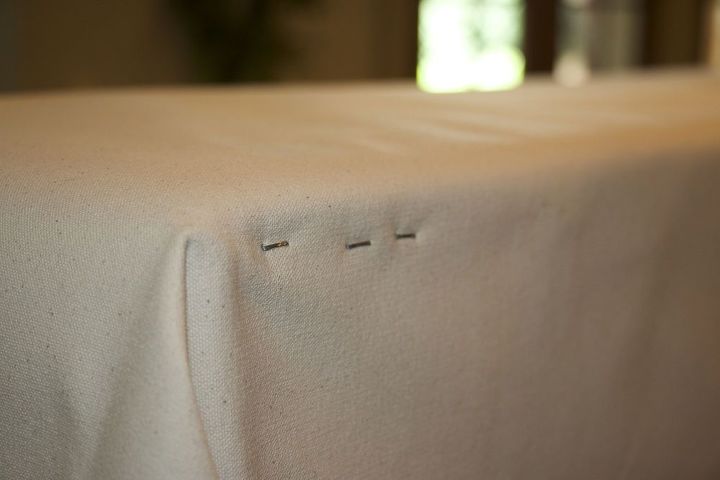
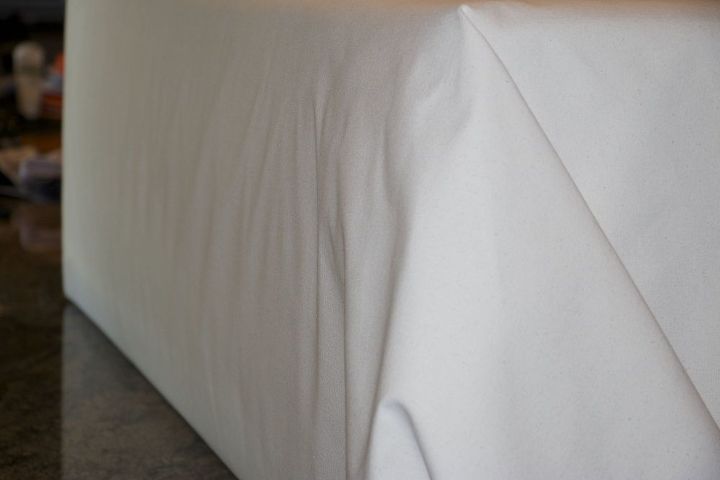
To make the corner, wrap the left over fabric from the long sides around the shorter side and secure a few staples to hold it in place. Think about it like wrapping a gift. Then tightly pull the side fabric straight down. If your fabric is thick, you might want to cut out some of the extra fabric on the inside. Pull the fabric tightly and staple into place making crisp edges. Repeat on the other side.
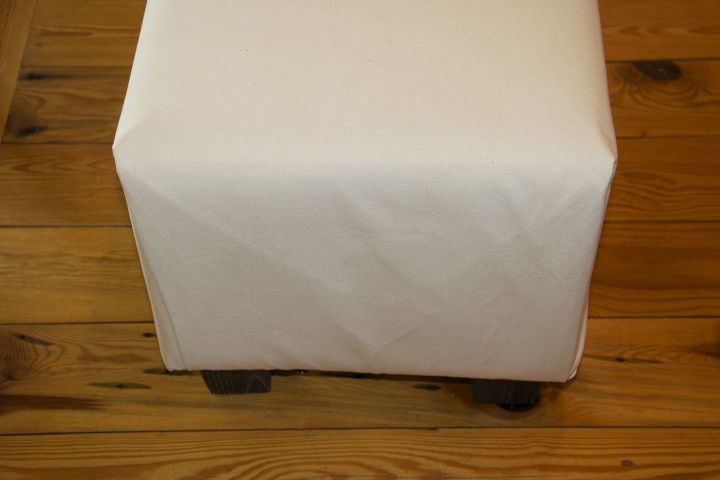
The ends will look something like this.

Trim any excess fabric, leaving about 1" from the staples so that they fabric does not pull away when the bench in use. Put the bench feet back in place.
To protect the canvas we suggest spraying them with a good quality guard such as Scotch Gard. The recommendation is to coat 2-3 times allowing the coats to dry between applications.
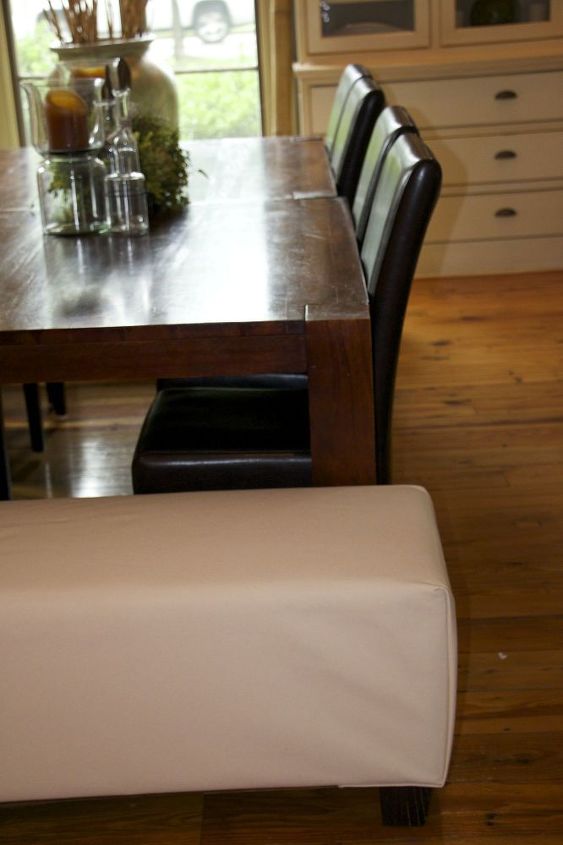
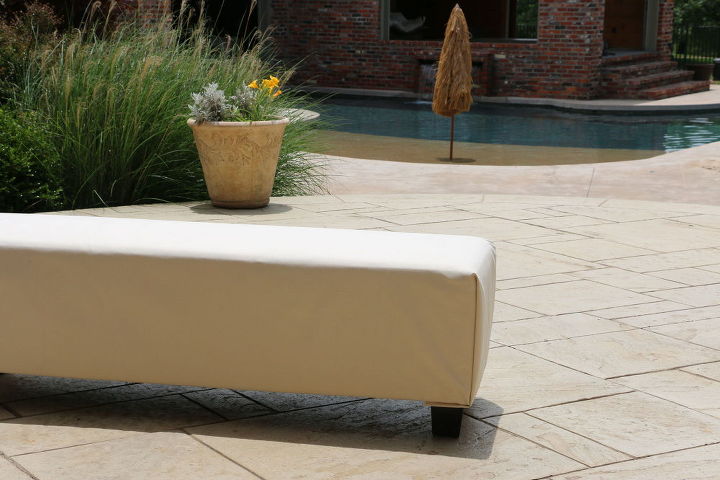
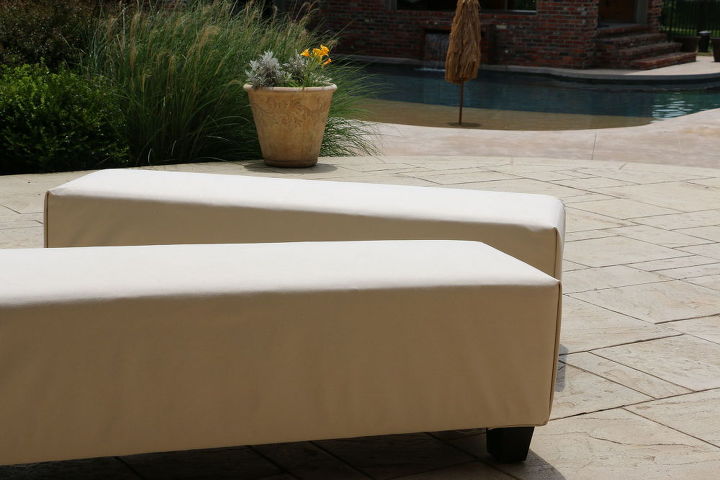
Your canvas covered bench is not ready to update your dining room, be set at the end of a bed or maybe in the entryway. It is also a great addition to the pool house.
Comments
Join the conversation
2 of 5 comments
-
Great up-cycle project!
-
Great idea and so simple!


Frequently asked questions
Have a question about this project?