


How to Make a Dream 'no Build' Potting Bench... in Minutes!
2 Materials
Is garden work ever done? I think not. I've actually been focusing so hard on my front yard, I haven't even made it to the back yet.
As I sat, completely overwhelmed, on the edge of a barren flower box crate, CRACK! It crushed into smithereens.
Well, if that isn't a good excuse for a new project, I don't know what is. So I set about to create a dream potting bench instead. I've always wanted one... but what could I just 'use?' Surely I didn't have to build one from scratch...
Not only did I find some stuff, the potting bench built in minutes became soooo much more...
And now? I WANT to garden! (Who am I?)
Here's what I did:
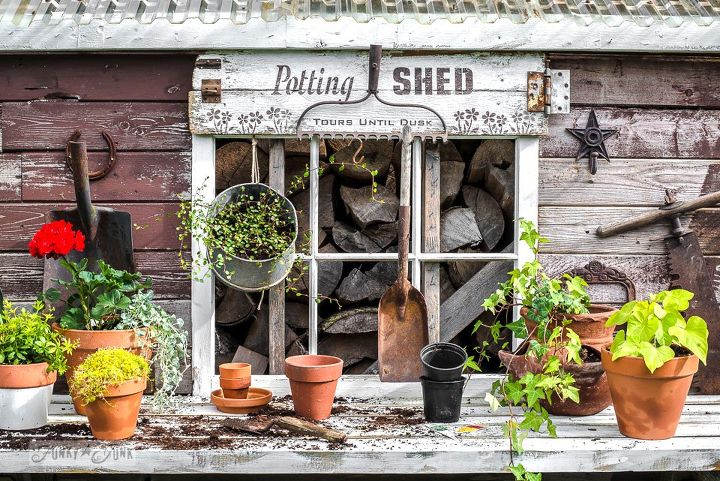
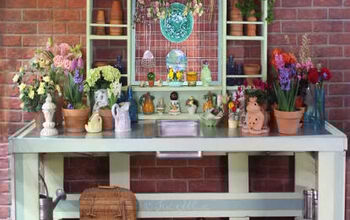
Welcome to my new potting bench! As you can see, I've been busy planting. But that sure wasn't the case even a week ago...
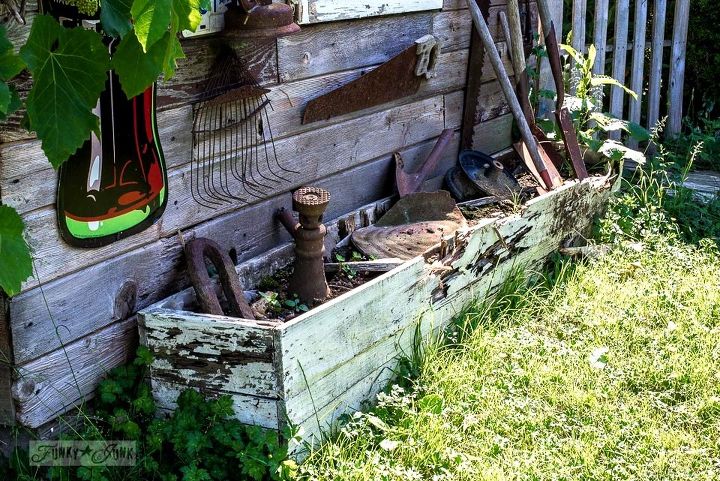
This crate turned flower box use to look gorgeous every summer, filled to the brim with glorious geraniums.
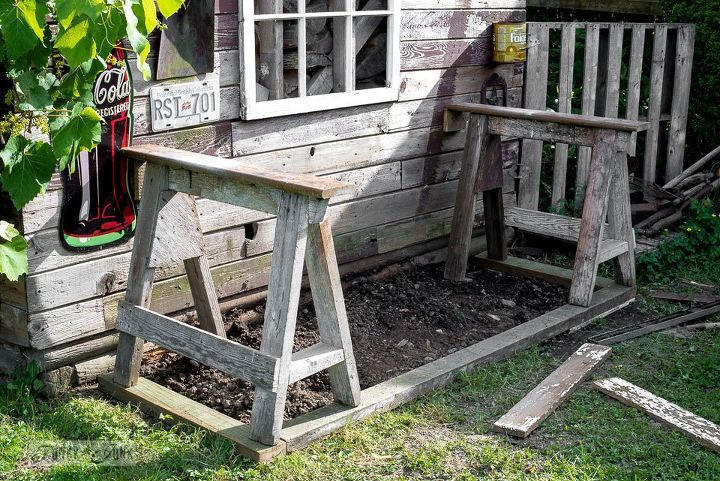
Rather than a floor, a flowerbed was created. Then loose boards were set in place to line the flower bed and to help level and protect the sawhorses.
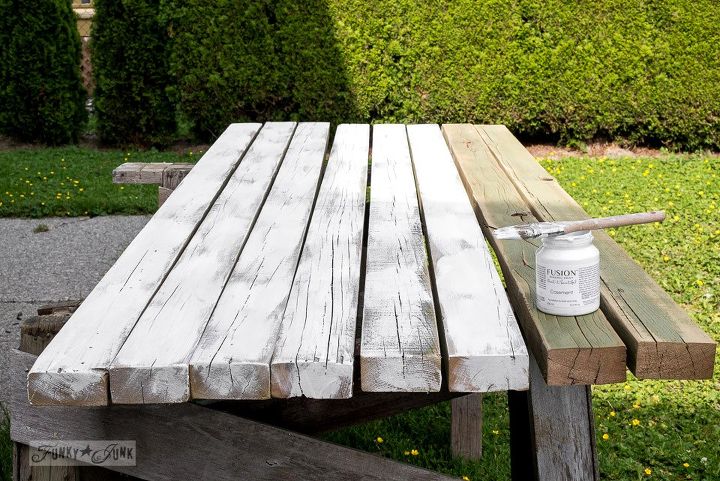
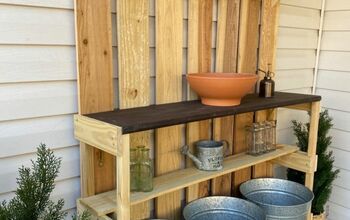
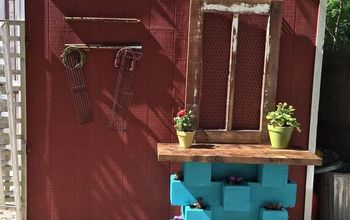
These treated planks of wood from an old fence were given a rough coat of paint to look weathered.
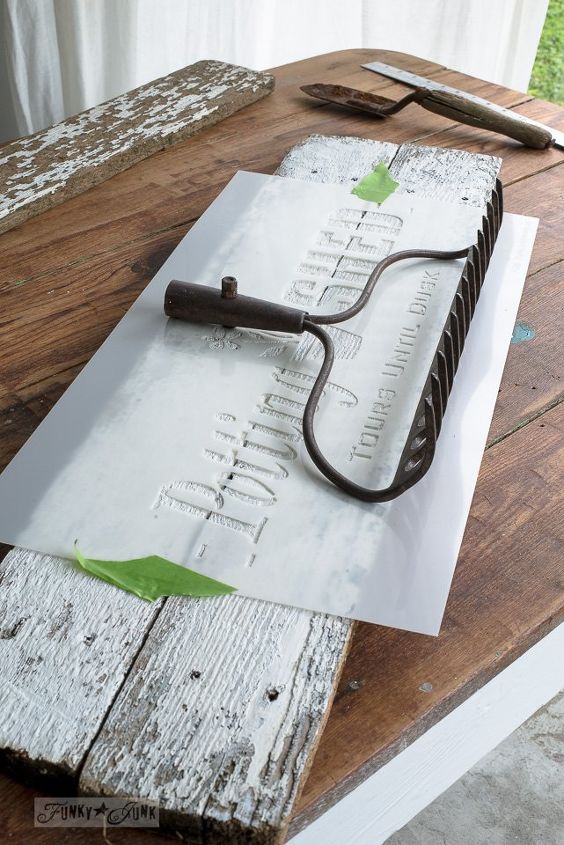
Next up, a new potting bench needs a garden sign! But this one would be productive...
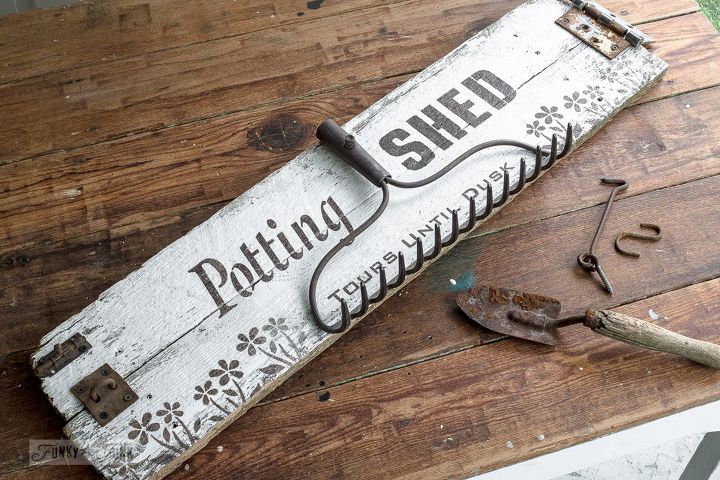
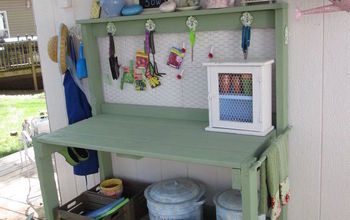
This little garden sign could hold my gardening tools! How perfectly themed is that?
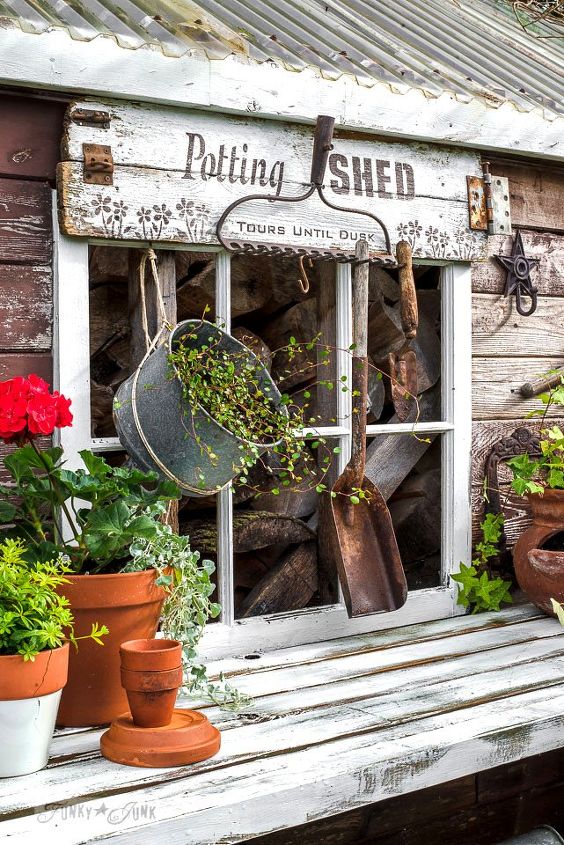
But the very best part was moving in! I purchased some terra cotta pots and plants, and put that rustic potting bench space to work!

The boards on top are spaced to allow rain and soil to fall through, and the depth into shelf size, to allow sunshine to hit the plants.
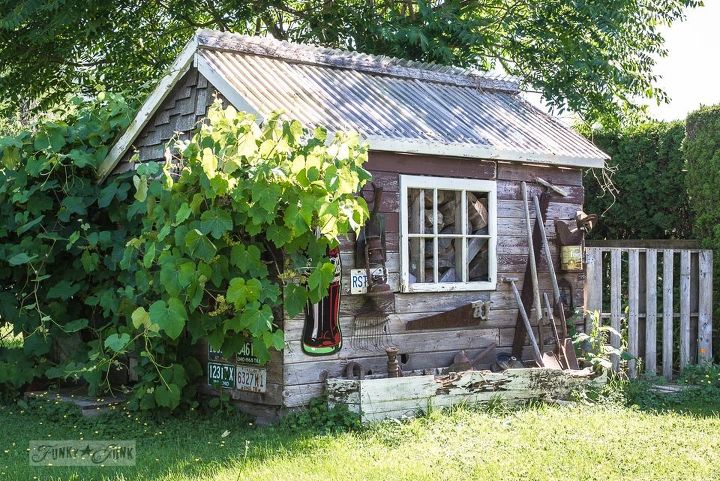
My poor little lost shed - before
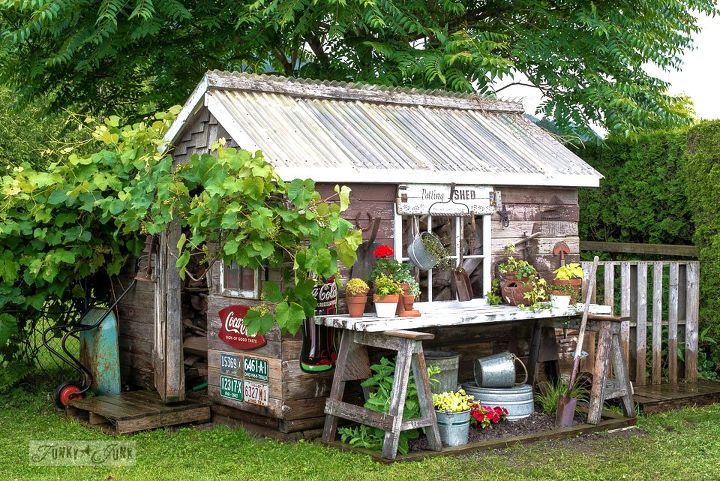
And after! Oh my goodness... now I WANT to garden!
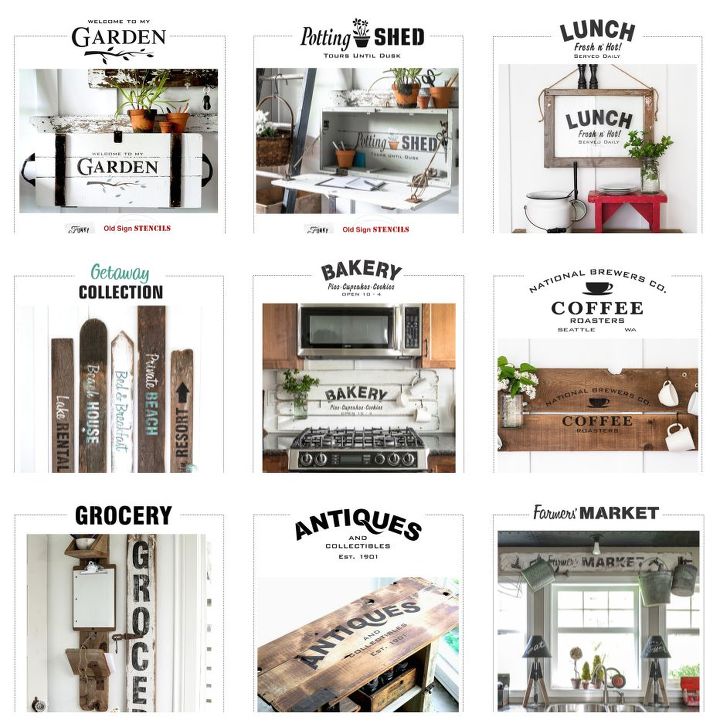
Find all the fun stencils available IN THE STORE HERE

Want more details about this and other DIY projects? Check out my blog post!
Comments
Join the conversation
3 of 5 comments
-
OMG....I SO want to do this!
-
I made a potters bench from a couple of pallets and happy with it but you inspired me to go fix things up!


Frequently asked questions
Have a question about this project?