


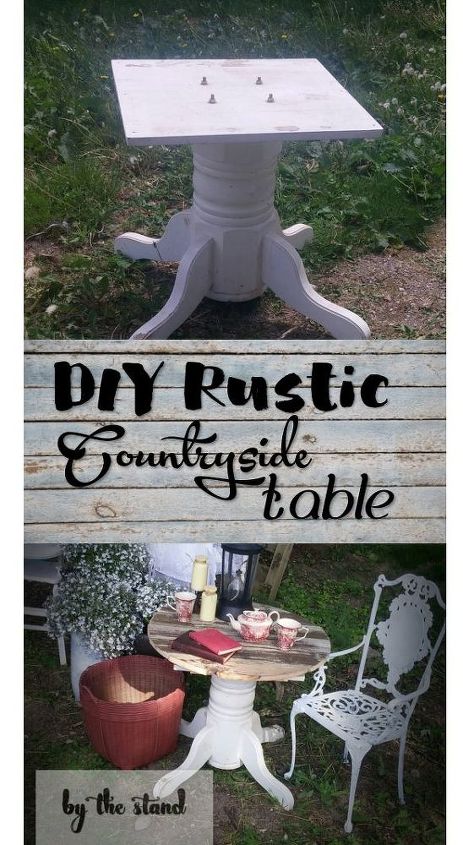
DIY Countryside Rustic Table

by
Holly Grace
$5
2
Medium
OH man! What another gorgeous day we had today!! I took full advantage and spent the majority of the day outside! I was able to finally do a DIY that I have wanted to do for such a long time!
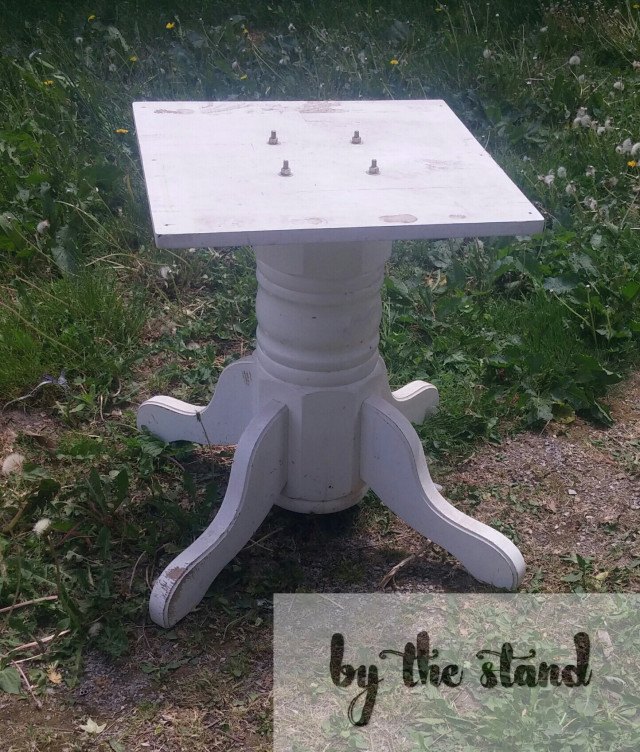
I have had this kickin’ around forever! I didn’t have the round table top, but my DIY intuition was telling me not to get rid of a great set of legs like this! Great legs are hard to come by, you know! I wish I had a set of great legs😉
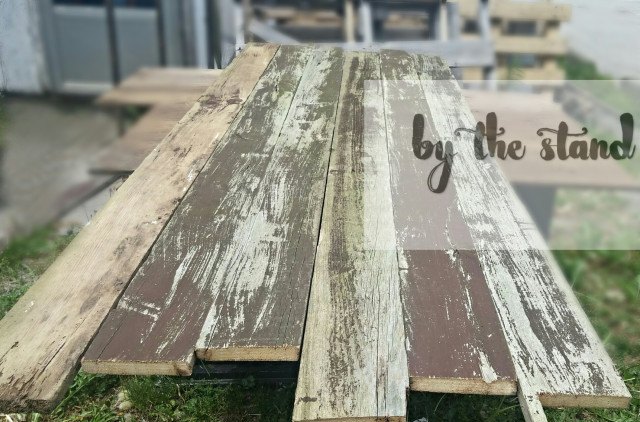
First thing I had to do was find some wood for the table top…Luckily we had an old ... really old... fence in the backyard that needed to come down!
I measured the wood on the top of the pedestal to see how big to make my circle.
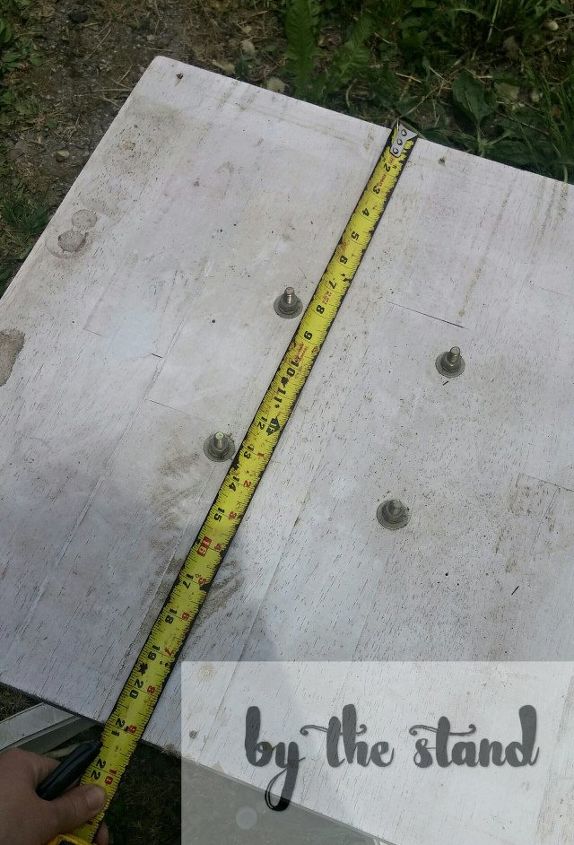
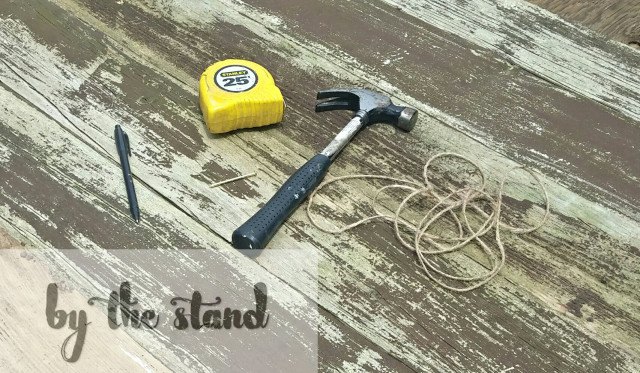
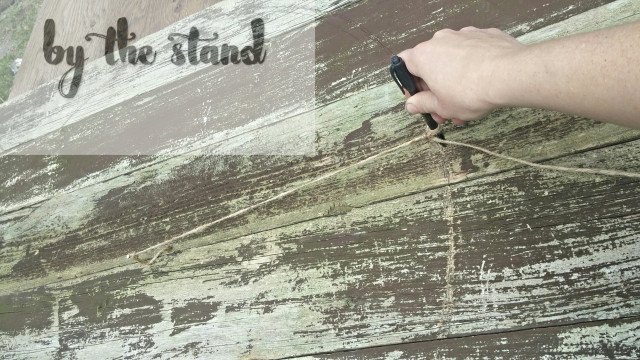
I got my materials to help me make a perfect circle. This is a great and easy way to make a circle when cutting plank boards of any kind!
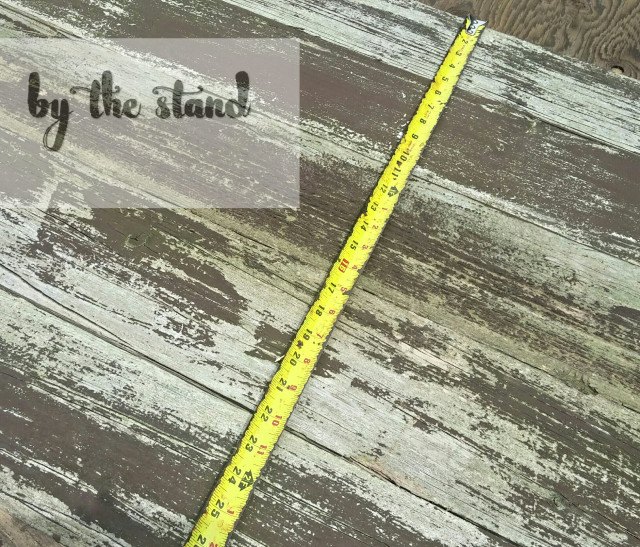
Using your tape measure figure out where the middle is. My boards measured 33 inches wide, so my middle was 16 1/2 inches.
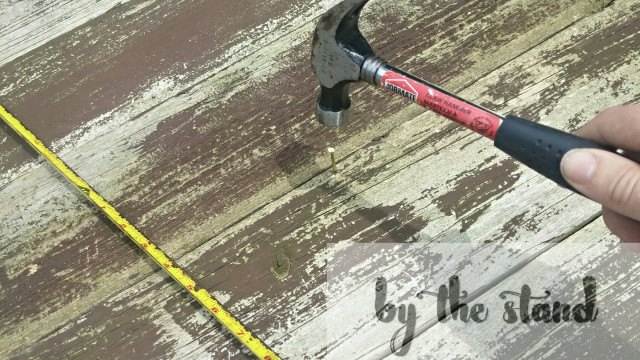
Once you have your middle mark, hammer a nail into your mark. You don’t have to hammer too far, just enough that your nail doesn’t wobble.
Tie your string around your nail. Make sure you don’t tie your string too tight because you want the string to be able to move easily.
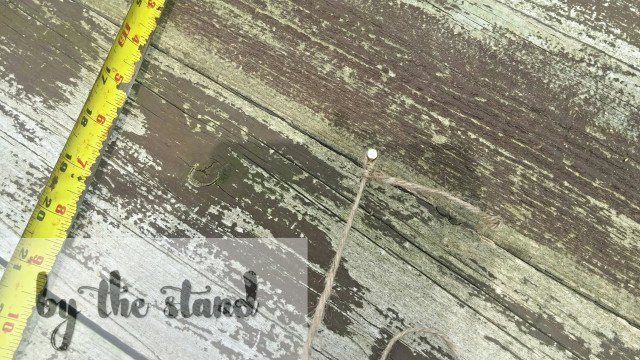
Cut your piece of string according to how large you want your circle to be and then tie the end of your string around your pen or pencil. Holding your pen really steady, start to draw a circle. The string will guide you. Pretty cool, right?
Now get out your jig saw and start cuttin’! There ya go! A perfect circle!
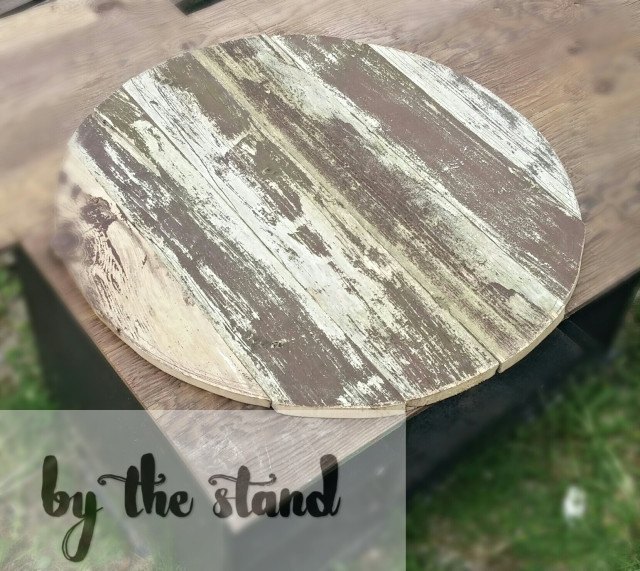
To attach all the boards together, I used a couple of 2x4s cut to size, and screwed them into the back of the circle.

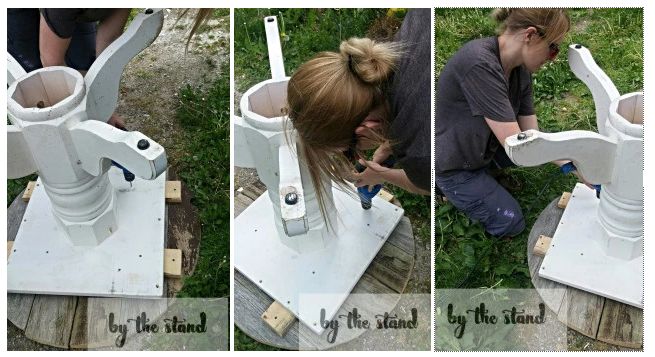
I flipped the pedestal over on top of my table top (which was place upside down on the ground) and I screwed the white table top base into my wood circular table top.
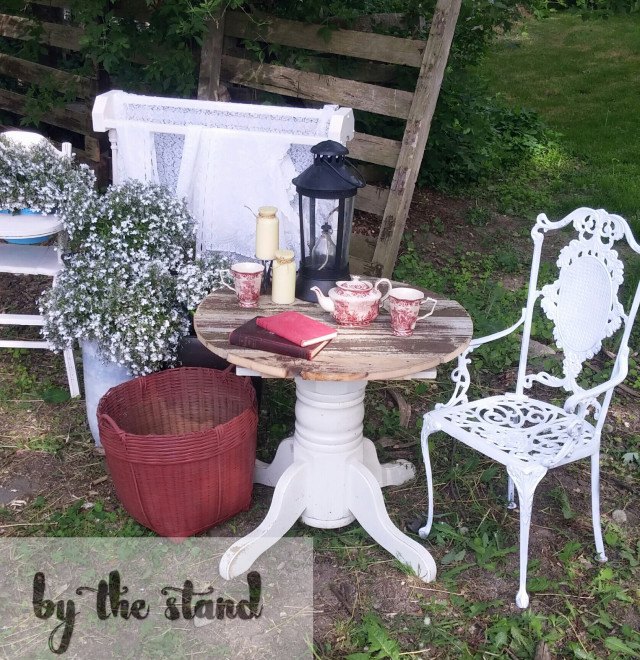
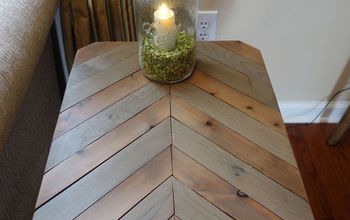
Flipped er’ back up and this is what she looks like!
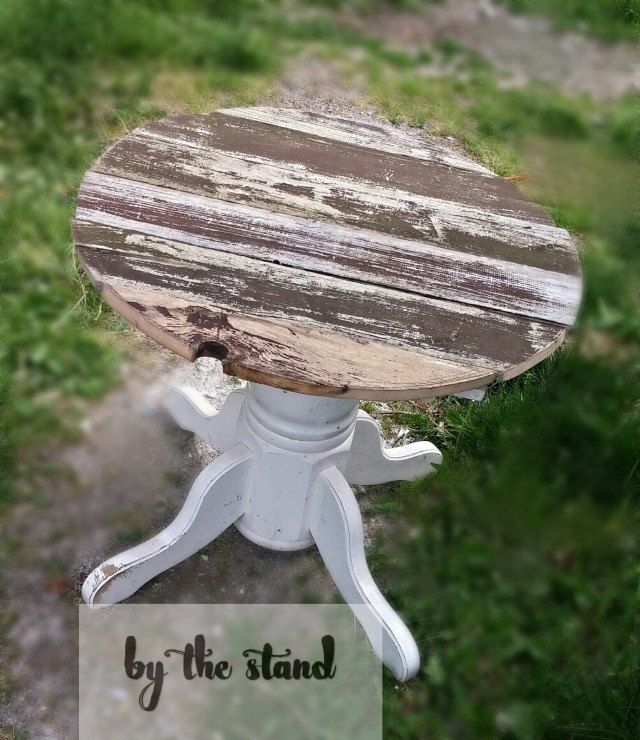
Love it!! I also love the little knot in the wood that fell out of the edge when I was cutting. It adds a little character. The legs were already rustic and banged up so it fit with the whole style of the table and the look that I was going for.
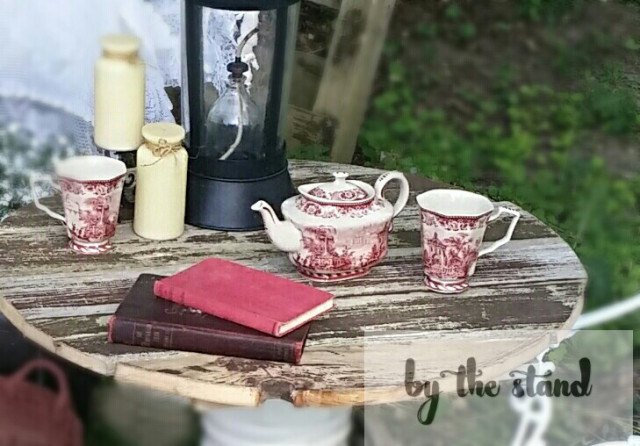
Who wouldn’t want to sit by this table and read a good book with a great cup of tea!?
All it cost me was some time, the cost of a 2x4 and some screws!
Want more details about this and other DIY projects? Check out my blog post!
Comments
Join the conversation
4 of 20 comments
-
Any body would love to have this.... I'm thinkin' I'm really jealous.
-
Awesome, glad you saved the leg ;-)


Frequently asked questions
Have a question about this project?