


$20 Bird Feeder for $5!

by
Anni
7 Materials
I was shopping for new bird feeder and thought I'd take a look at what local discount store had to offer.
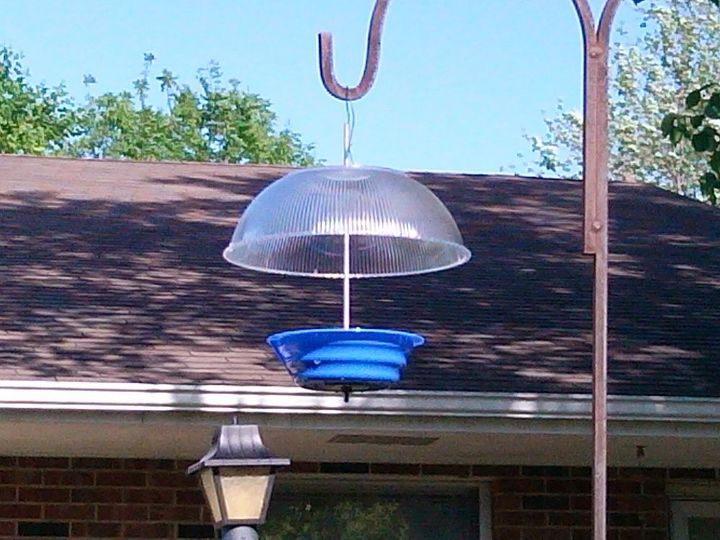
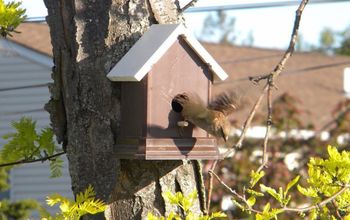
My idea was for a type of platform feeder that would allow water drainage and accomodate the Cardinals (the birds, not the team lol). The one I had was homemade (nothing wrong with that!) but it didn't offer drainage and was so open the squirrels kept it empty.
There was one that looked good, but the price was ...well...more than I felt like paying.
So after pondering the design, I shopped around for the items needed.
First I drilled the 1/4" holes in the bottom of both bowls. You may need to jiggle the bit/iron around just a little so the rod goes through easily.Then switch to the 1/8" bit and drill several holes in the bottom of the smaller bowl for drainage. Scrape or cut off any jagged pieces if any.
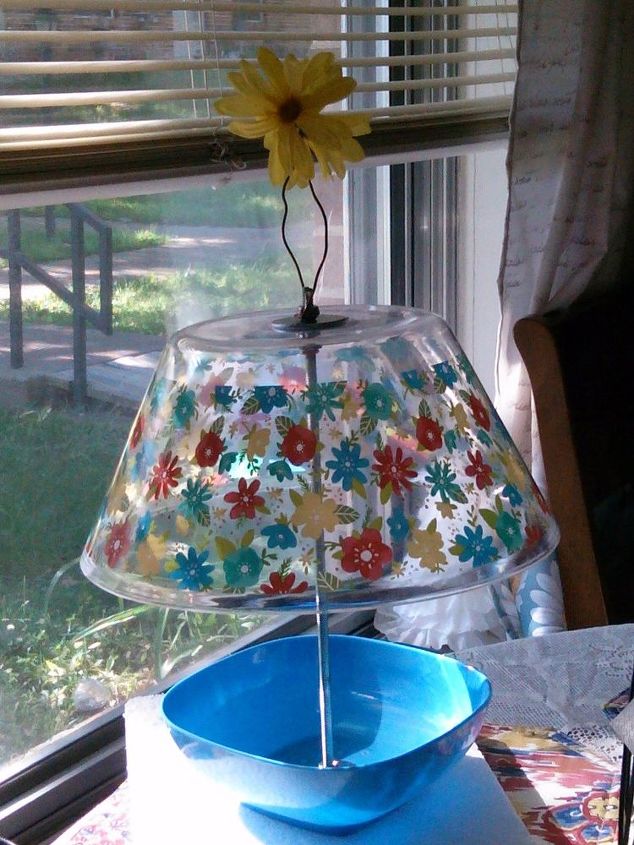
Supplies needed are listed below. Tools I used were wire cutters, pliers, and drill with 1/4" and 1/8" drill bits. A soldering iron could be used to make the holes instead of a drill. However, please note it will gum up the iron.
Comments
Join the conversation
4 comments
-
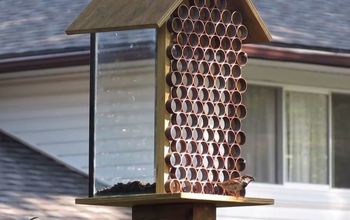
These are SOOO COOL! The second one is just cute. This is a SAVE! Thanks for sharing.
-
Adorable!!


Frequently asked questions
Have a question about this project?