Jar Solar Lights!

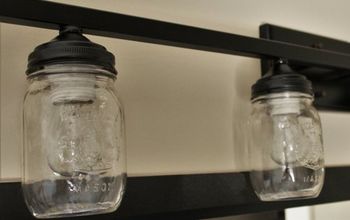
First things first I have to admit that I actually ended up NOT using my Grandma's old mason jars for this project. Instead, I used some of her other jars that were much smaller and easier to get my hand in. You've probably already seen this project floating around the internet and pinterest, solar mason jar lights is definitely not a new idea. However, I had a bit of a problem with the mason jar solar lights tutorials I've seen online. Every tutorial I've read had you cut a square out of the lid and attach the solar light to the lid. This always bothered me, it seemed like then wouldn't the jar fill with water and become all nastiness? So, I got to work on my own design. Why not flip the jars over and glue the top of the light to the bottom of the jar instead?
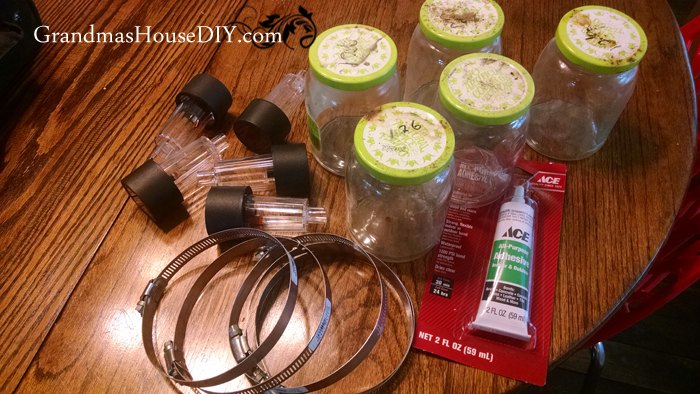
I went to walmart and found the solar lights for 97 cents a piece and then headed to Ace for the pipe clamps and outdoor adhesive. Then, it was a trip out to the barn to check out my stash of jars from my Grandma. At first I was going to use Mason Jars (so iconic and so much coolness) but it turned out they were a bit big and very hard for me to get my hand in. I also didn't really want to use my Grandma's mason jars for this project anyway, I would rather use them inside where they would be safer. So, I grabbed some smaller, matching jars that came with bonus bright green lids that happen to match the fabric on our outdoor furniture. (My mom tells me they're just plain old pickle jars but I still love them.)
Remember to remove the tags on your solar lights or they won't light up! I added a big dollop of adhesive around the solar panel of each light and then flipped it over and glued it right into the bottom of the jars. It was simple and easy and I didn't even get much glue on myself! The adhesive said to give it 24 hours so I just left them there like that for a couple of days before I hung them. These pipe clamps are serious business, I had to use a hammer and nail to make a hole large enough to fit a regular screw. I read online to buy "thin" screws for this project, lol, if they do sell screws thin enough to easily fit through those slats I certainly am not going to be using them outside where they need to hold up the the elements.
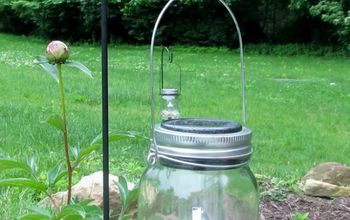
I'm very happy with how this project turned out! All in each one cost me (because the jars were free) less then $2! It was easy and I think they really add something to our back deck! I may have to add them to our front posts too because they're just so darned cute!
Enjoyed the project?
Suggested materials:
- Jars
- Pip Clamps
- Solar Lights

Comments
Join the conversation
-
I like this idea - I could see putting some gems in the jar before closing and even just set on my deck. Going to try this!!!
 Laura Gaber
on Jul 07, 2016
-
That's a lovely idea!
 GrandmasHouseDIY
on Jul 07, 2016
-
-
-
-
Thank you!
 GrandmasHouseDIY
on Aug 22, 2016
-
-








Frequently asked questions
Have a question about this project?