


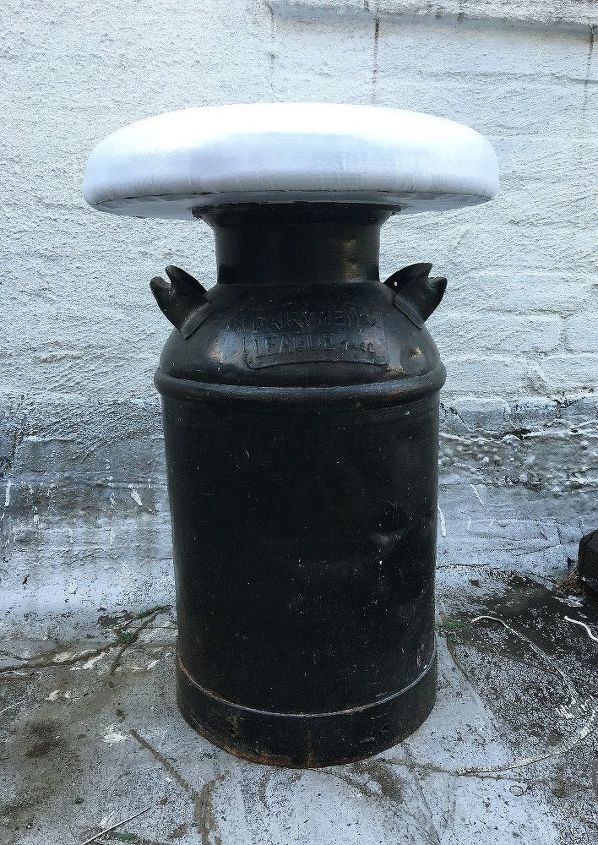
Turn a Vintage Milk Can Into a Stylish Stool

6 Materials
$30-50
3 Hours
Medium
I have been in dire need of some new outdoor seating, so I decided to make an outdoor stool! If you have an old milk can lying around (or find one at an antique store), this project will be perfect for you! All you need to add to the milk can is an upholstered wood round with outdoor fabric and seating cushion. This piece is sturdy and comfy all at the same time!
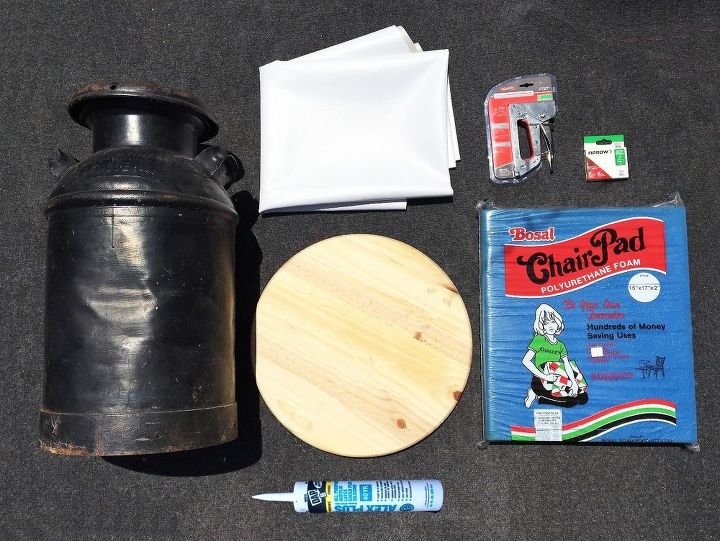
SUPPLIES: -Vintage Milk Can -Chair Pad / Foam Cushioning -Liquid Nails (Multi-Purpose) -1-2 yds. Vinyl / Outdoor Material -Staple Gun / Staples -Round Piece of Wood -Scissors (Not Pictured)
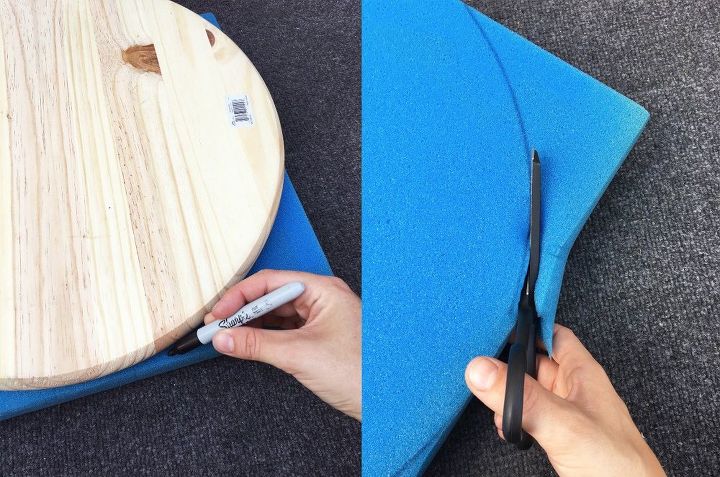
STEP 1: Cut seat cushion Lay your wooden round on top of the seating cushion and trace around it. Cut out the circle from the cushion.
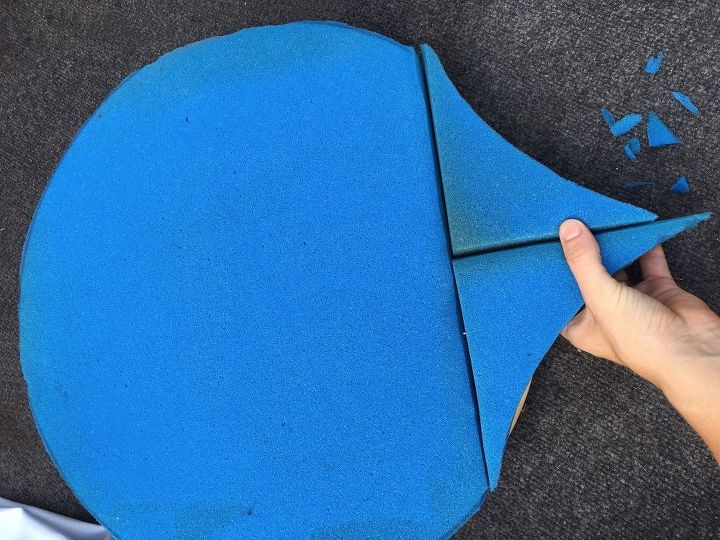
My cushioning was a bit shy of covering the entire wooden circle so I simply placed the extra corners against the flat edge and trimmed any cushion that hung over the edge of the circle.
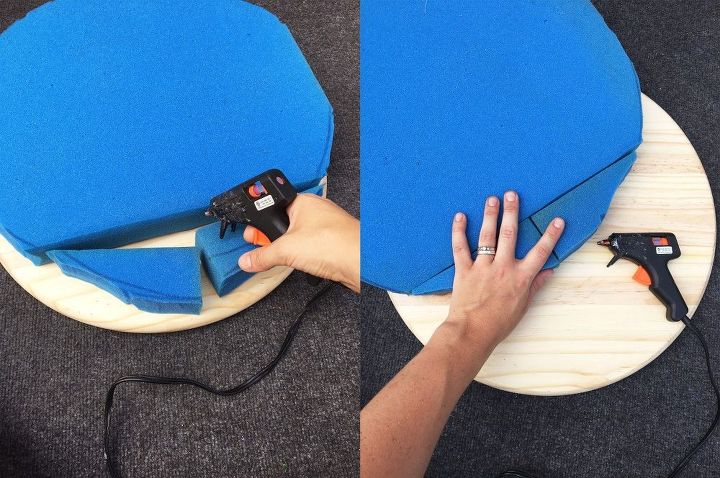
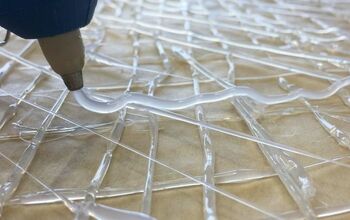
STEP 2: Attach the cushion to the seat Take hot glue and glue the extra pieces you cut to the circular cushion piece from step 1. Now hot glue the entire cushion down to the wooden circle.
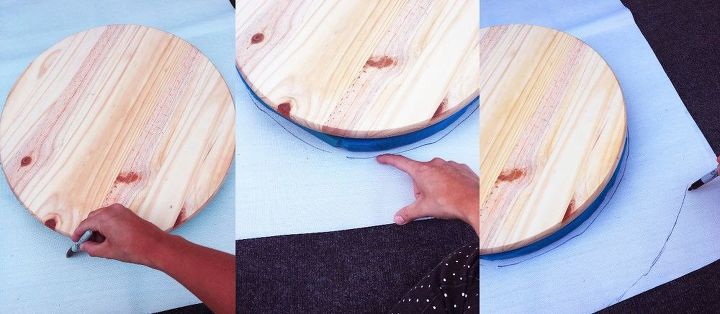
STEP 3: Lay seat on fabric Now grab your vinyl or outdoor fabric and place the cushioned wood piece face down on the fabric. Trace around the circle. Measure 2-4" away from this circle and cut it out.
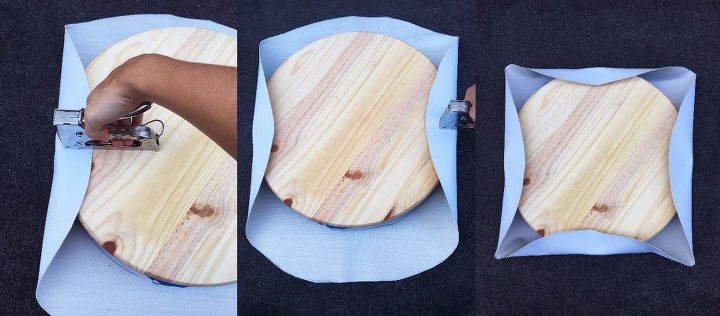
STEP 4: Attach fabric It's time to staple down the fabric to the cushion covered wood! First staple one side near the edge. Then staple the opposite side directly across from the side just stapled. Repeat for the other 2 sides so that you have 4 stapled sides directly across from each other. *Be sure you pull the fabric tightly.
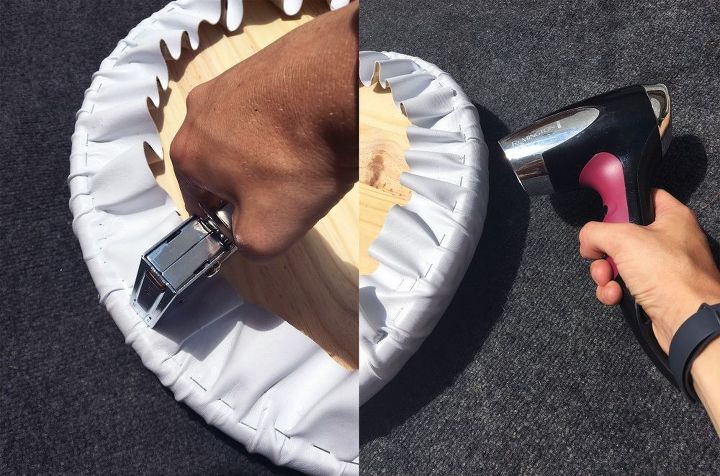
Now making sure to remove creases as much as possible staple all around the edge. Be sure to pull the fabric taut before stapling in place. Because vinyl is technically plastic you can melt out any ugly creases. Simply grab a heat gun or hair dryer and hold it over the edges until the vinyl shrinks and the creases disappear. *Restaple any overbearing creases that didn't come out.

STEP 5: Trim excess any excess fabric beyond the stapled edge. Now place the covered cushion face side up on your fabric and trace a circle around the cushion.
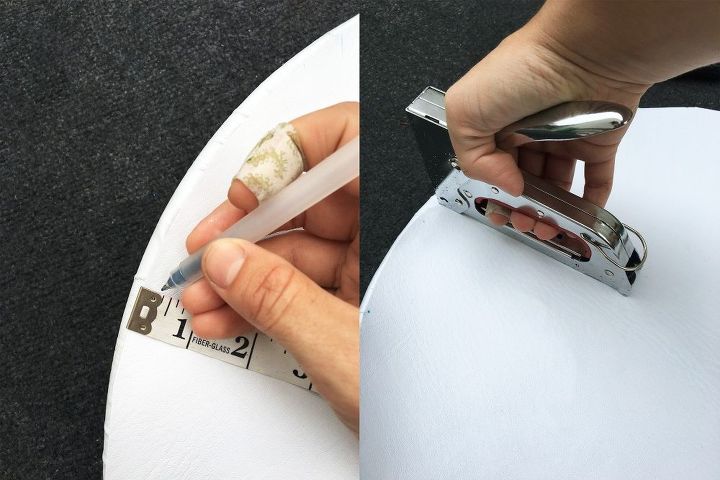
STEP 6: Tighten fabric Draw a line 1/4" in from the line you just drew in step 5. Cut out this circle. Staple this circle down over the edge of the fabric covering the underside of the upholstered wooden circle.
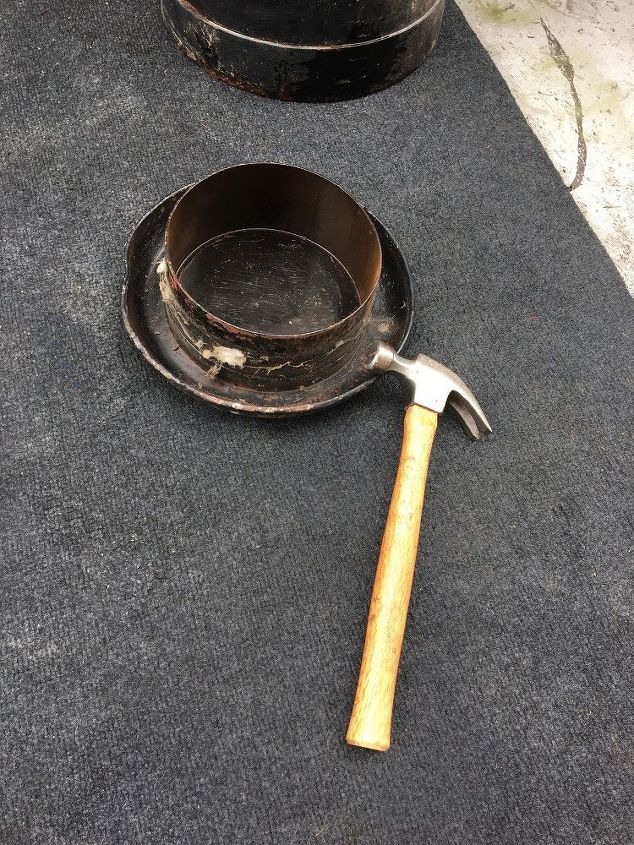
STEP 7: Remove milk can lid Remove the lid of the milk can with a hammer if necessary.
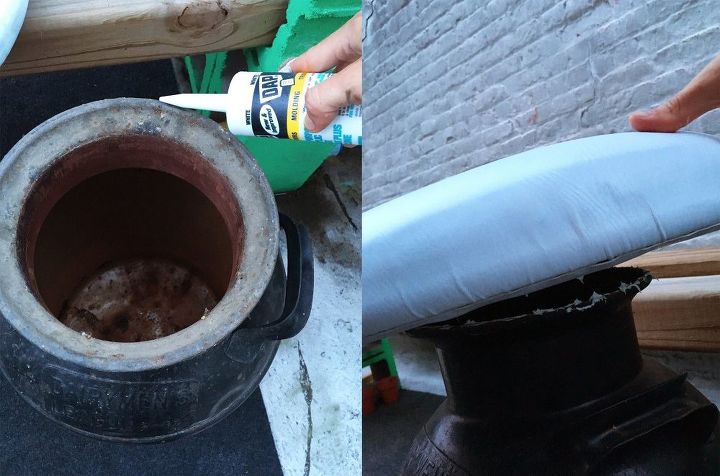
STEP 8: Attach seat to milk can Draw a line of liquid nails around the rim of the milk can and carefully place your seat cushion over top making sure it is centered. Set it aside and allow to dry.
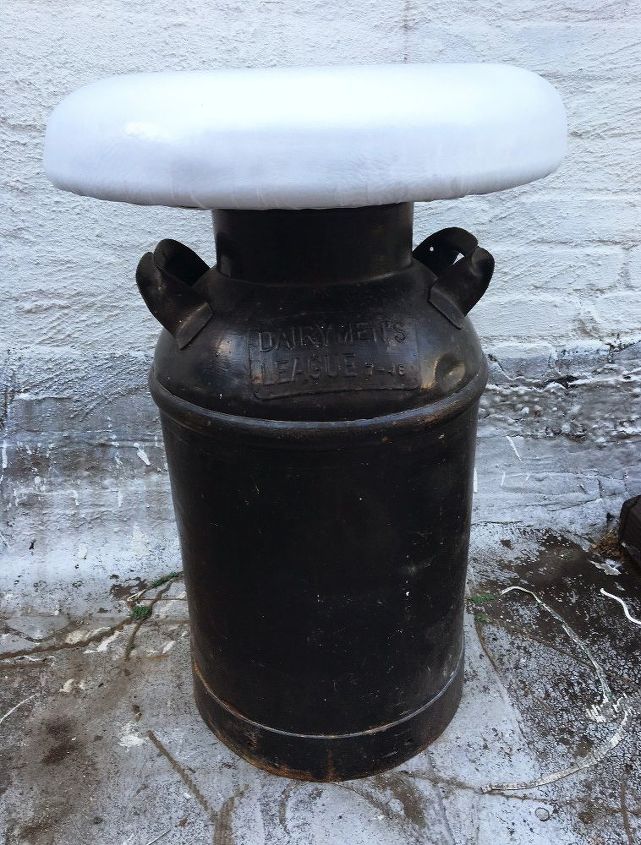
This thing is certainly heavy, but it's such a great addition to my rooftop furniture!
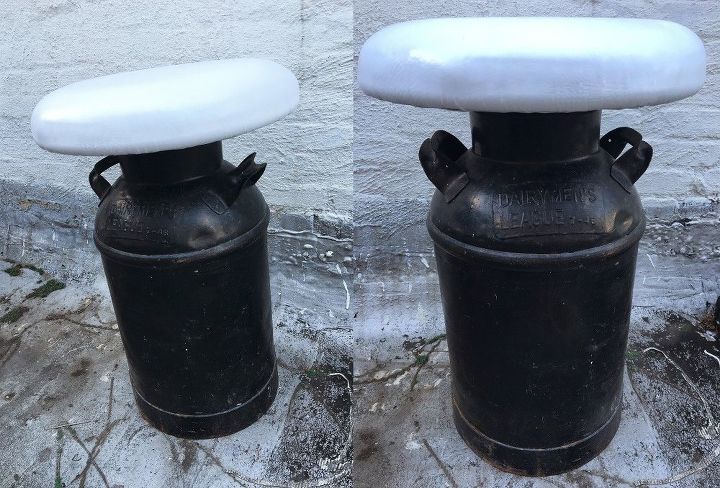
If I make a couple more of these I might have to make an outdoor bar!
I might paint the cushion at some point with a fun design. Because it is vinyl you can paint it with a plastic capable spray paint!
Comments
Join the conversation
2 of 20 comments
-
Having worked with vinyl upholstery fabric before I found that warming the fabric before attaching made for a smoother attachment. I preheated my oven on low, then shut it off and when I could safely hold my hand on the rack, put it on the rack for a few seconds...just enough to make it pliable...
-
Used a milk can and a larger round top to make a small table for my deck


Frequently asked questions
Have a question about this project?