


Foreclosure Renovation: Accent Walls

by
Jacob Ayres
Easy
Let me start this post off with a confession: I painted over wallpaper. Bring the torches. Throw the stones. Get it out of your system. But in my defense, it was a lot of wallpaper. A LOT. and it was tough. We honestly tried to remove it because it was flakey in some areas but trust me when I say that the previous owners used 80's hairspray and super glue to adhere that mess to the walls.
Anyway, we painted over the visual headache that was the wallpaper and for the most part, you couldn't tell! My walls were all painted this nice light gray and all was well until I was stir crazy and over caffeinated. This flat wall that covered the staircase had visible seams from where we attempted to peel the wallpaper off and then gave up. They weren't that noticable but I was drunk on the urge to create and too much hgtv, so I started to lay down the frame work.
Anyway, we painted over the visual headache that was the wallpaper and for the most part, you couldn't tell! My walls were all painted this nice light gray and all was well until I was stir crazy and over caffeinated. This flat wall that covered the staircase had visible seams from where we attempted to peel the wallpaper off and then gave up. They weren't that noticable but I was drunk on the urge to create and too much hgtv, so I started to lay down the frame work.
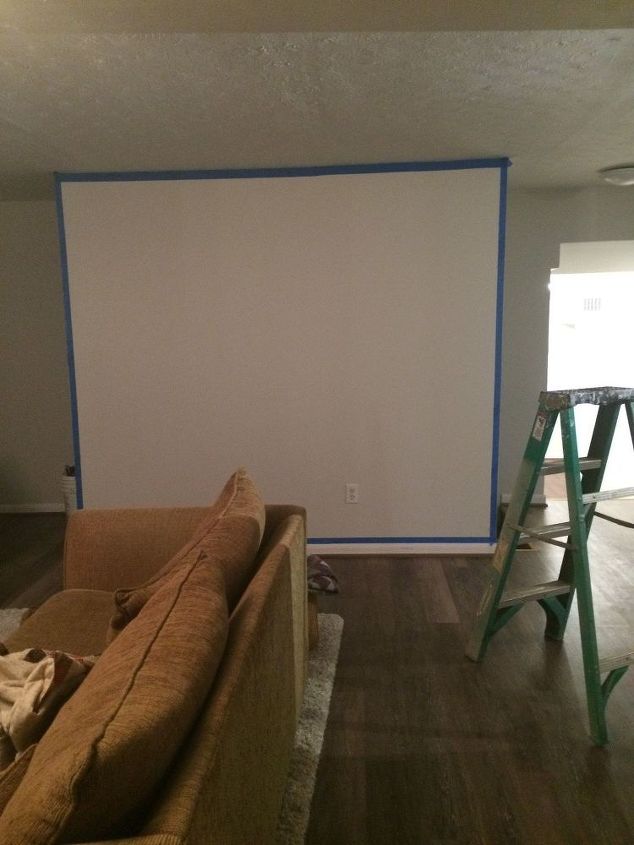
I taped out the sides because I am messy and short. I wasn't going to be able to reach the ceiling on my own and the thought of moving the ladder 60 billion times did not agree with my laziness. To be perfectly honest, I taped it up and then I went back to my current netflix binge and fell asleep.
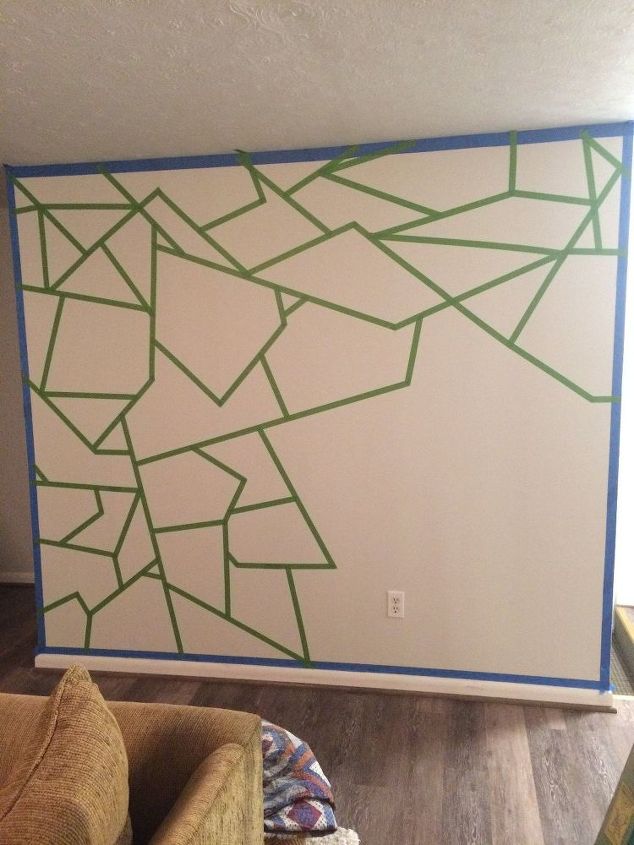
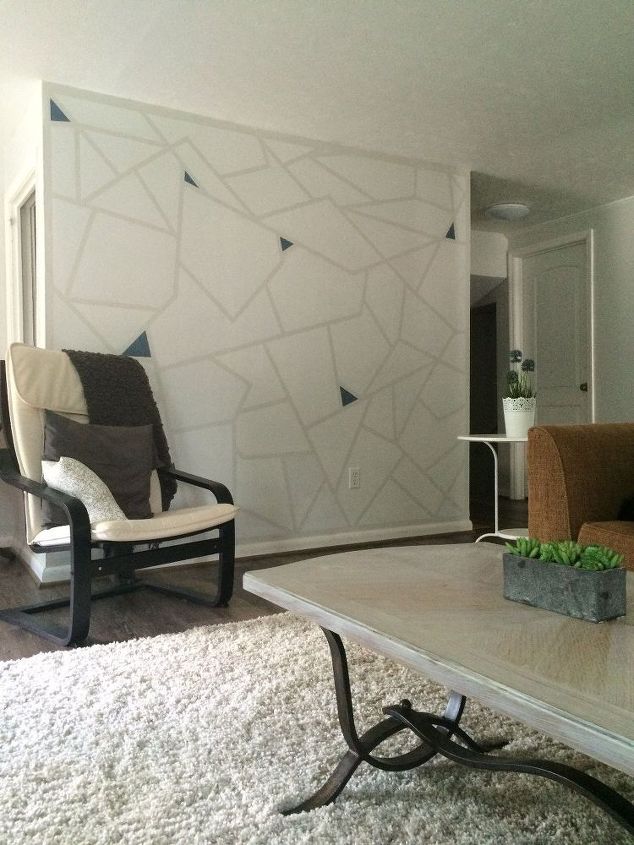
I kinda went in with the idea to do entirely triangles of all shapes and angles but what ended up happening was this really cool broken glass look. I veried the size but there was no clear reasoning behind it. I just tore off strips and placed them wherever made sense to me, like any person who hates math/methodical-planning would.
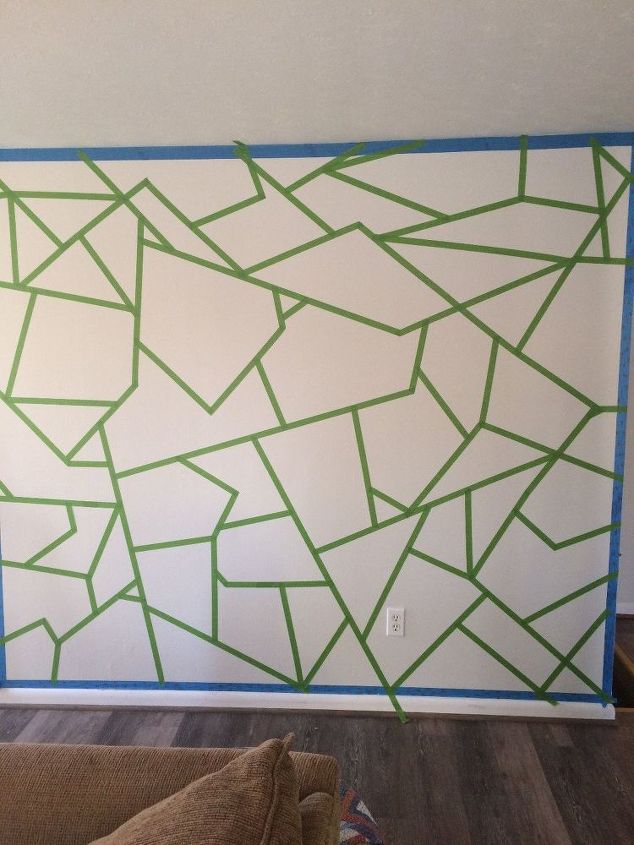
I was really happy with how it turned out once it was all taped and had I been using any other color tape, I might have been tempted to leave it up there, but it was an ugly color so i continued on.
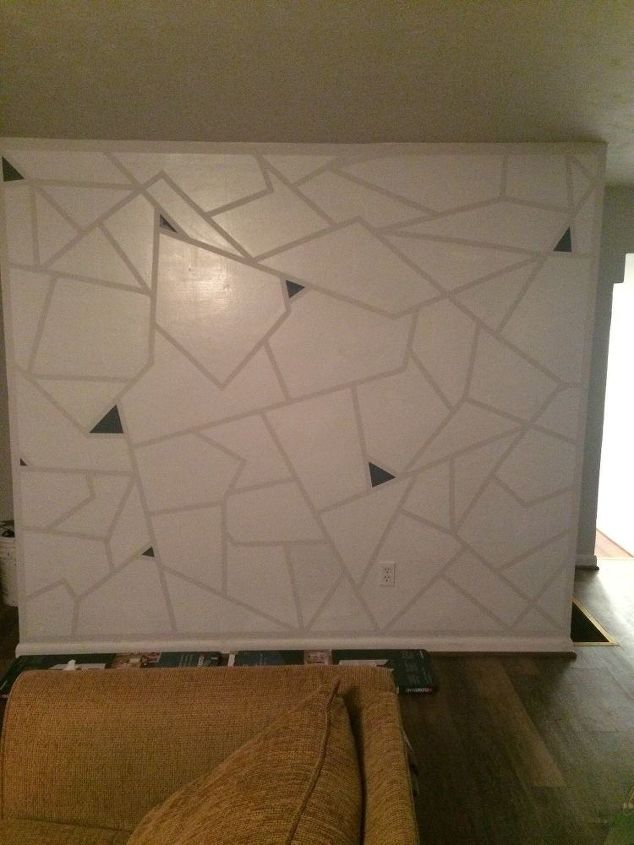
This was the end result. When I peeled back the tape, there some spots where the blue wasn't as sharp and I had to do 2 coats of white to cover the gray (find the shape that I forgot the second coat ), but it was definitely worth it. This wall brought some much needed visual interest without having to hang anything on it. When people come to visit me in my house the wall is always complimented on. My mom literally says something about it every time she comes up here.
Want more details about this and other DIY projects? Check out my blog post!
Comments
Join the conversation
2 of 120 comments
-
It is stunning, your art major was the right choice.
-
It turned out wonderful.


Frequently asked questions
Have a question about this project?