


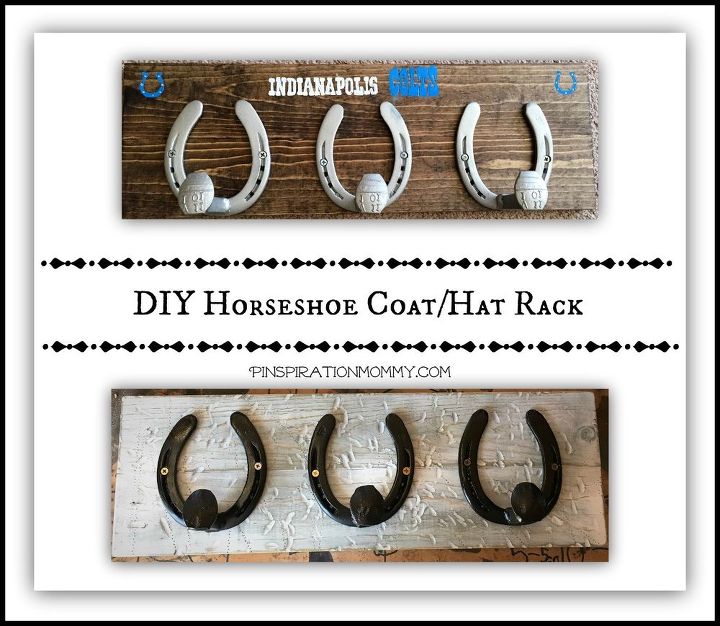
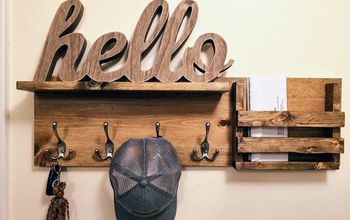
DIY Horseshoe Coat/Hat Rack
3 Materials
So, hubby has had some horseshoes and railroad spikes sitting around in the shop for quite some time now (as is the case with MANY of the parts and pieces in the shop! ). But I'm sure we will eventually find some use for a lot of it... Or at least that is what I keep telling myself each time I come to stare at the masses of pieces and parts in our garage AND in the shop! But I force my OCD-tendencies aside and try to focus on my projects! Well, this time we actually did find a use for some of those pieces and parts - the horseshoes and railroad spikes!
We made these coat racks as gifts and we made two of them, each a different style. Here is a brief overview of how we made them, for the full tutorial, please visit my blog at the link at the bottom of the post.
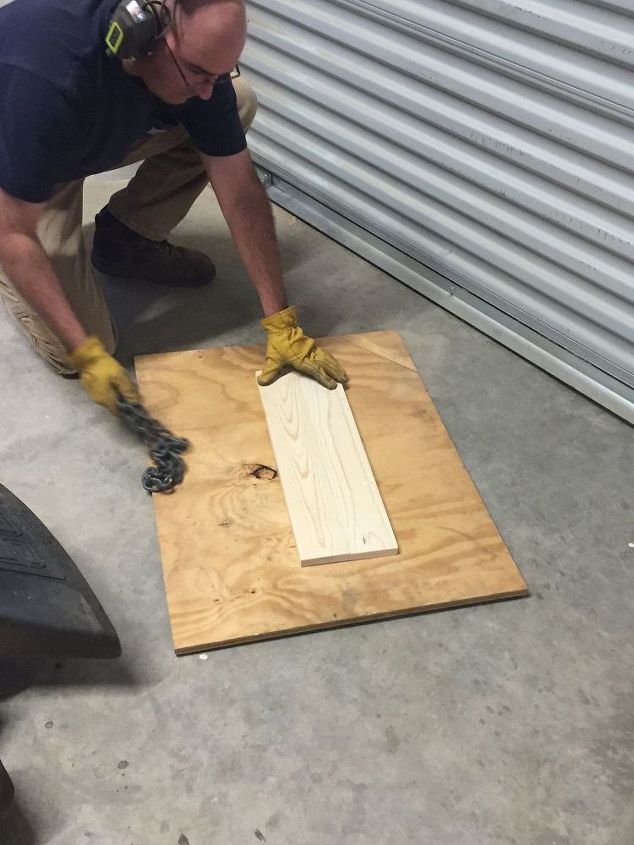
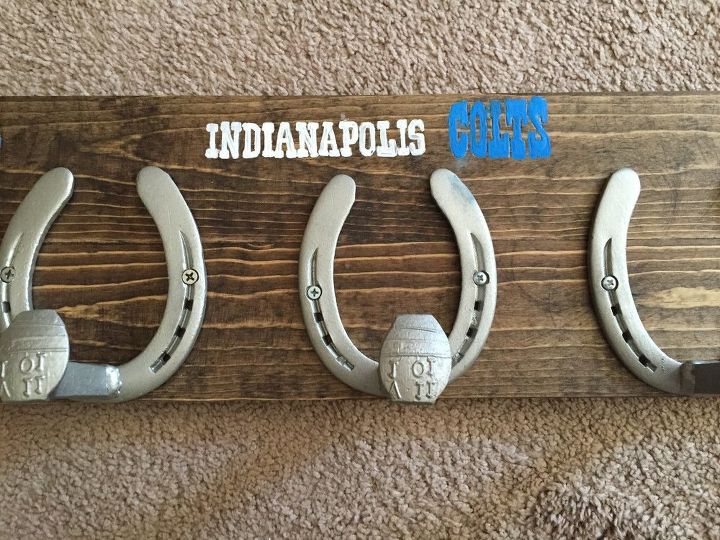
Next, I sanded the boards until all sides were nice and smooth. Since we were making two coat/hat racks, I wanted a cleaner style look to the one and a more rustic look for the other. For the cleaner style, I stained the board with Minwax Dark Walnut stain.
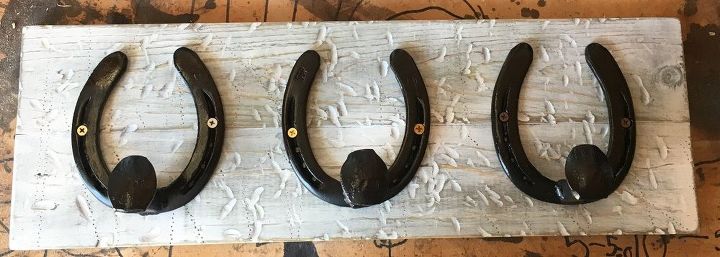
We then used Minwax Gray stain on the board and then added some streaks of Ash stain to give it a few darker streaks.
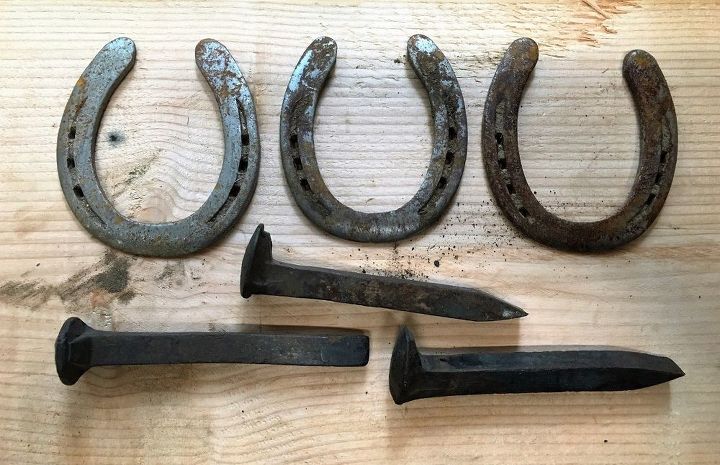
First, hubs cut the railroad spikes in half (he discarded the pointed end and kept the half with the wide end).
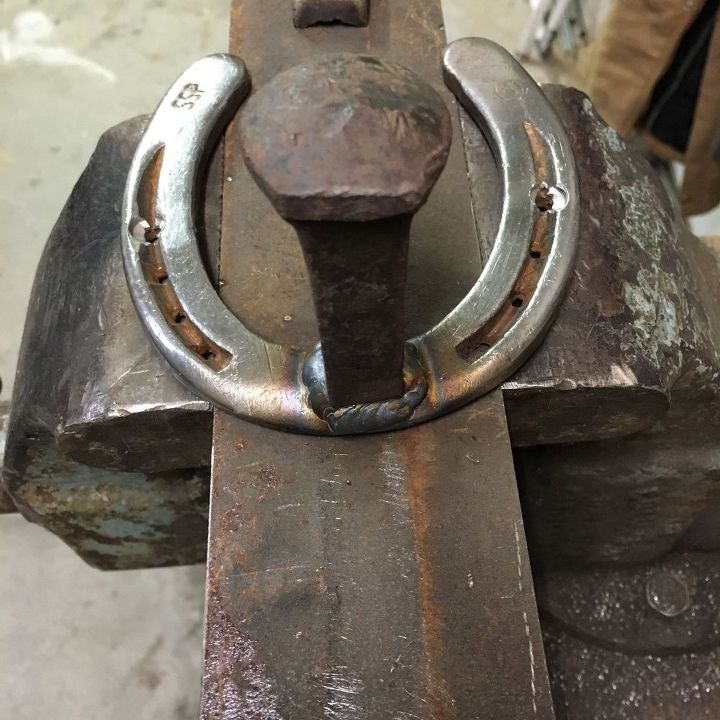
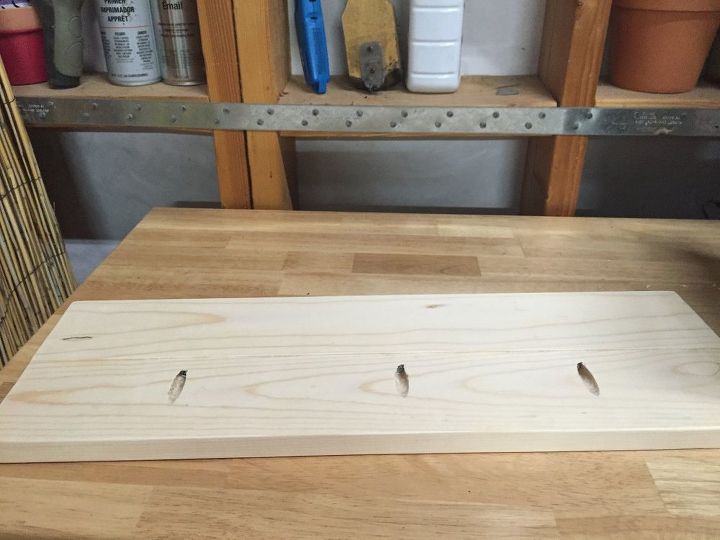
Once a railroad spike was welded to each horseshoe, hubs drilled two holes in each horseshoe so we could fit a screw through it to attach them to the wood board.
And here is the other completed coat/hat rack (the more rustic of the two):

Want more details about this and other DIY projects? Check out my blog post!
Comments
Join the conversation
2 of 10 comments
-
I really love the rustic ness of it.
-
I wanna make these but don't have a welder,,, can I borrow hubby's?......lol


Frequently asked questions
Have a question about this project?
How did you get the smooth finish on the horseshoes? Was there any sanding involved?