


Make Your Own Monster Dolls #DIYKids
Aren’t they cute?! Okay, they may have a few imperfections, but I don’t want to hear about it because my boys made them!
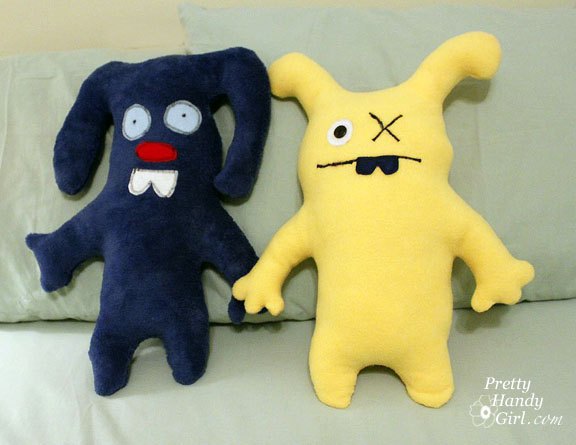
That’s right my 4 and 7 year old boys made their own Monster Dolls. With a little help from me. It was a perfect way to spend a summer afternoon together.
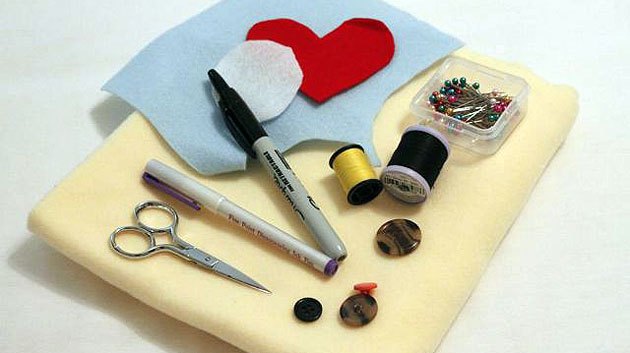
Get the full supply list and detailed instructions on my blog, listed below.
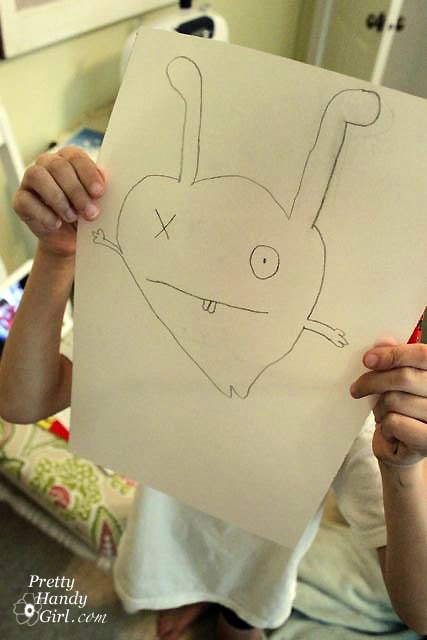
Let your child draw their monster on a piece of paper.
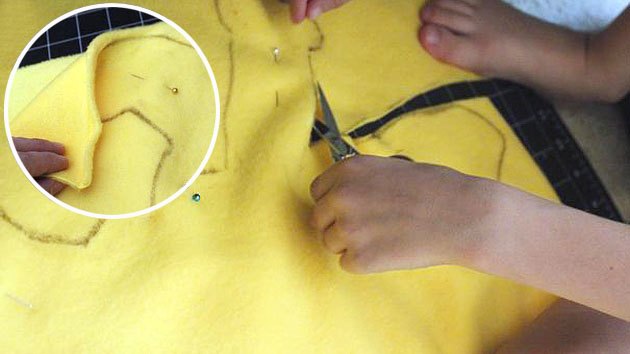
Pin two pieces of fleece together (right sides together.) Help your child cut out around the outline of the monster’s body.
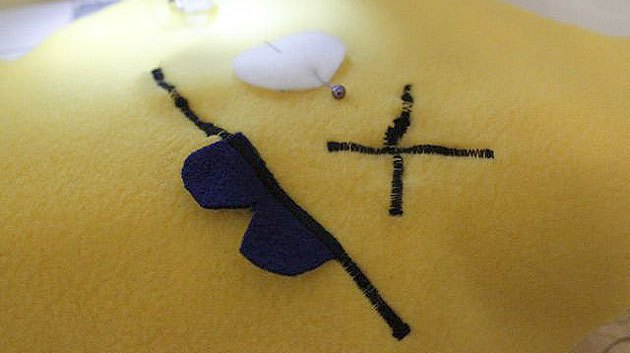
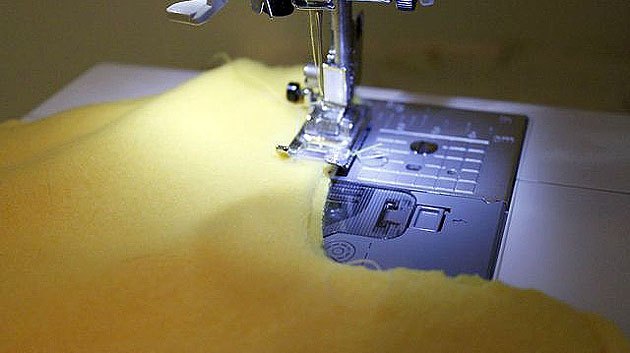
Use the sewing machine to stitch the facial features and attach the felt pieces. (To help my boys learn to sew, I let them depress the pedal on the sewing machine. We work on light pressure, slowing down and stopping. Meanwhile, I guide the fabric.)
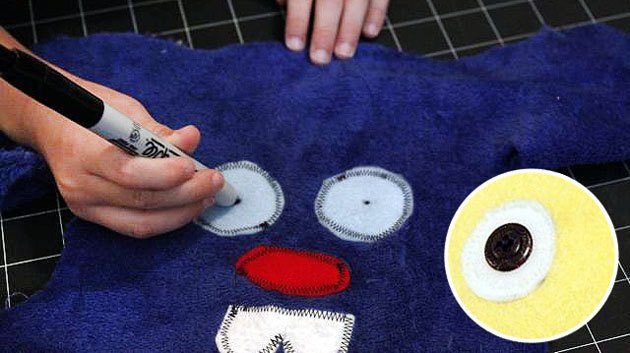
Use buttons or a Sharpie to create pupils for your monster doll.
Pin the right sides together (facial features inside) of the doll. Stitch around the edge, leaving a small 2-3″ opening for stuffing.
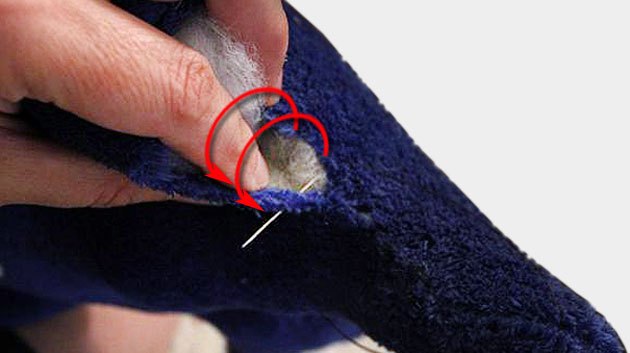
Whip stitch the opening closed after the doll has been fully stuffed.
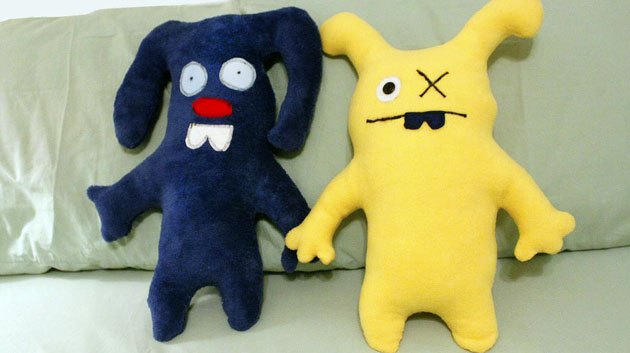
Your child will surely love his creation and will definitely feel a huge sense of pride that he (or she) designed it by himself! They both were so proud of their monsters. They tote them everywhere and tell friends and family, “I made it!”

Want more details about this and other DIY projects? Check out my blog post!
Comments
Join the conversation
1 comment
-
Ah they're so cute! You guys did a great job :)


Frequently asked questions
Have a question about this project?