


DIY Coffee Cabinet--The Whatchamacallit Project
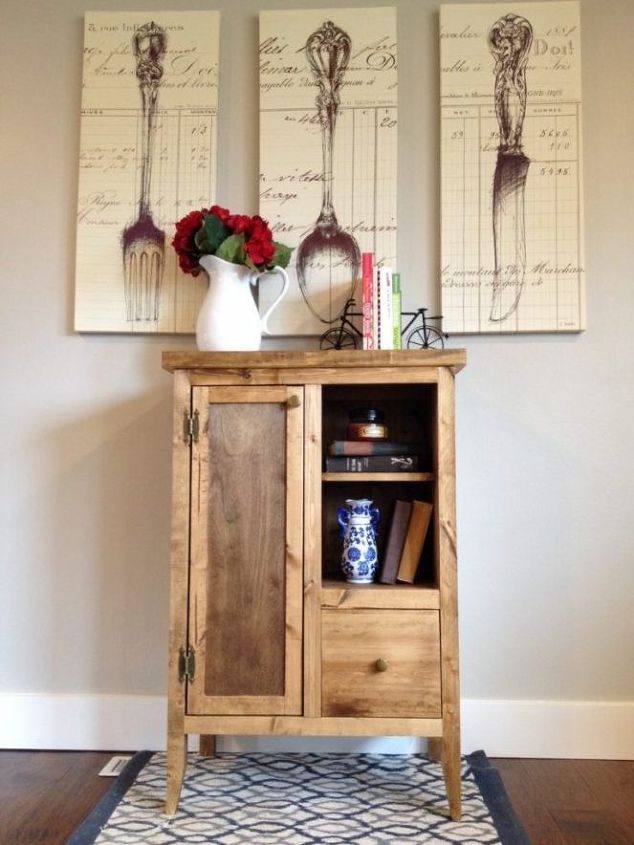
I built a thing. I’m not really sure what to call it. It’s kind of a cabinet, kind of a shelf, kind of a cupboard, kind of a tall, skinny console.
So after a few minutes of thinking and nothing good coming to mind, I decided to call it a coffee cabinet. Whatev.
I’ve actually built two of these prior to writing this. You know how it’s always the times that you slack that people notice? I swear that’s me every day. Not that I slack all the time…HA
Okay, so I built one of these for a lady at church and took NO pictures of the process. I didn’t write down any measurements or anything. I just posted a picture of the finished product on Facebook and thought “oh well, I just wont write a post about this one since I didn’t have any pictures.” Well the ONE TIME I didn’t take pictures and plan to write a post on a project was the ONE TIME someone actually asked for them. Go figure.
So, lucky for me (and you), another lady at church saw that one and wanted one for herself, so I had another opportunity. That being said, I now present to you, the “coffee cabinet build.”
You can get all the building details (measurements and tools needed) on the blog post below. Here is a brief overview:
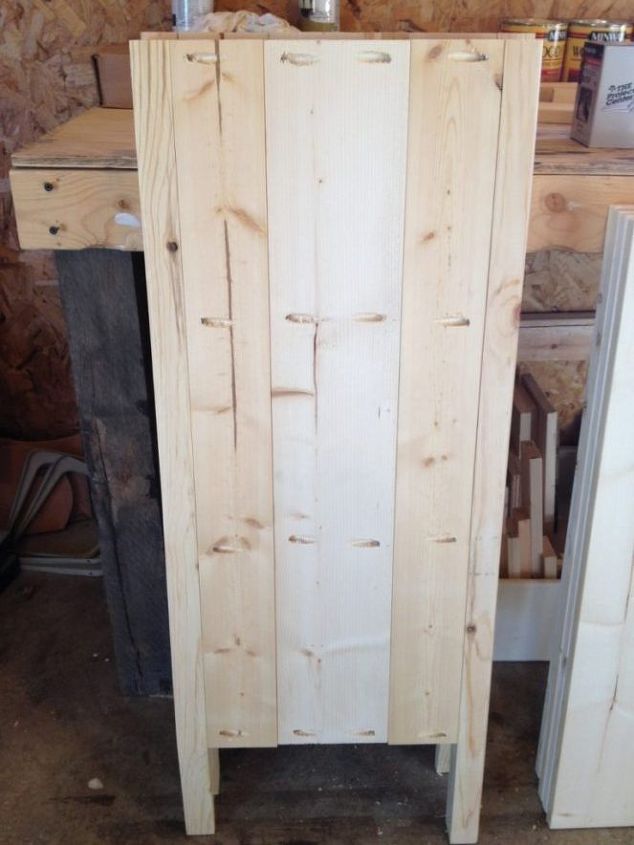
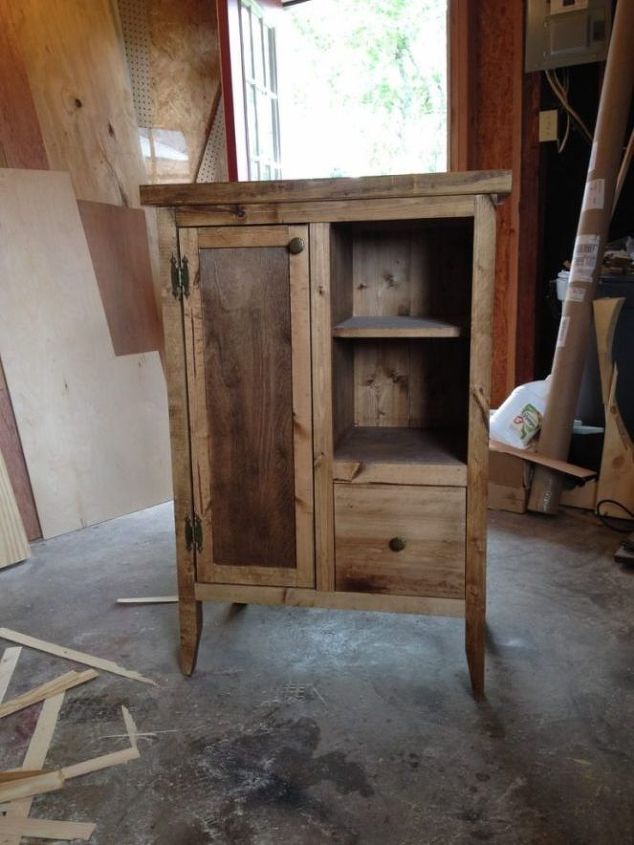
I built the side panels with 2x2s, 1x4s, and a 1x6 and pocket holes and screws (strategically placed).
So after a few minutes of thinking and nothing good coming to mind, I decided to call it a coffee cabinet. Whatev.
I’ve actually built two of these prior to writing this. You know how it’s always the times that you slack that people notice? I swear that’s me every day. Not that I slack all the time…HA
Okay, so I built one of these for a lady at church and took NO pictures of the process. I didn’t write down any measurements or anything. I just posted a picture of the finished product on Facebook and thought “oh well, I just wont write a post about this one since I didn’t have any pictures.” Well the ONE TIME I didn’t take pictures and plan to write a post on a project was the ONE TIME someone actually asked for them. Go figure.
So, lucky for me (and you), another lady at church saw that one and wanted one for herself, so I had another opportunity. That being said, I now present to you, the “coffee cabinet build.”
You can get all the building details (measurements and tools needed) on the blog post below. Here is a brief overview:
I built the side panels with 2x2s, 1x4s, and a 1x6 and pocket holes and screws (strategically placed).
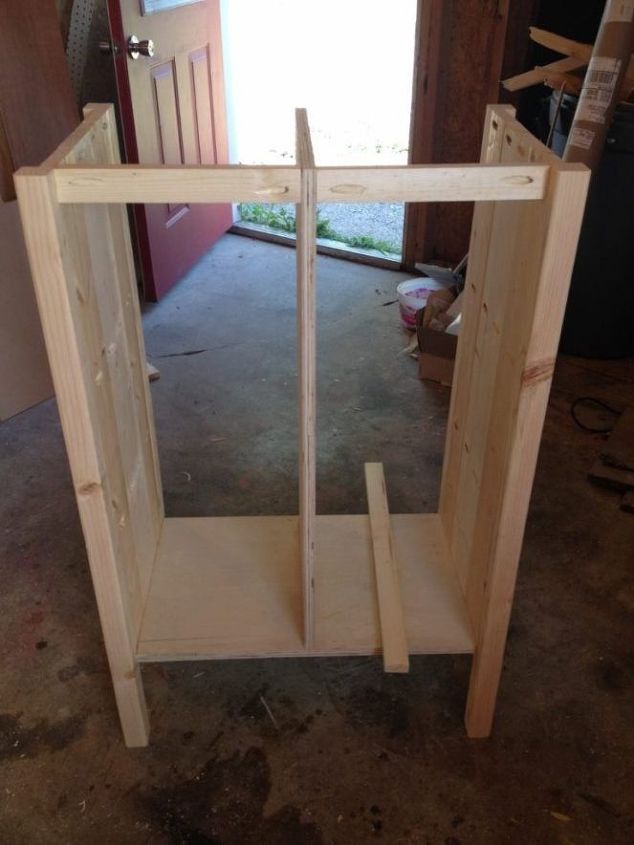
I added a plywood bottom, and plywood divider in the middle.
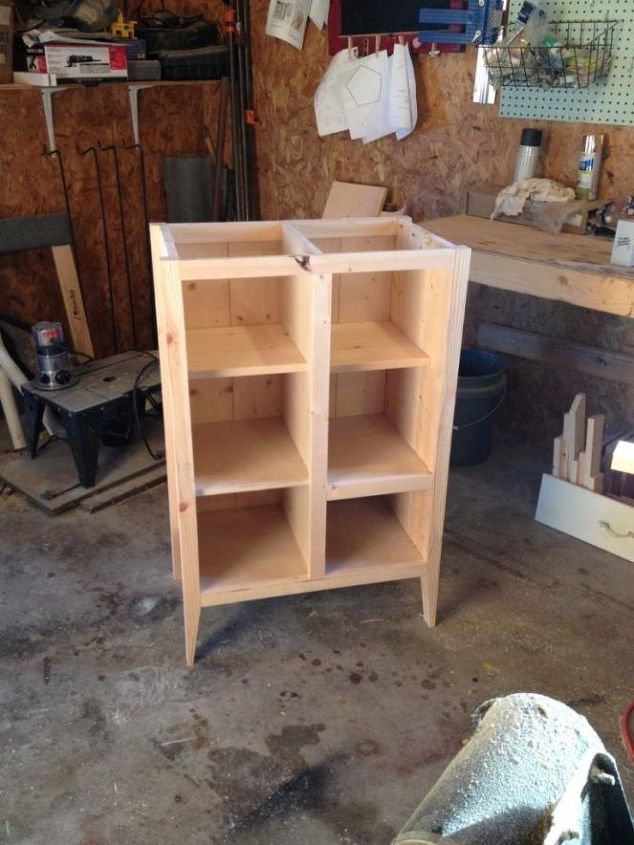
Then I added a back, and face frames. Lastly I added shelves, a small drawer, and a simple shaker style cabinet door (details on how to build the doors and drawers can be found on the blog post below as well).
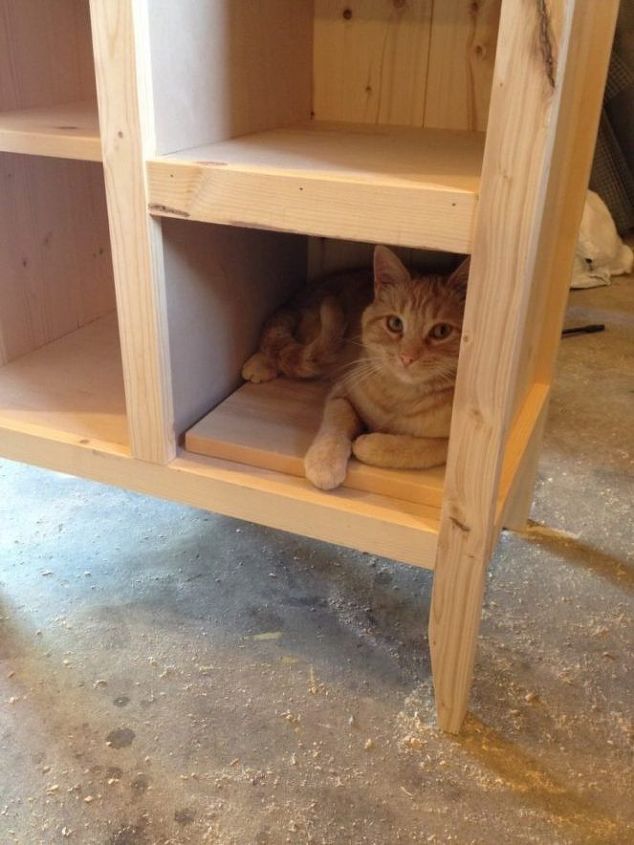
My shop buddy was curious what was going on. I think he thought the cabinet was his own kitty condo.
After a good sanding, I stained the cabinet and applied some poly.
When I was done, I brought it in my kitchen to take a few pictures.
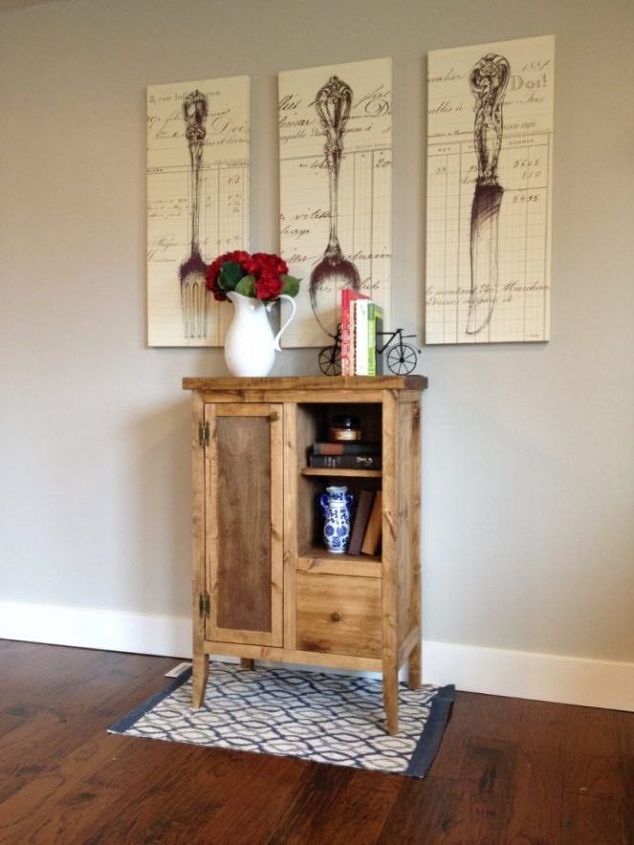
Okay, so I have this blank space in my kitchen after the remodel, and when I put this here, I immediately loved it. When I get time, I may be making a third one for my own personal use :)
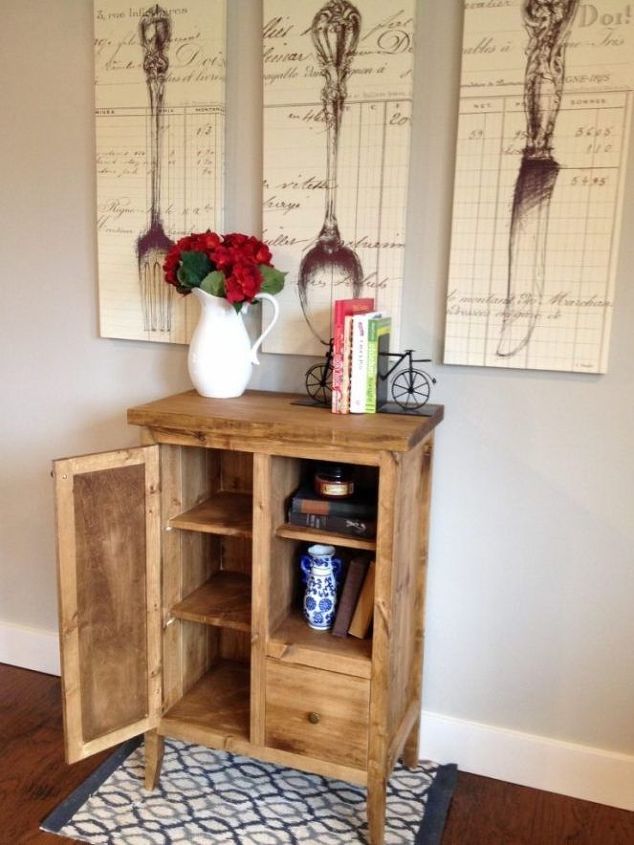
The shelves behind the door are a great place to hide away the not so pretty kitchen necessities, and the shelves on the right are a great place to display favorite cookbooks or trinkets.
This would also make a really cute storage cubby for linens in a bathroom or laundry room. I am totally making myself one soon...I'm sure I can find somewhere to put it :) It's too cute not to have one for myself!

Want more details about this and other DIY projects? Check out my blog post!
Comments
Join the conversation
2 of 56 comments
-
Love this! You could also put chicken wire on the one door. You did a great job!
-
Love it and wish I could do that!!


Frequently asked questions
Have a question about this project?