


DIY Dry Erase Magnetic Calendar From Old Picture Frame
I love being organized, and was in need of something to be able to keep track of all of my projects and ideas. To solve my problem, I upcycled an old picture frame into a fresh new magnetic dry erase calendar and memo board.

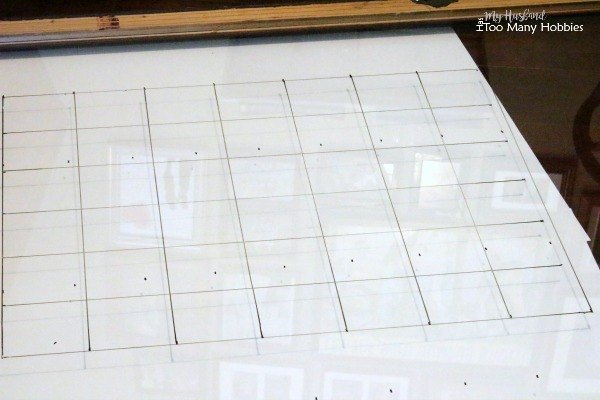
My sister-in-law gave me a very large framed print that did not go with her new home. It wasn't my style, however, the frame and glass were in good shape so I tucked it away until I found something to do with it. I had a need for a large calendar that I could write on and so I finally had a use for this picture frame!
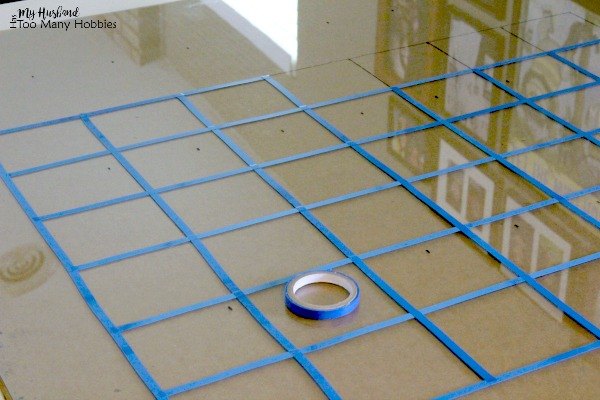
I turned the glass over, and used a roll of thin tape to cover the grid lines I had made. This tape is slightly stretchy, which made it difficult to get the lines perfectly straight, but it is nice and thin which makes it a good choice for the grid lines. I found the tape at Office Depot. It is tape that is typically used for presentation boards.
I took the glass outside and spray painted the taped side with a beautiful light blue color.
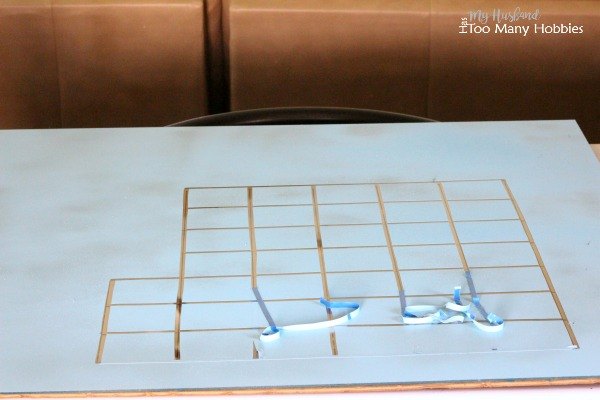
Allow the paint to dry completely. I waited several hours and then pulled the tape off. It came off easily.
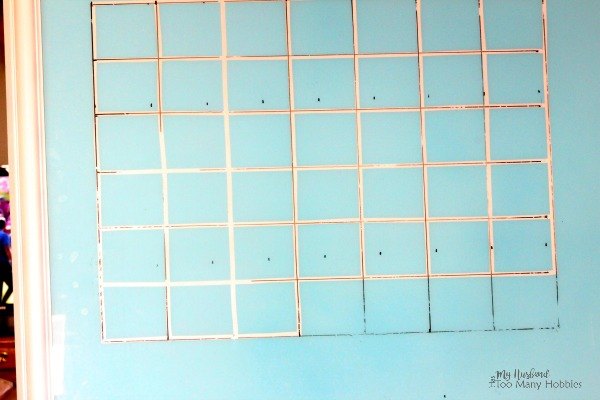
In the above picture, this is the front of the picture after assembly - you can still see the dry erase grid that I drew. This wiped off easily with a paper towel.
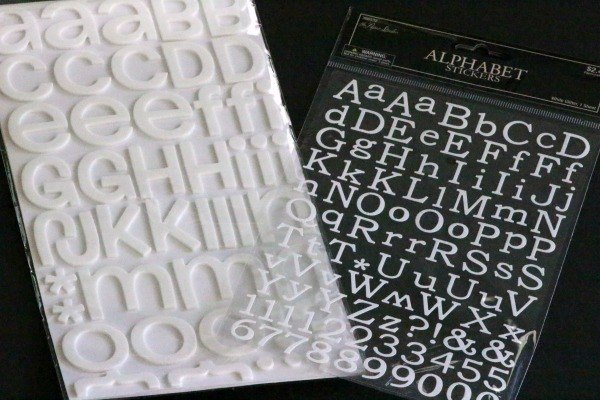
I have several sets of letter stickers. I figured this would work great for putting the days of the week across the top as well as putting a label on top of the area I wanted to use for ideas, and another label for things that would be coming up next month.

With the thickness of the glass, you need to use strong magnets. I attached a couple magnets I picked up from Hobby Lobby. These will eventually be decorated to match my board, but that is a project for another day.
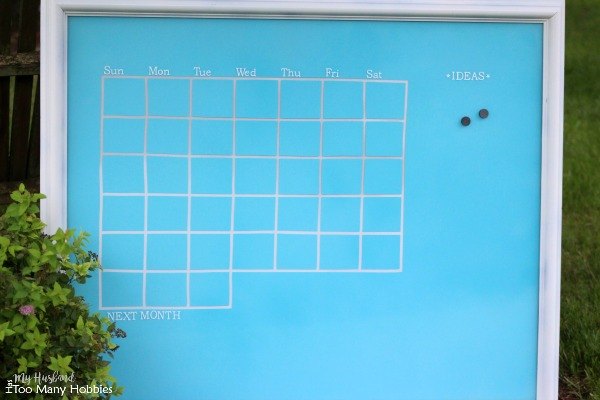
Here is a picture of the finished calendar. The glass is perfect for writing on with dry erase markers or chalkboard markers and are easy to wipe off with a dry paper towel.

Want more details about this and other DIY projects? Check out my blog post!
Comments
Join the conversation
3 of 39 comments
-
Thank you!
-
Great idea!


Frequently asked questions
Have a question about this project?