


How to Create a Over-the-Door Wrapping Paper Station
9 Materials
$150.00
2 Hours
Medium
I love wrapping gifts but my supplies were very disorganized. So, I created this from an inspring post that I saw some years ago. First, I started out by buying products from my nearby organizing store. Then, I got to work.
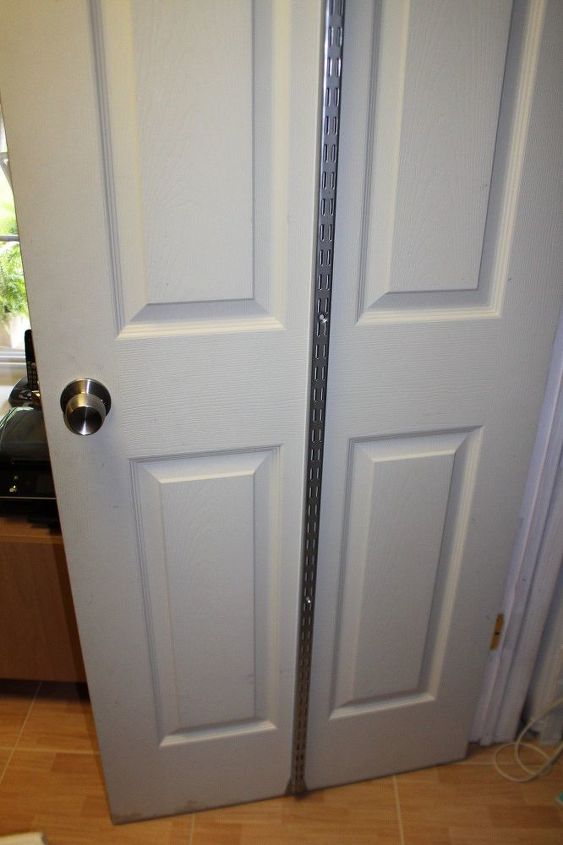
I added the back rail for unit.
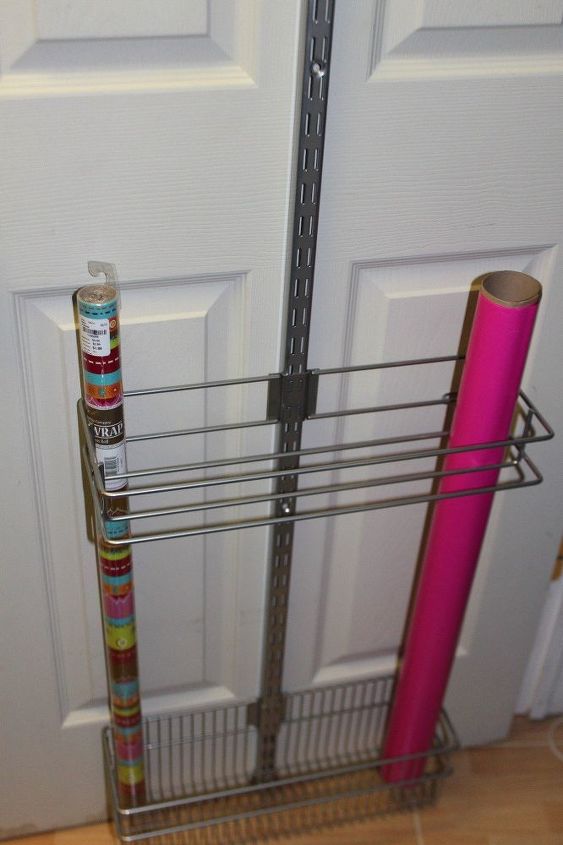
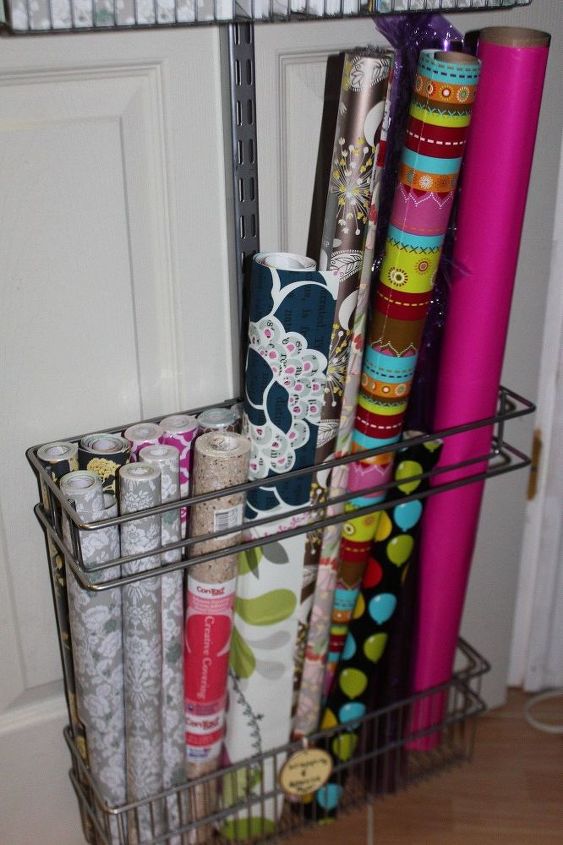
Then I started from the bottom and hooked on the different pieces. This is for the wrapping paper rolls.
I measured the wrapping paper rolls and added the next bin so that there was enough room to remove the rolls.
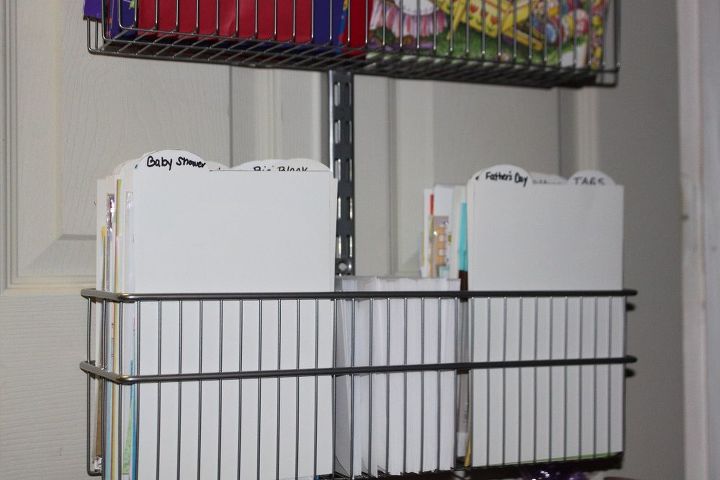
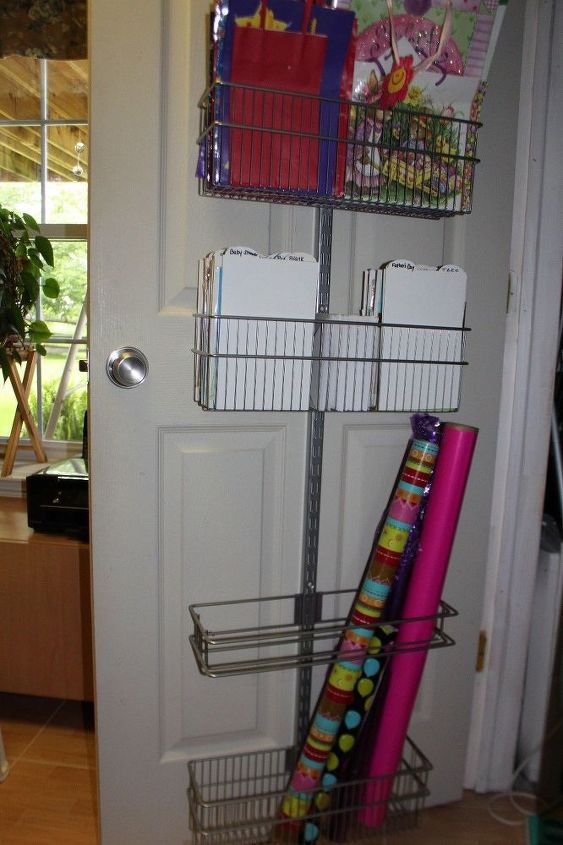
I like to keep spare event cards. So, I created this section. I sorted them by event, birthday, baby shower, etc... To make it look pretty, decided to label the front in A-Z order by type of event.
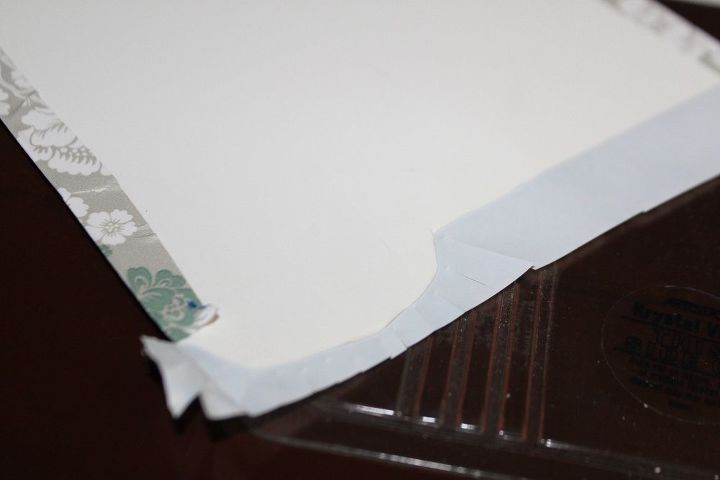
I covered it with decorative contact paper. Read more about this on my blog.
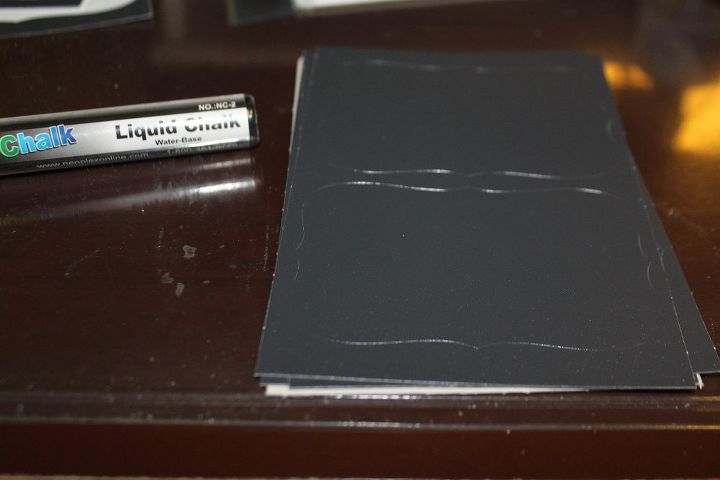
Then, I got some large chalkboard labels. And then used a stencil and write the A-Z labels and placed them on the divider fronts.
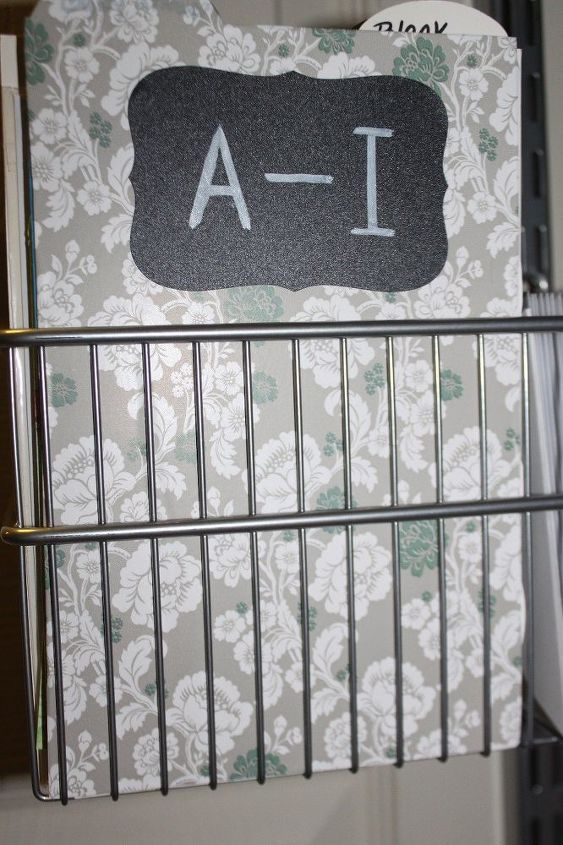
Here is what the dividers look like.
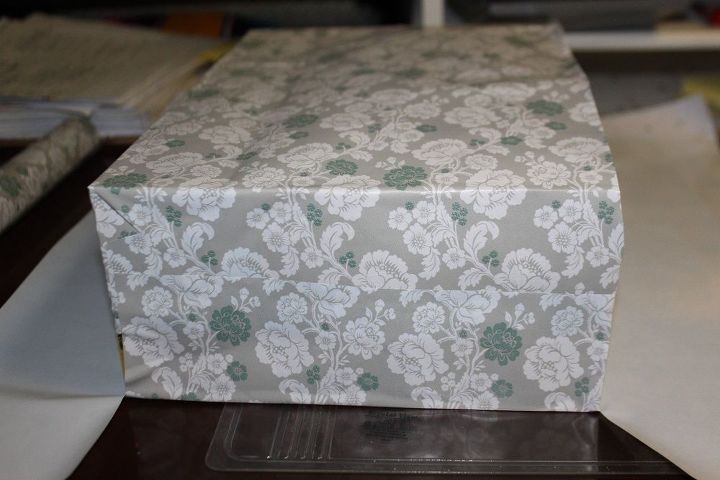
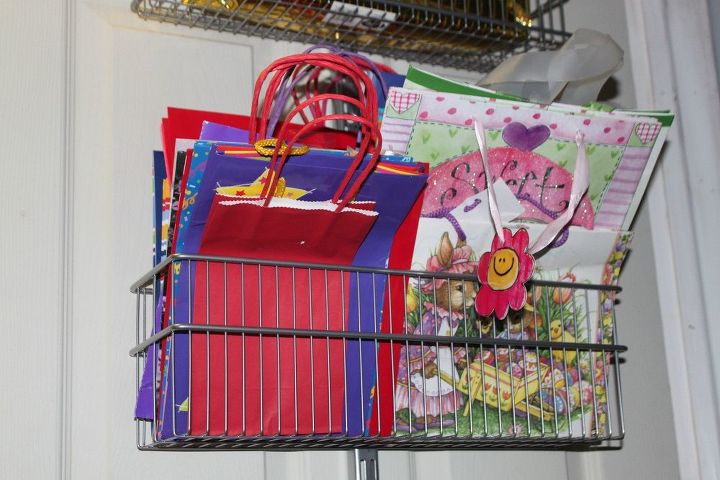
Then I used an hold narrow gift bag and cut it down. For stability I wrapped it with decorative Contact paper.
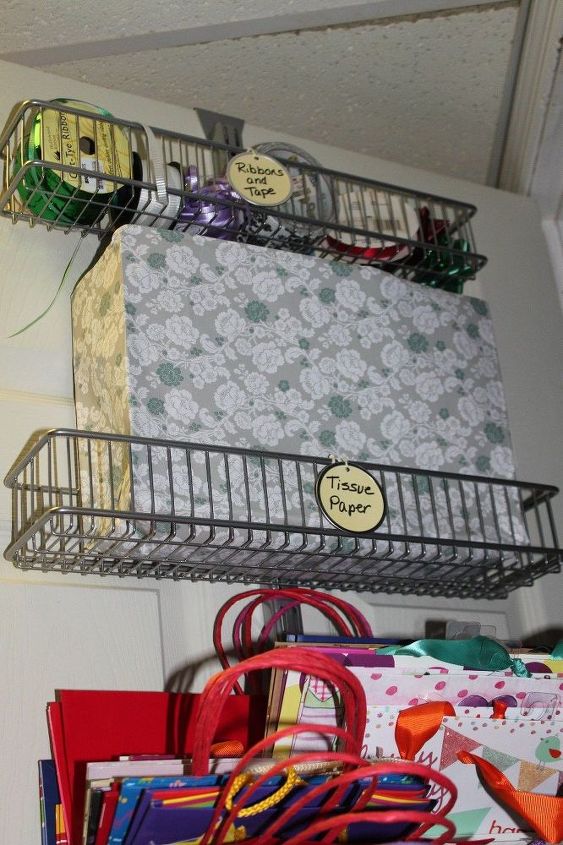
The bag at the top is used for tissue paper.
Since I didn't have many rolls of paper, I also used it for my decorative Contact paper collection. It's a fun way to spruce up any cabinet.
Here is the finish product. Check out more pictures and other instructions on my blog.

Want more details about this and other DIY projects? Check out my blog post!
Comments
Join the conversation
3 of 30 comments
-
you might want to get small bunge cords and put them vertical between baskets to hold the floppy parts of the bags in place so they don't droop.
-
This doesn't have to be on a door though if you have a door that works well, but just inside the wall of a closet would work well too.


Frequently asked questions
Have a question about this project?