


Stenciled Bathroom Ceiling and Mini Makeover

by
Erica Sooter
2 Materials
3 Hours
Advanced
Each month, me and my bloggy friends get together for the Monthly DIY Challenge which is where we all work with a common theme, material, or company and see what we can come up with! In May we worked with Royal Design Studio Stencils.
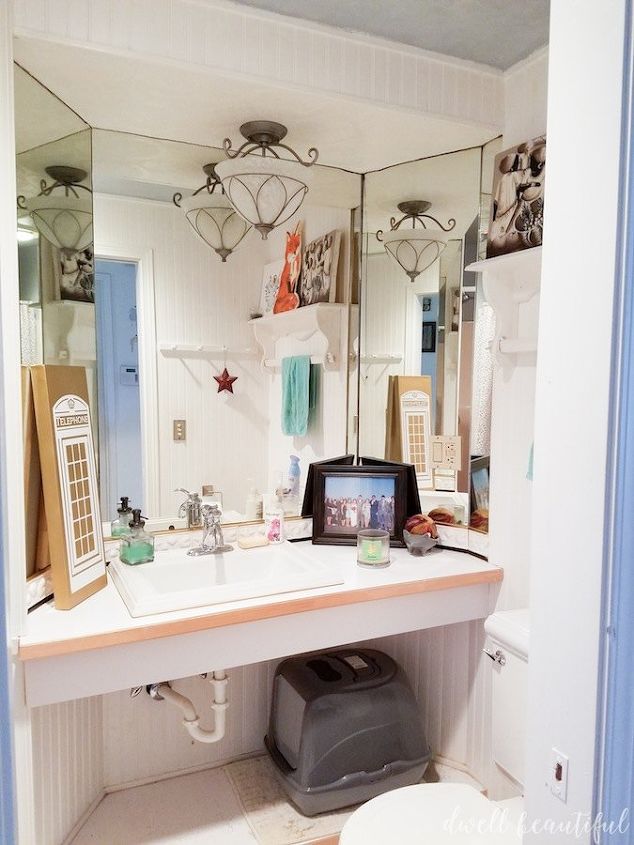
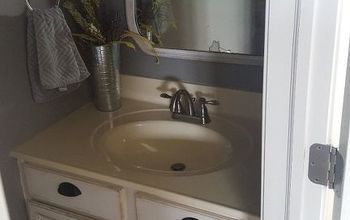
I don't have a lot of walls or places that aren't entirely covered in beadboard/board and batten, or some other form of wall treatment. So when I was looking for a place to stencil, the bathroom ceiling came to mind. This is a before of the bathroom - a dumping ground for random decor and projects. Not very pretty.
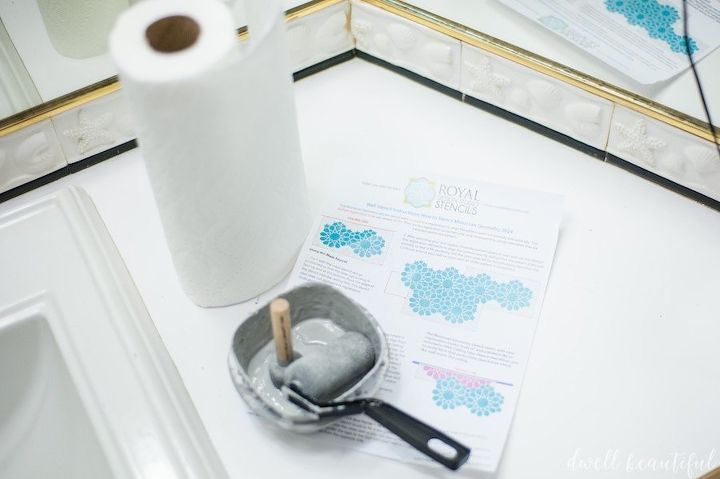
The stencil set came with a main stencil, an edging stencil, and a set of instructions. Additional materials you'll need: repositionable spray adhesive, frog tape, mini foam roller and pouncer, paint, paint tray and paper towels.
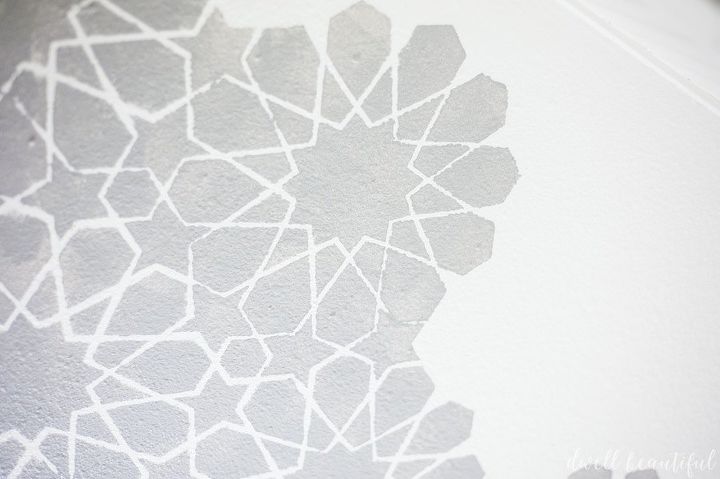
It's a little tricky stenciling a ceiling (visit my blog for full details) but I think it turned out really well. I sprayed the back of the stencil with the adhesive, taped it to the ceiling, and used the foam roller to fill in with paint.
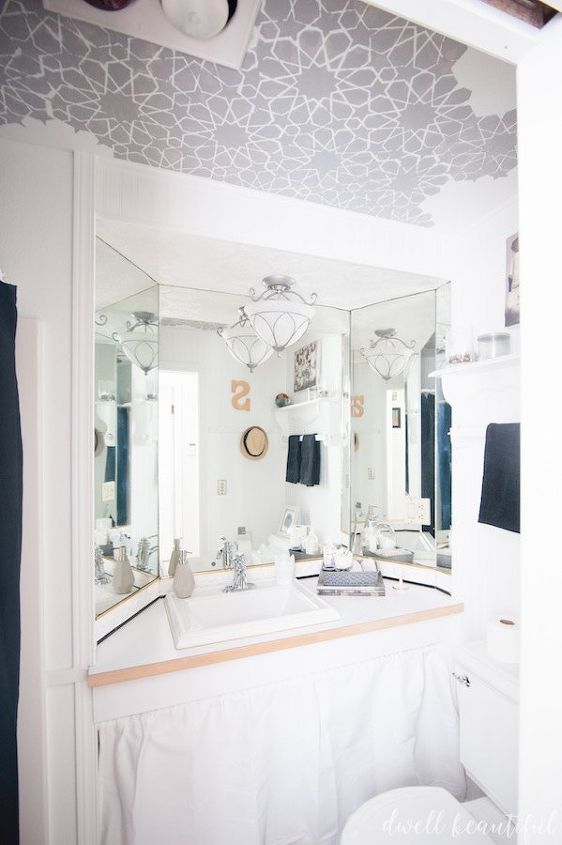
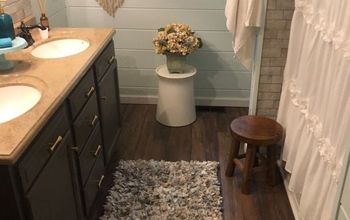
After that it was just a matter of refreshing the decor, getting rid of a bunch of junk, and simplifying what was left in the bathroom. I'm loving my new geometric-inspired black and white bathroom! Much cleaner and fresher.

If you want to check out how my friends used their awesome stencils or get more details on how I completed my project, please feel free to visit http://www.dwellbeautiful.com/how-to-stencil-a-ceiling-a-mini-bathroom-makeover/ for full info!
Want more details about this and other DIY projects? Check out my blog post!
Comments
Join the conversation
2 comments
-
Love the stencils at Royal Design Studio and your ceiling looks awesome.
-
Beautiful!


Frequently asked questions
Have a question about this project?