


SHIPLAP Tutorial for Rookies
13 Materials
Step 1: Get Plywood Cut Down (Free At Lowe’s!)
Shiplap can be a very cost-effective project because plywood is so darn reasonable! I used maple plywood and had two sheets cut down (in store… for free!) to 5 1/2″ strips. You can get your strips cut down (they called it ripped) to whatever size you want. I bought two sheets and had quite a bit leftover. For $24 per board, this stuff is a steal!
Rookie Tip: The plywood I bought is very light and flimsy and did do a bit of chipping when I cut it down, so if you want wood that’s a bit more sturdy, consider buying plywood that’s thicker.
Step 2: Cut The Shiplap To Size And Label

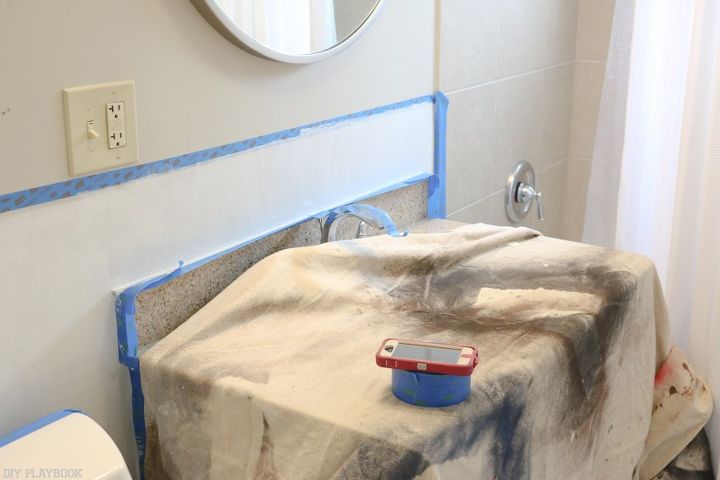
Step 3: Prime The Walls And The Boards
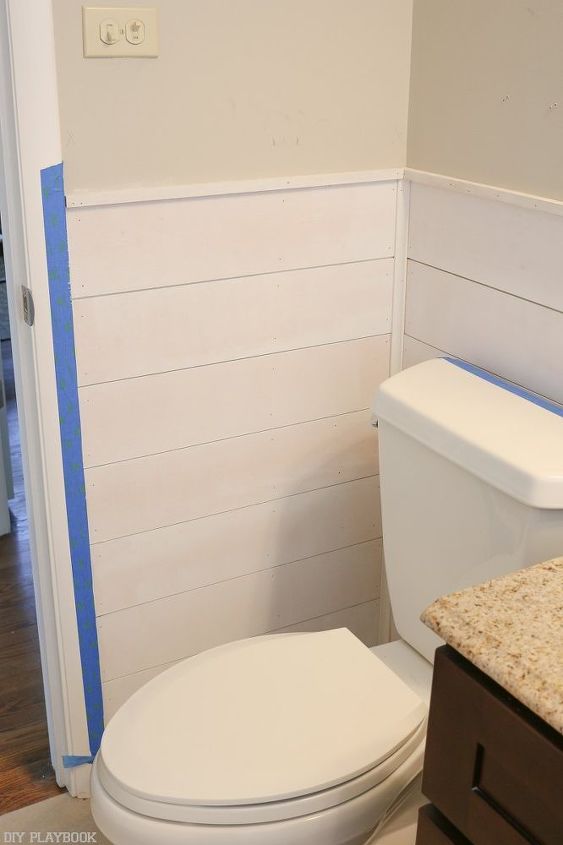
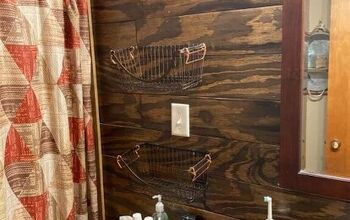
Step 4: Hang The Shiplap!
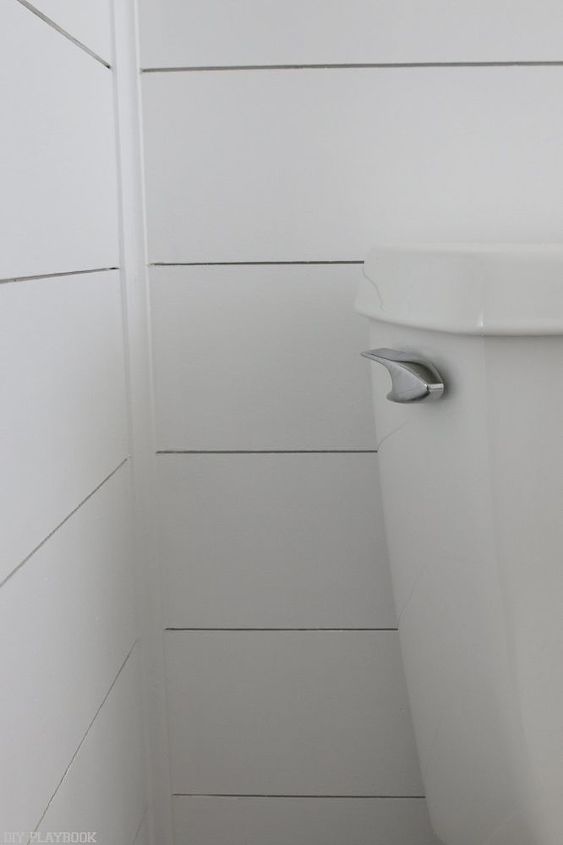
We secured the boards to the wall by squeezing liquid nails onto the back of the board and then nailed the it to the wall at every stud. Once the first board was up, we simply placed the nickels along the top of that board to create a consistent seam, and then nailed on the next board (above the first). We used that same method all the way up the wall.
Resources for this project:
See all materials


Any price and availability information displayed on [relevant Amazon Site(s), as applicable] at the time of purchase will apply to the purchase of this product.
Hometalk may collect a small share of sales from the links on this page.More info

Want more details about this and other DIY projects? Check out my blog post!
Comments
Join the conversation
2 of 42 comments
-
Very cool. I just might try this one. Cheap, pretty, and not tooooo hard to do. =}
-
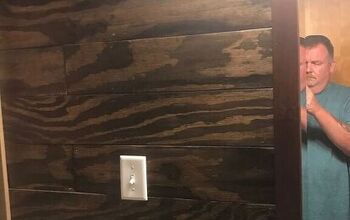
I did this to our bathroom 2 years ago. I used 1/4 b/c plywood. Lowe’s will cut the first cut free after they charge. I had them cut in to two 4x4 pieces. Went home home and cut myself into 5 1/2 wide. Sanded down and rounded edges a bit. It dark walnut stain and 3 coats of polyurethane. Also doing this for flooring in our foyer.


Frequently asked questions
Have a question about this project?
It’s absolutely beautiful! I have one question; Do you label the boards in the order they were cut?
I am definitely inspired and I am trying it in my bathroom and maybe more, I assume that you puttyed the naihead holes, but where did the caulking go?
What sort of set up did you use to cut the plywood at home?
Plywood is thin layers of wood commercially glued together. Thicker plywood would not eliminate the problem of chipping.
Try (1) supporting the wood better if the uncut piece is dangling off one end; (2) putting a piece of painter's tape on the backside placing it so that you will cut the tape, as a light support for that bottom layer; (3) using a scrap piece of any wood for heavier support under your cutting piece. (4) using a finer blade so each tooth cuts out less wood; (5) ensuring that the blade is fairly new and the teeth are sharp.
It's like greasing and flouring a cake pan. Most recipes don't say it; most bakers just learned it early in their baking days. Sorry if I went on a bit; there's always something more to learn! - Shuganne