


Finishing Tile With Grout, Caulk and Sealer
2 Materials
Easy
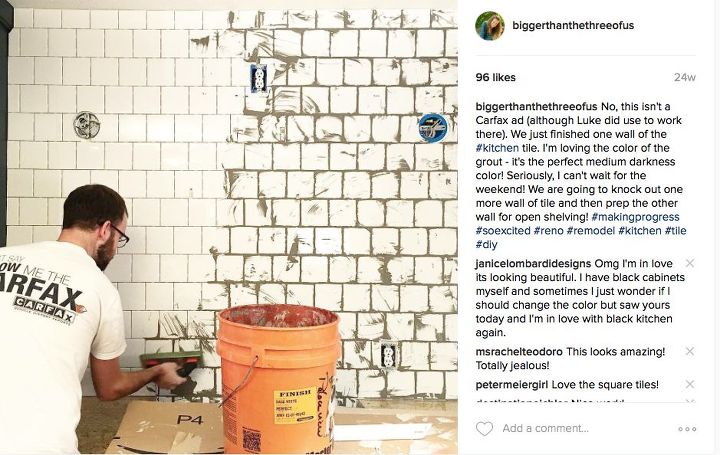
Laying tile is the hard part! Each step after that, grout, sealing, caulk and the electrical extenders... gets you one step closer to a finished wall. We definitely do things in baby steps over here, so feel free to go at your own pace. BUT just know, once you get that grout started... it's a game-changer. Keep reading to get the scoop on the process!
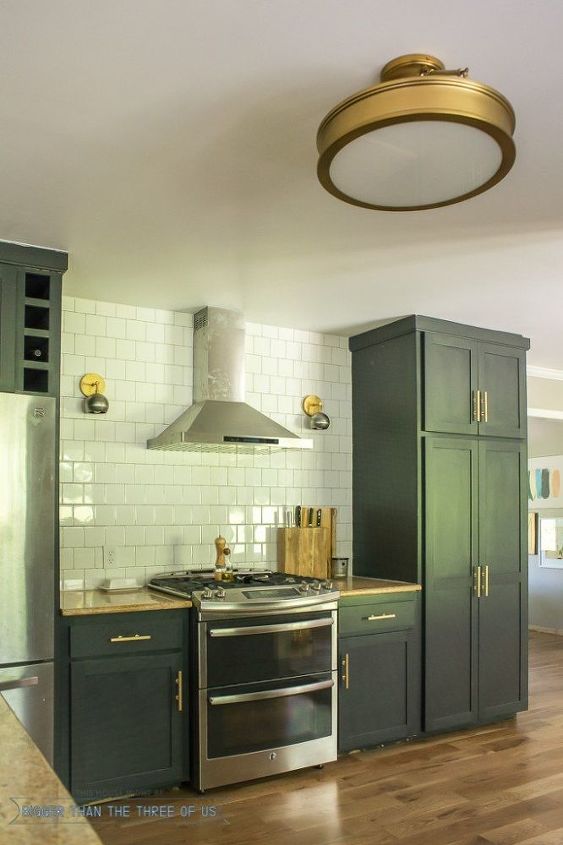
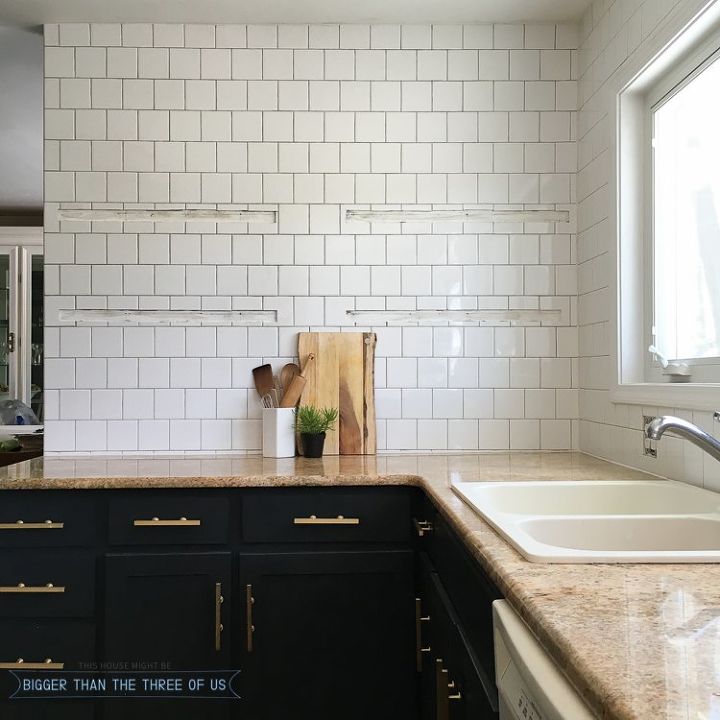
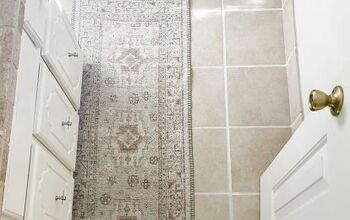
I love how the grout we picked gives dimension to the tiles yet isn't stark against the white. For those who are interested, we went with pre-mixed grout in Oyster Gray.
Tip to those who take awhile to finish projects : pre-mixed grout is more expensive but you can easily use it from the tub for an hour and then close it up. Get it out again at your convenience.

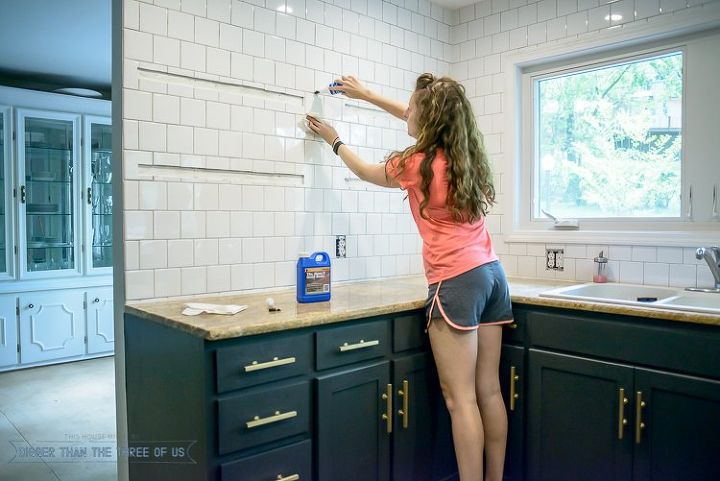
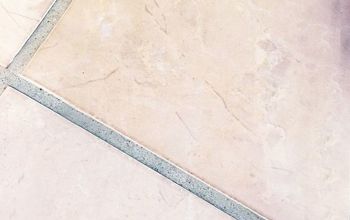
Next up was caulk. We love the DAP brand (found at Hardware stores). We had many spots where the tile didn't meet up perfectly (like the above picture). Caulking hides everything, promise!
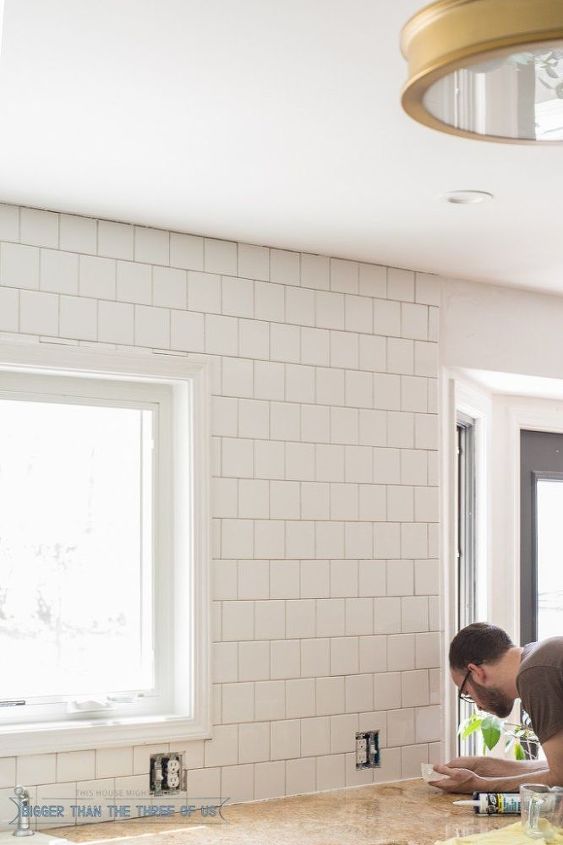
When you are caulking, make sure to have a damp paper towel as well as a dry one to help clean up any excess as you go. We've found this to be the easiest formula to keep our lines straight.
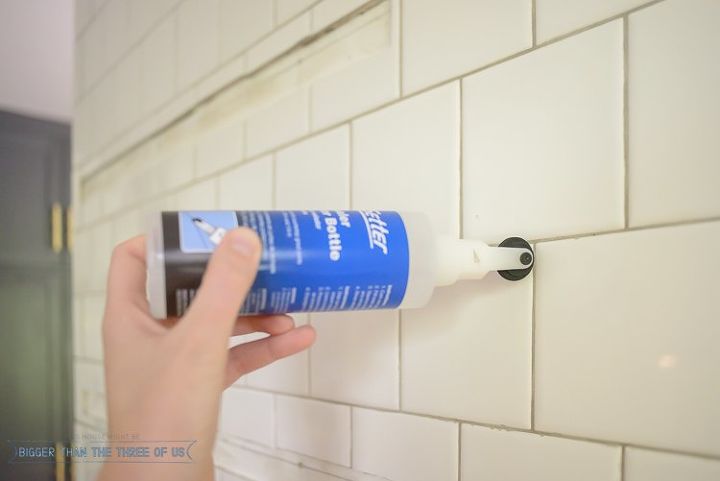
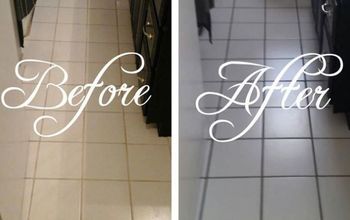
Next up was sealing the grout. It's pretty self-explanatory but just a word to the wise - the rolling wheel squirts. Make sure to wear safety glasses.
Also, you'll want paper towels handy. Part of the liquid will run so you need to have something to help clean it up quickly.
The thought of tiling and grouting was scary but it's definitely something that can be tackled at home. We lived through it and would choose to do it again.

Want more details about this and other DIY projects? Check out my blog post!
Comments
Join the conversation
4 of 6 comments
-
💕How gorgeous is your kitchen💕
-
Looks you guys are doing a great job!


Frequently asked questions
Have a question about this project?