


Clementine Crate Storage

by
Ren
3 Materials
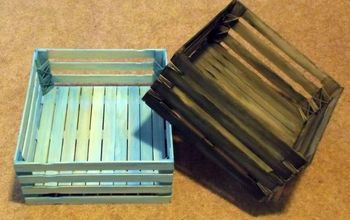
I always liked crates that celementines come in and use them to store small items like sponges, tea lights, and anything small. I stack them in the cabinet and they organize these items. I had an idea to make a storage bin for the kitchen with old fashion charm. They are made so well I didn't like throwing them in the trash.
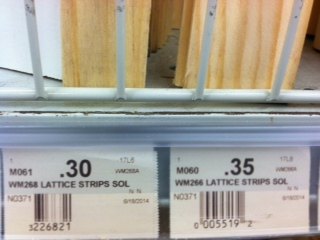
First I bought lattice strips because they where thin but sturdy enough, I didn't want bulky because the crates where small.
Mine only needed to be 34" high because I wanted it to fit under the counter overhang in the kitchen. So I cut lattice strips into four 34" pieces. I only needed two because they where 8' long and I had two smaller pieces left from each one, going to another project I'm sure.
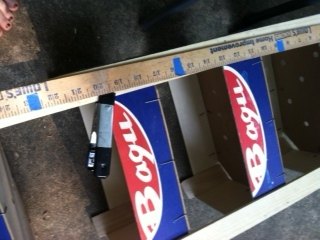
Lay out the boxes to get an idea of how many needed and how much space you would like in between.
I used painters tape to mark on the yard stick where the bottom of each crate would go so each side went quicker.
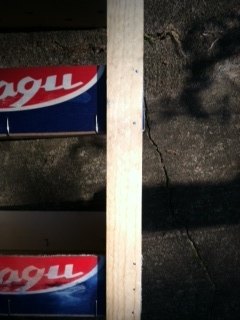
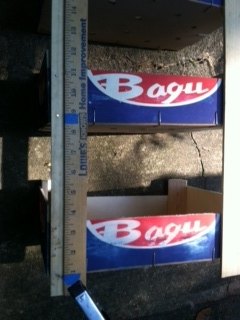
I used finish nails, the kind used to nail trim, because I needed small enough nails that would go thru the thickness of the lattice and still catch the corner wood pieces of the crates. I did three evenly spaced on the bottom and two on each crates going up. Be sure to keep to the outer edge so you catch the triangular wood piece in the corners of the crate.
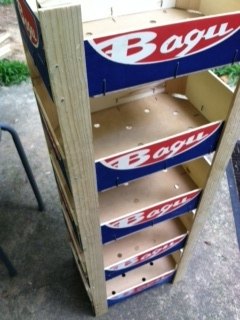
I did both pieces on one side then nailed the other side.
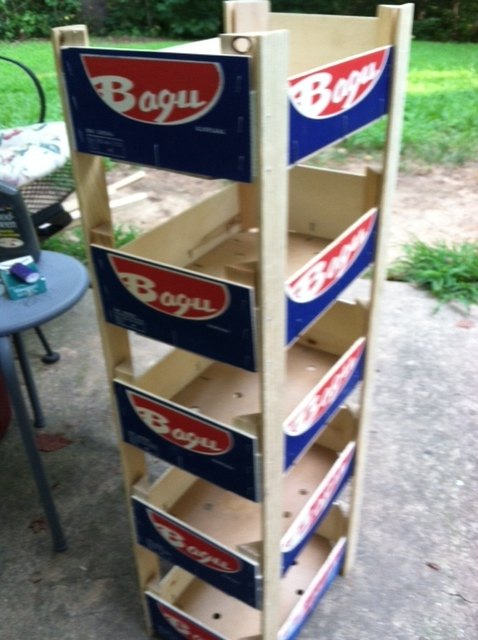
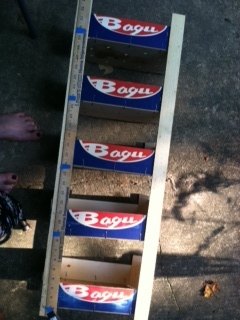
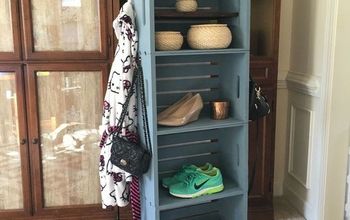
Final project! I might stain it darker to tone down the bright colors, not sure yet.
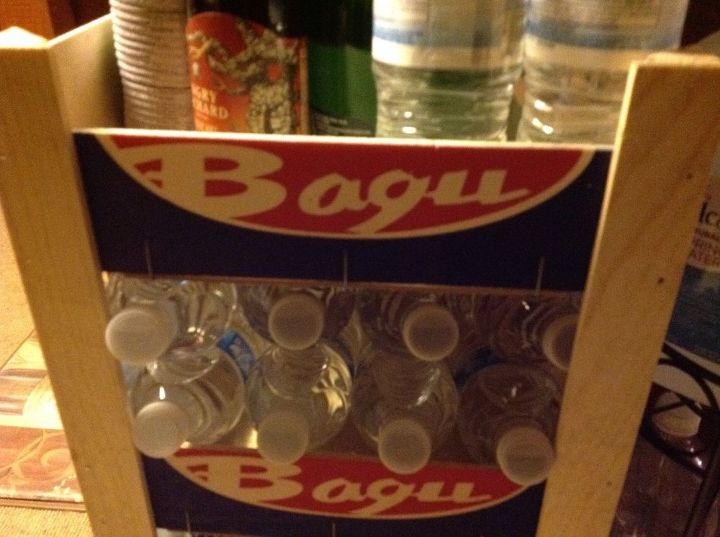
Right now I am using it to store water and drinks. My plan is to use the bottom for potatoes and onions, or even the dog lease and toys.
Comments
Join the conversation
2 of 4 comments
-
I wonder if u could use yard sticks in a pinch to connect these together?
-
This makes me nostalgic- we would love it when our Mom brought home clementine crates, now if only she would have saved a few...


Frequently asked questions
Have a question about this project?