


Chicken Coop on a Budget

7 Materials
After finally biting the bullet and bringing home a box of fluffy chicks, we had a lot of work to do in order to get them out of the house and on their own. We needed a whole different kind of Neagle's Nest!
Thanks to knowing some amazing people, most of the materials to build my coop were recycled and free. I had finally picked out a design to get me started, but I was building this as I went. Who needs plans, right? I come from handy stock!
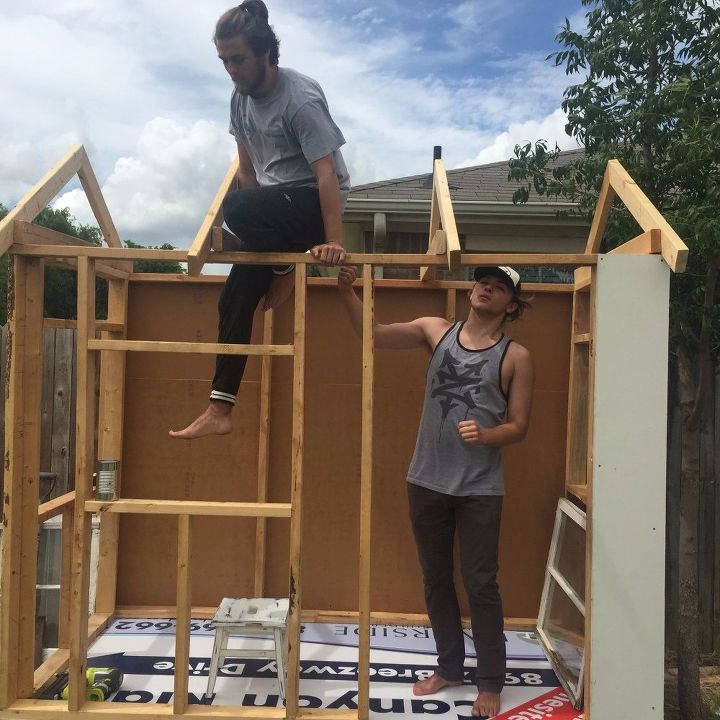
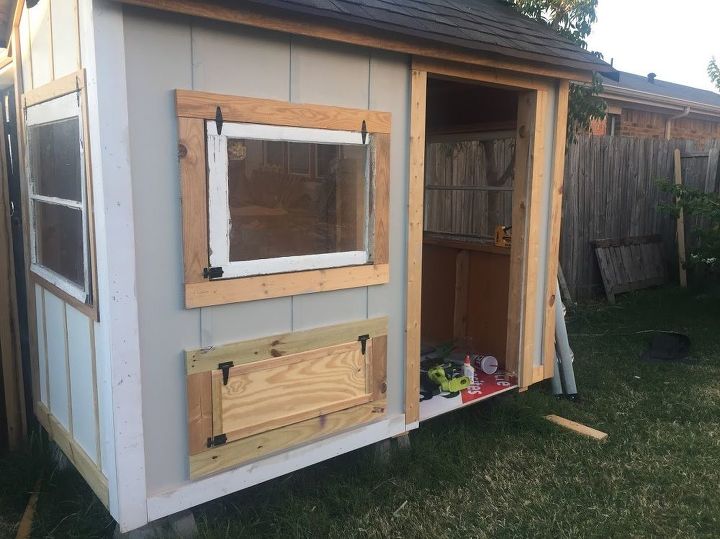
I started with an old exterior sign face to use as the floor. That determined my size for me. I picked up concrete pier blocks and got started. We arranged the blocks, placed the studs to hold the floor, and screwed them together. Easy peasy. I really thought this was an indicator on how fast this booger was going to come together.
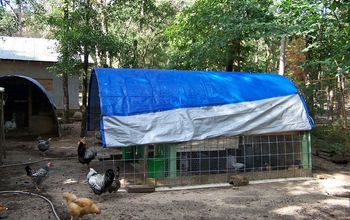
Rather than purchase shingles from the big box, I decided to stay frugal. I posted an ad on a local Facebook group and had one box donated, and another offered for $10. SOLD. I bit the bullet and purchased the felt underlayment after waiting several days with nobody wanting to get rid of any left overs. I went big and got the “expensive stuff” because technically it was the same price as the other, but just had less on the roll. I still didn’t even use half of it even with a wind storm that ripped it off once. The boys stepped up big time here. They were amazing!
Rather than purchase shingles from the big box, I decided to stay frugal. I posted an ad on a local Facebook group and had one box donated, and another offered for $10. SOLD. I bit the bullet and purchased the felt underlayment after waiting several days with nobody wanting to get rid of any left overs. I went big and got the “expensive stuff” because technically it was the same price as the other, but just had less on the roll. I still didn’t even use half of it even with a wind storm that ripped it off once. The boys stepped up big time here.
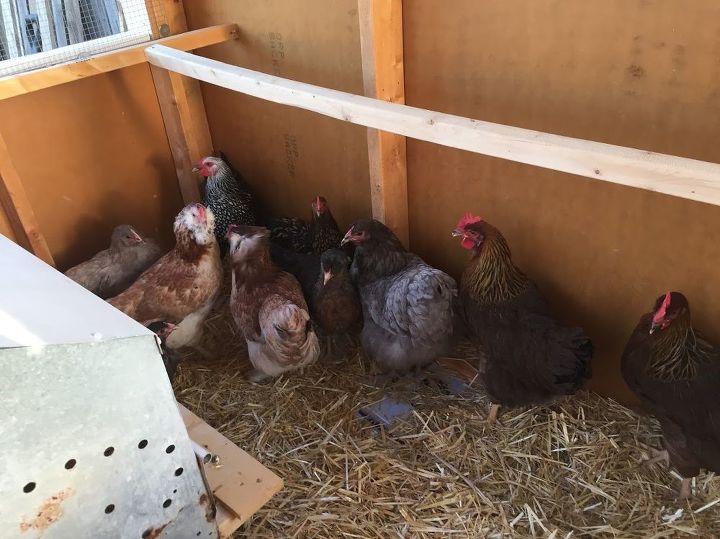
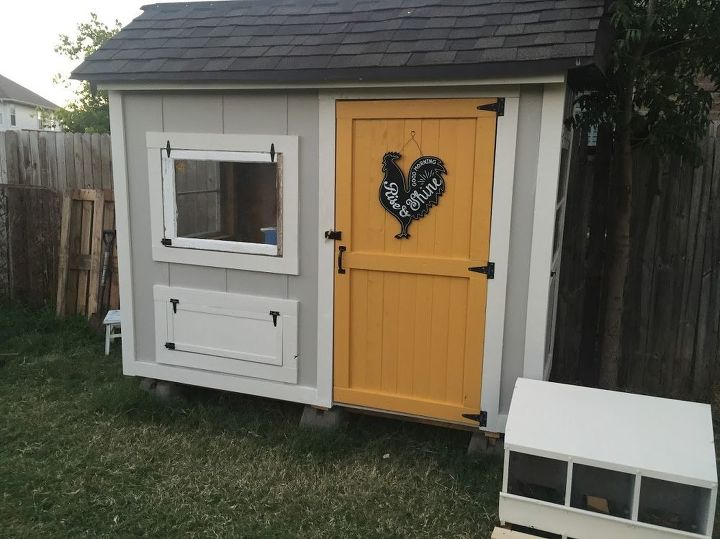
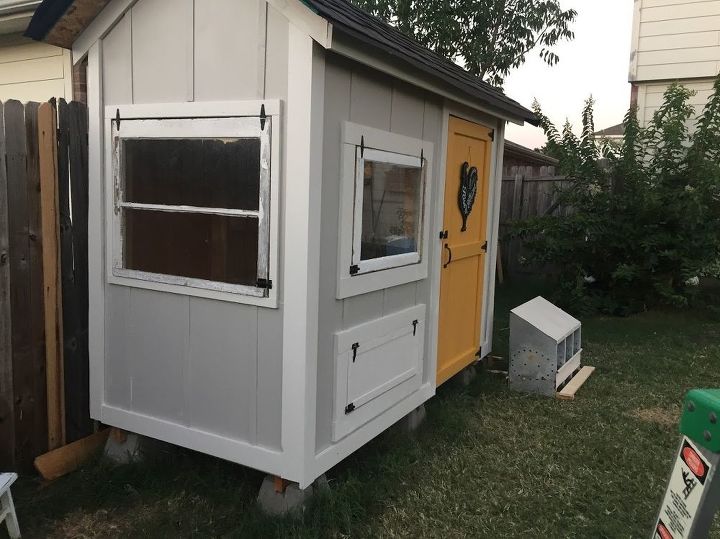
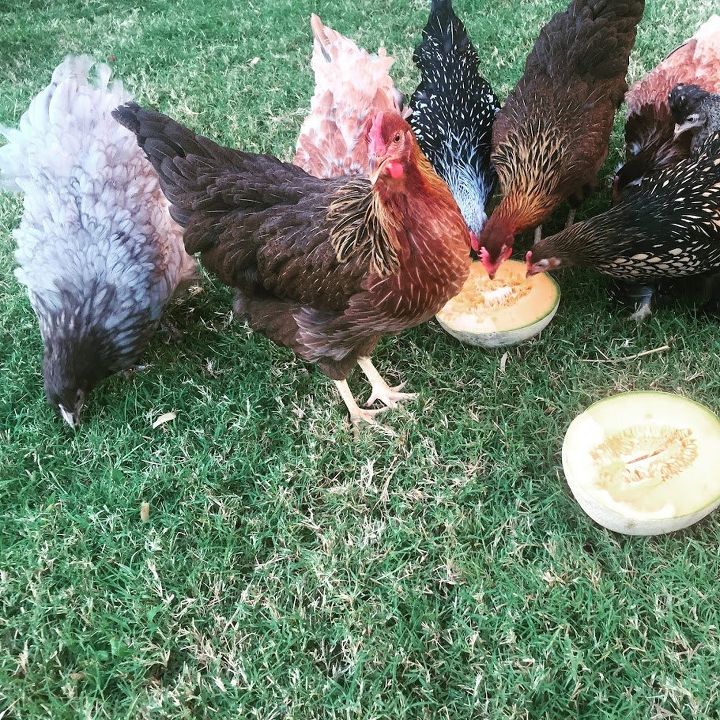
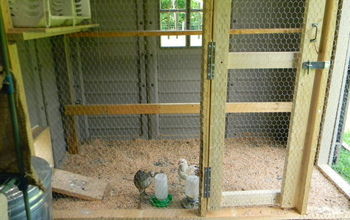
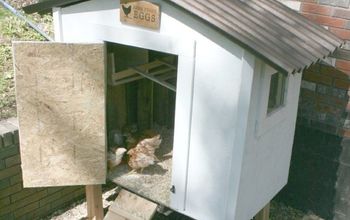
The vintage metal nesting box was hung inside and roosting bars installed. We were ready to move the girls in. It has only taken them about 4 days to start going inside on their own when the sun starts to set. Someday soon we will build the attached deck and the covered run to keep them a little safer when we are not home, but until then they get free run of the yard.
There are more photos and details on my blog at www.neaglesnest.com .
Comments
Join the conversation
2 of 31 comments
-
So sweet
-
pretty


Frequently asked questions
Have a question about this project?