


We Painted Our Kitchen Back Splash
2 Materials
We moved into our house a year ago, and slowly we have been changing the look to make it ours. The house was 10 years old when we bought it, and we were lucky that it didn't need any major overhauls. However, every square inch of ceiling, wood trim, doors, and walls needed to be painted. Thankfully, that job is now behind us. The kitchen, although it was fine and in good shape, just wasn't our tastes. We prefer white kitchen cabinets, and so, we painted them in the spring.
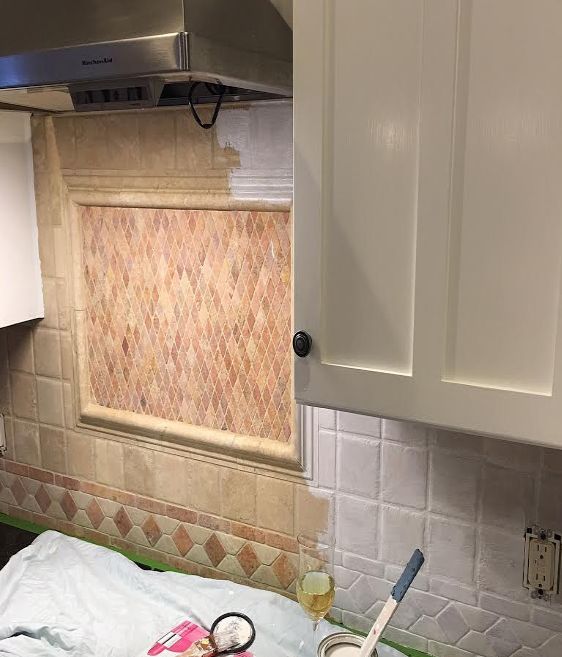
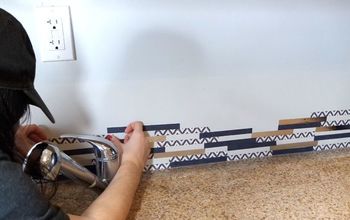
As soon as we painted the cabinets, we knew that the beige tile back splash needed to go. However, we sure dreaded taking on that messy project. We knew that removing the old tile would create a lot of dust and dirt that we just did not want to deal with. We had already done a tile back splash in our last house, and it was an easy project. However, we applied it to just a bare wall. The previous owner just painted the area between the cabinets and the counter top.
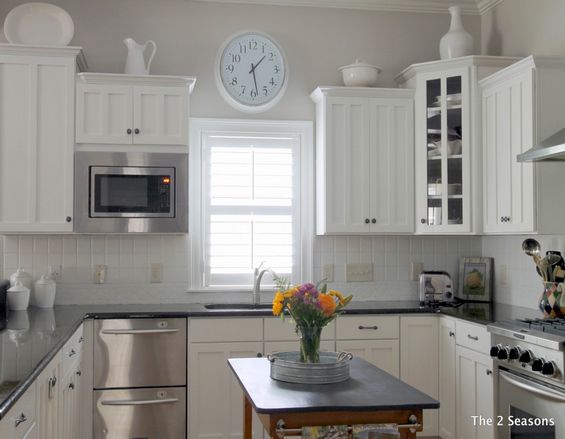
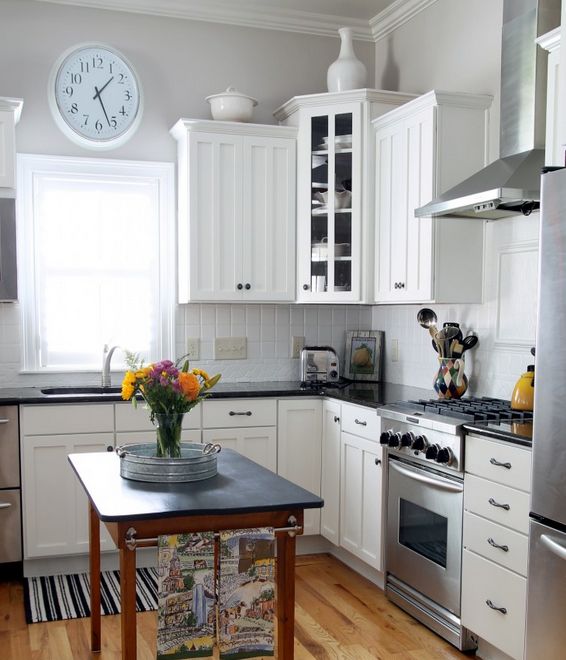
I let the primer dry over night, and then the next day I applied two coats of semi-gloss latex paint by Sherwin Williams. The color is Pure White, and it's the same color that we used on the cabinets, and the doors and trim in the rest of our house. We like to have a feeling of continuity, and using the same trim color helped with that. The entire kitchen now looks bright and is definitely the look we wanted. We will be changing out the beige outlets to white.
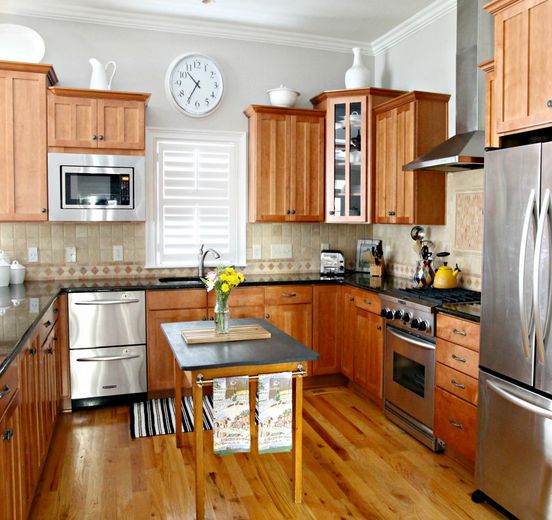
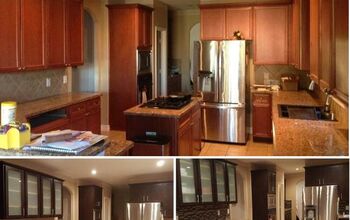
This is what the kitchen looked like before we painted. Like I said, there was nothing wrong with it, but we wanted white cabinets and a white back splash. We first planned for the painted back splash to be a temporary fix till we wanted to take on the big tile project, but we love it so much that it might be permanent.
Here's another view of the same room. A kitchen consultant who is also a family friend also suggested that we sand down our shiny black granite counter tops to give them a honed finish. I'm not sure if we will take on that task, but we have already started our next kitchen project. You can see what that is by visiting our blog: www.the2seasons.com

Want more details about this and other DIY projects? Check out my blog post!
Comments
Join the conversation
4 of 88 comments
-
I have a glass mosaic tile backsplash and I did the same think. I love it !!
-
I redid my kitchen. Removed the old cabinet doors and drawers. Next I sanded down the cabinets and then added an industrial black wallpaper that matched the new door and drawers. Then added a new backsplash over the old tile. Finally I added a fresh coat a paint. Everything came from Home Depot and cost was around $7000.


Frequently asked questions
Have a question about this project?
I have oak cabinets in kitchen. I was told by 2 painter that painting over it would not get a good result. The grain of wood will still shows. How did you paint your cabinets?
i have a tile backsplash and tile countertop. Do you think it would work on the counter also?
Where did your island table come from? Thx