Asked on Aug 24, 2013
Rain water coming in walkout basement. Caulking doesn't help. Source?
by
Mit
+15
When it rains in certain direction water comes in on the wall above walkout door and adjacent windows. Several professionals have caulked but it doesn't help. There is no water damage anywhere except where the water comes in. can't find the source of leak. Please help.
House is in olathe, KS. Does anyone know of right contractor around the area, who would be able to investigate and fix the leak.
House is in olathe, KS. Does anyone know of right contractor around the area, who would be able to investigate and fix the leak.
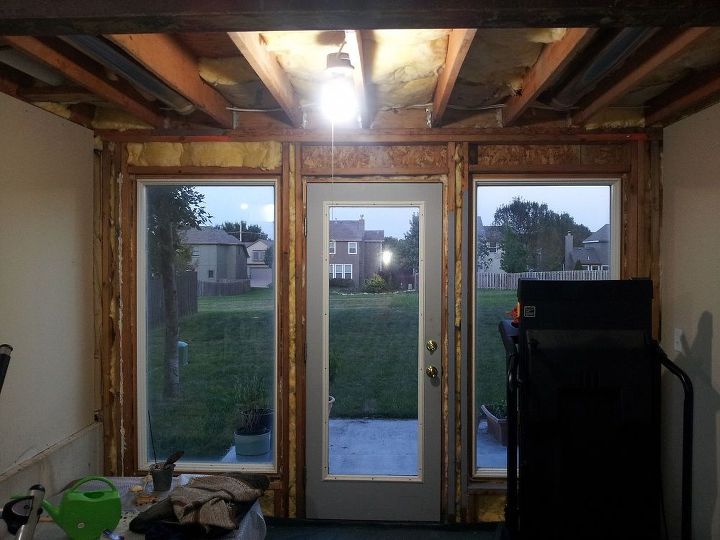
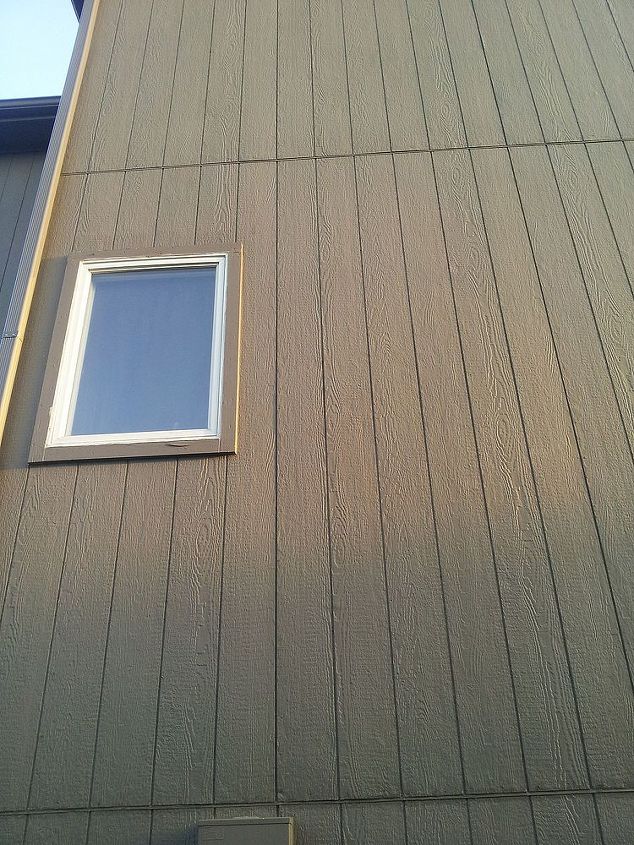
basement walk out door and window. leak is above door and window
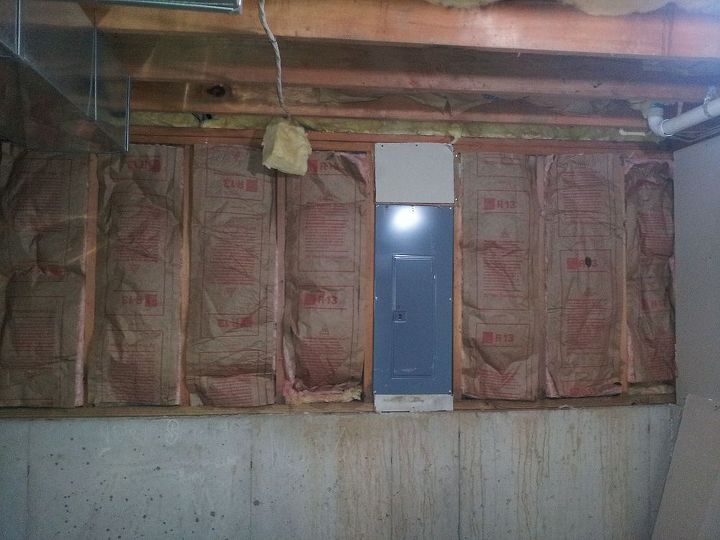
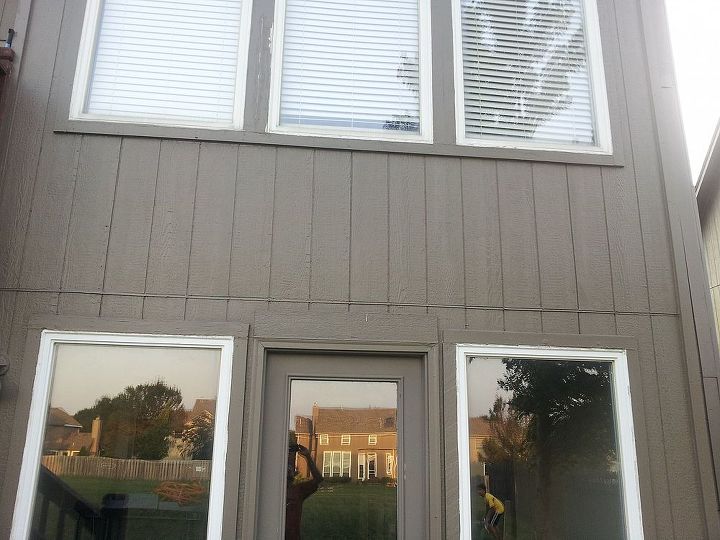
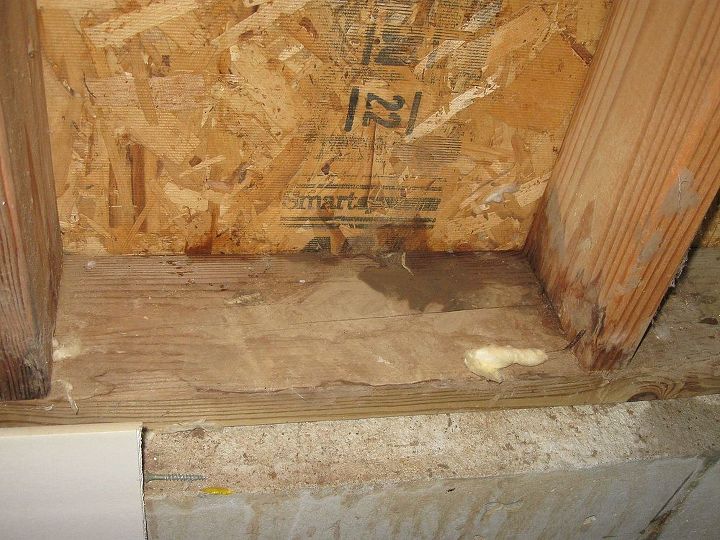
another water leak area
door & window from outside where leak is
windows above basement door
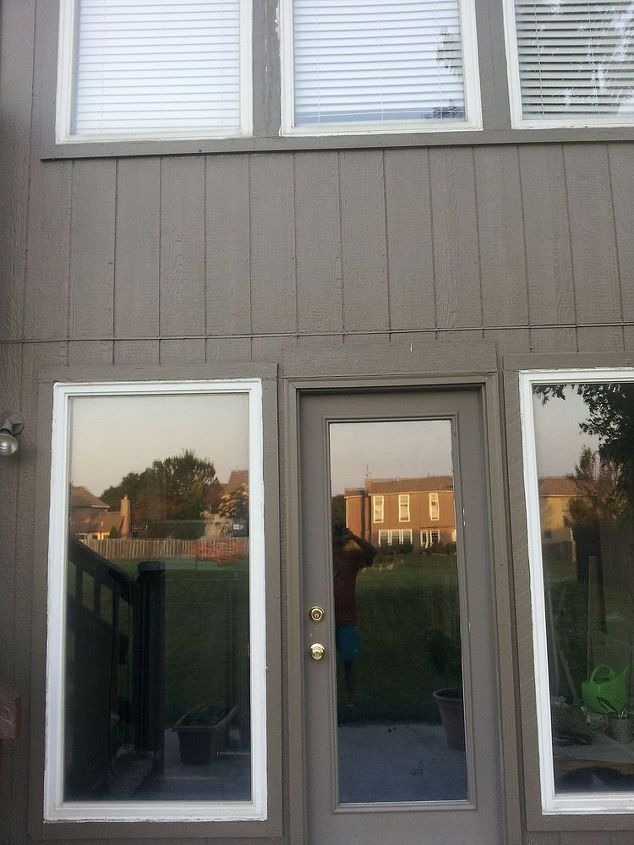
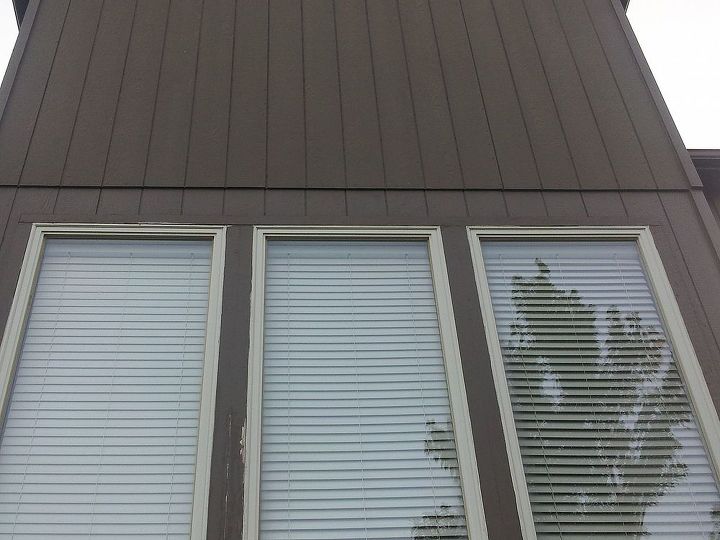
door and windows from outside
door and windows from outside
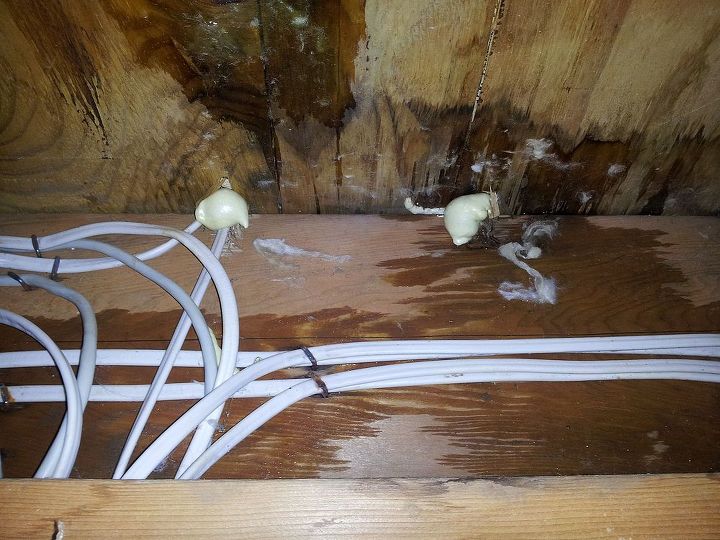
area above basement door where leak is
area above basement door where leak is
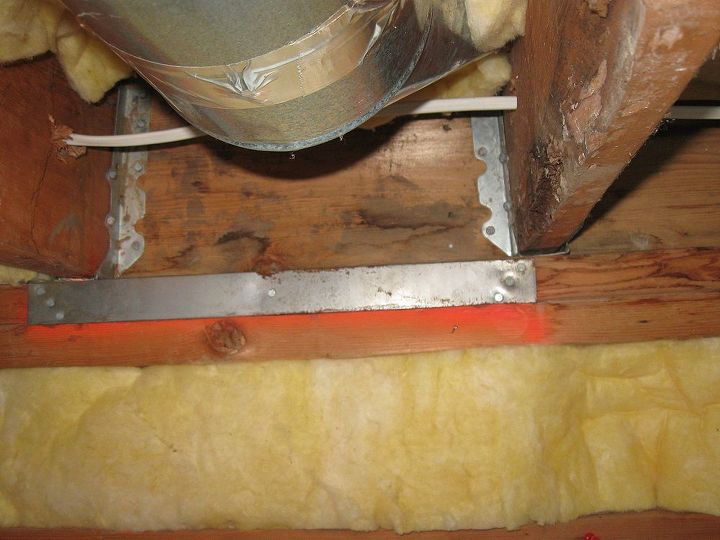
area above basement door where leak is
area above basement door where leak is
area above basement door where leak is

Outside area
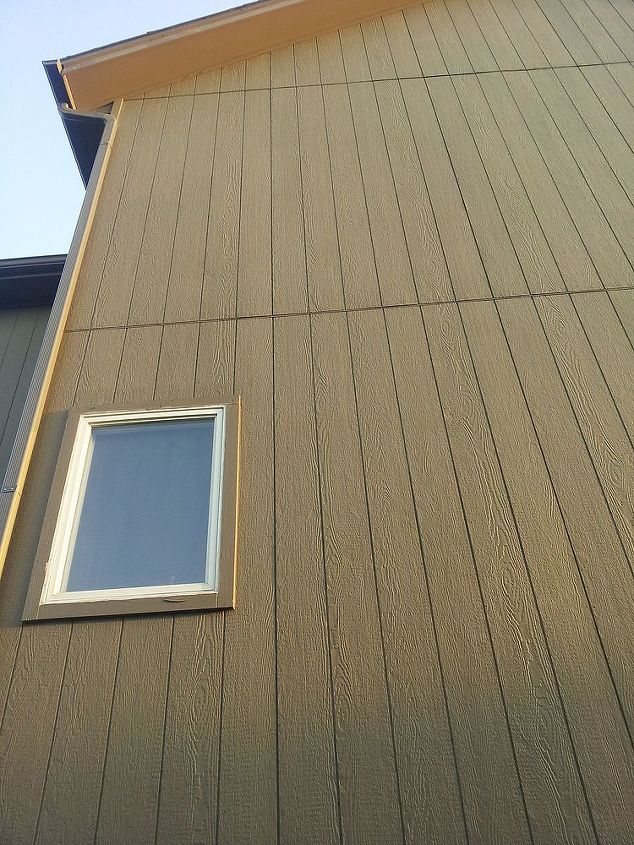
outside of 2nd leak.
outside of 2nd leak.
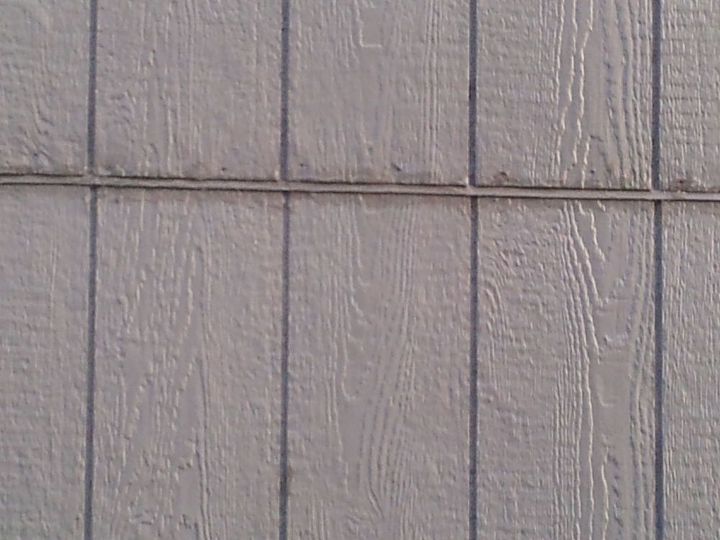
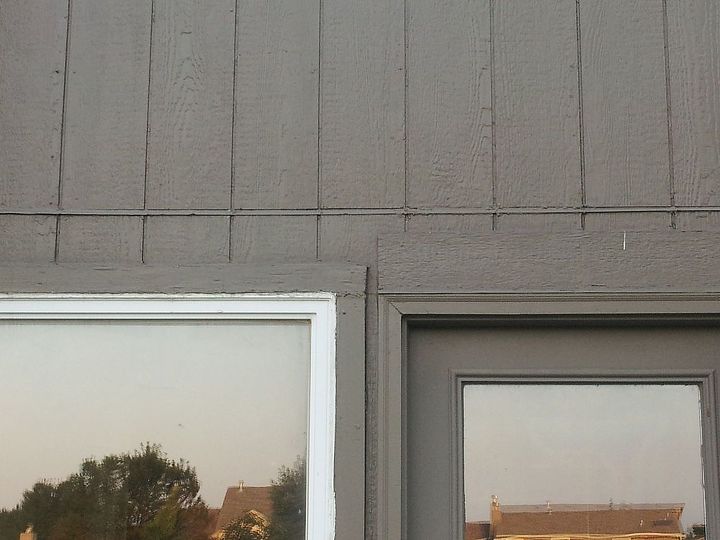
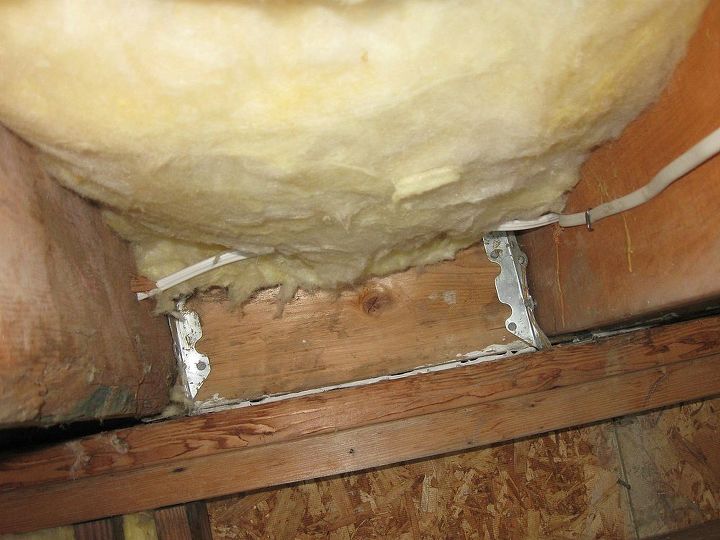
flashing close up
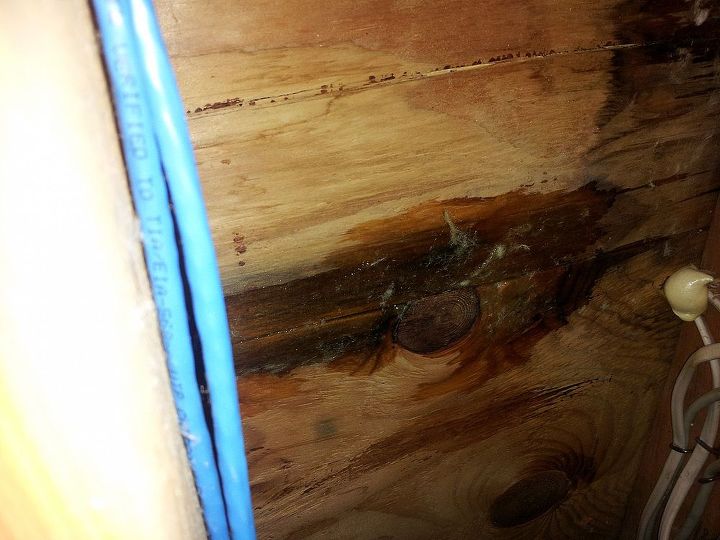
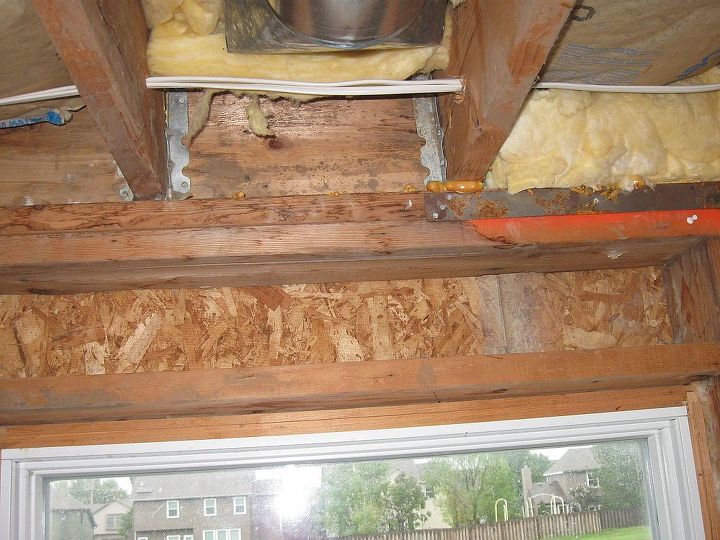
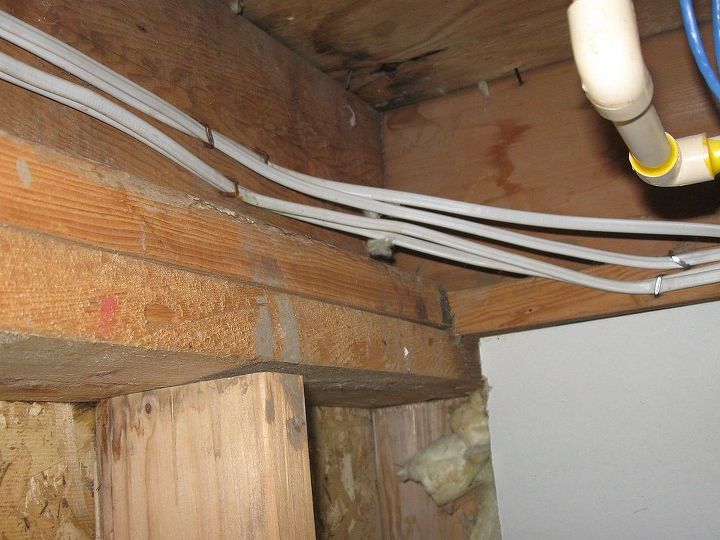
2nd leak area
2nd leak area
2nd leak area
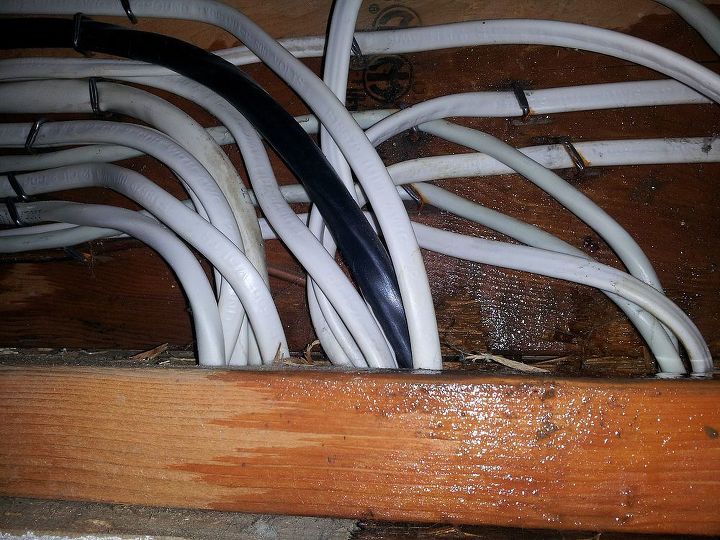
2nd leak area
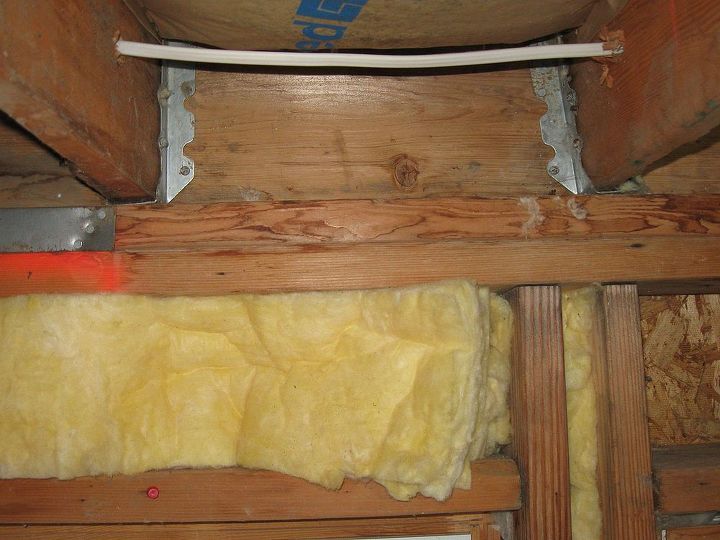
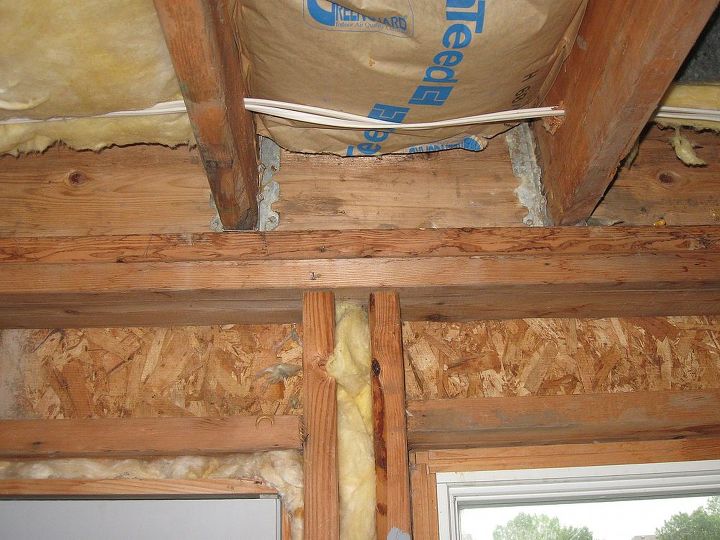
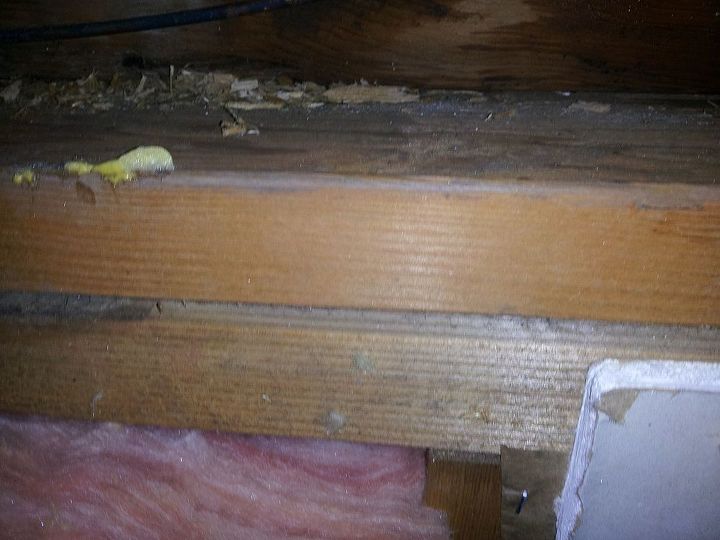
2nd leak
2nd leak


water streaping needs to be replaced and flushing