


DIY Fall Wreath Tutorial

by
Holly Grace
$10
2 Hours
Easy
Who else agrees that Fall is the best season!? The crisp Autumn air, falling leaves, pumpkin everything and best of all — beautiful decor! I needed a new fall wreath for my door this year, so I used up what I had kickin' around.
This wreath was super easy to make. Take a look and see how it is done!
This wreath was super easy to make. Take a look and see how it is done!
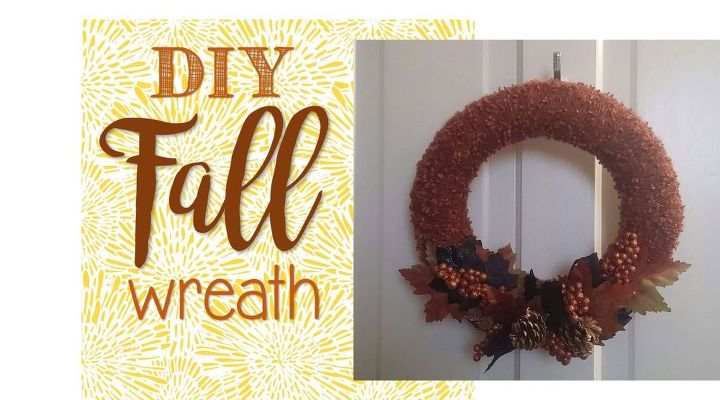
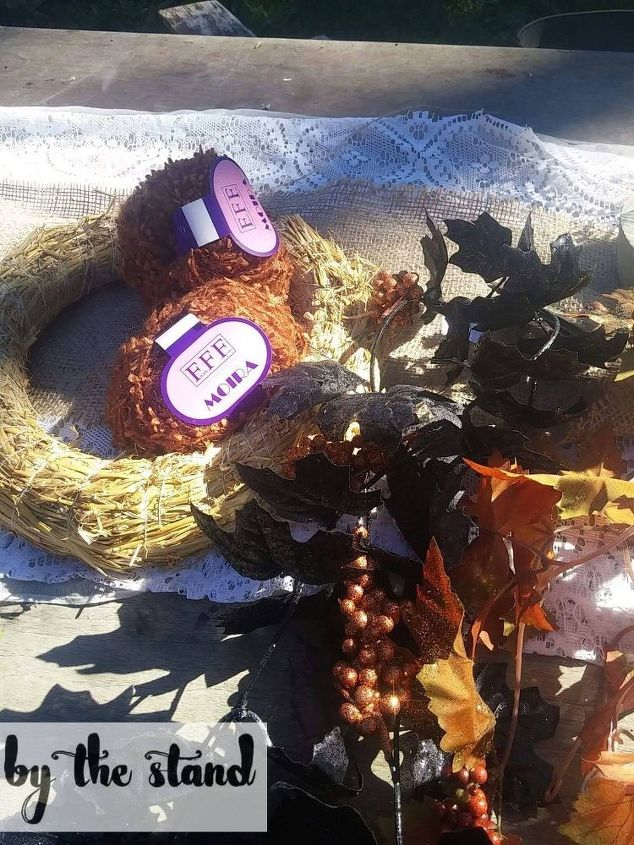
I used a couple of balls of Moria wool, which unfortunately, is discontinued, but any type of yarn will do for this project. I had this stuff kickin’ around so I went with it. I also used a straw wreath form that I picked up from the dollar store, as well as some fall decor pieces.
This step is the easiest of all. I glued a strand of wool to the wreath and then started wrapping it around.
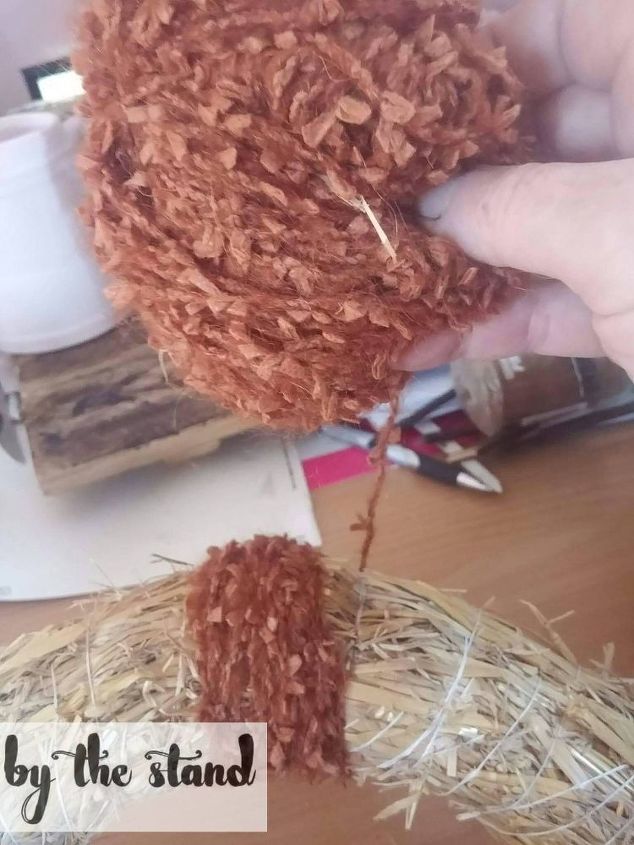
Just keep wrappin' and wrappin'.

I started to cut up the fall garland that I purchased from the dollar store.
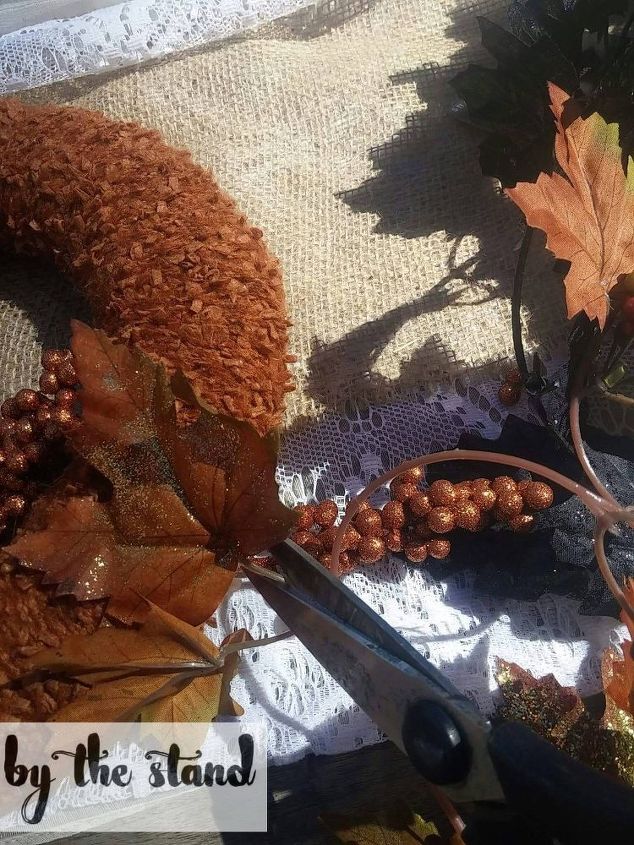
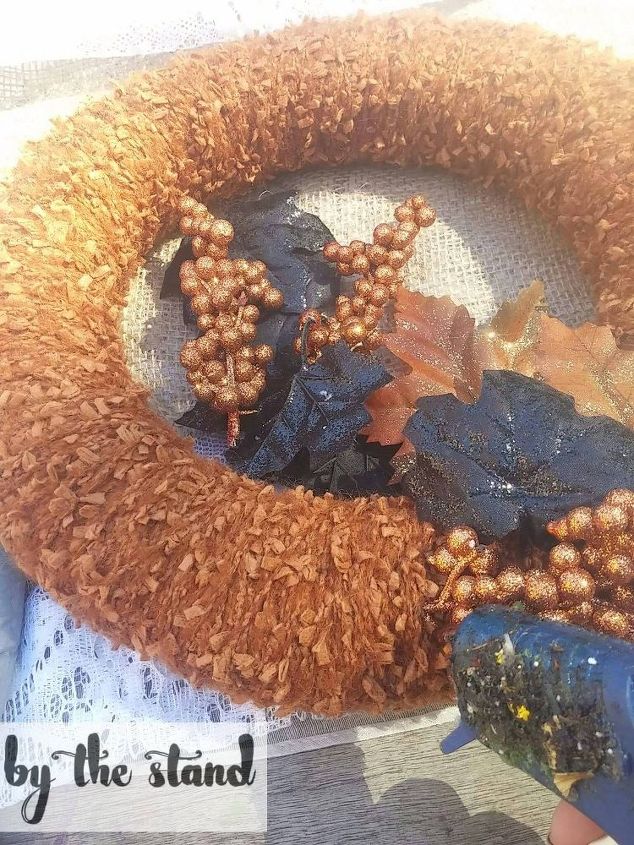
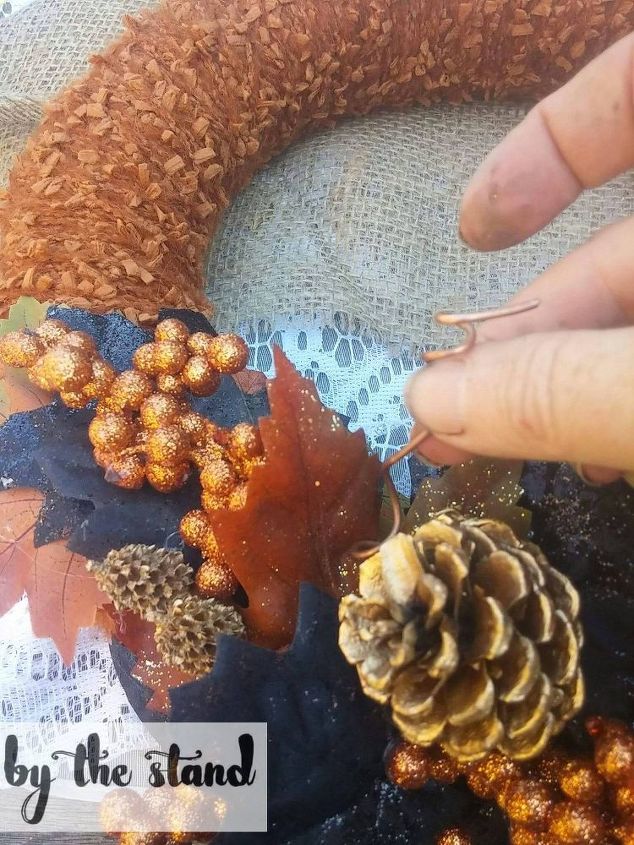
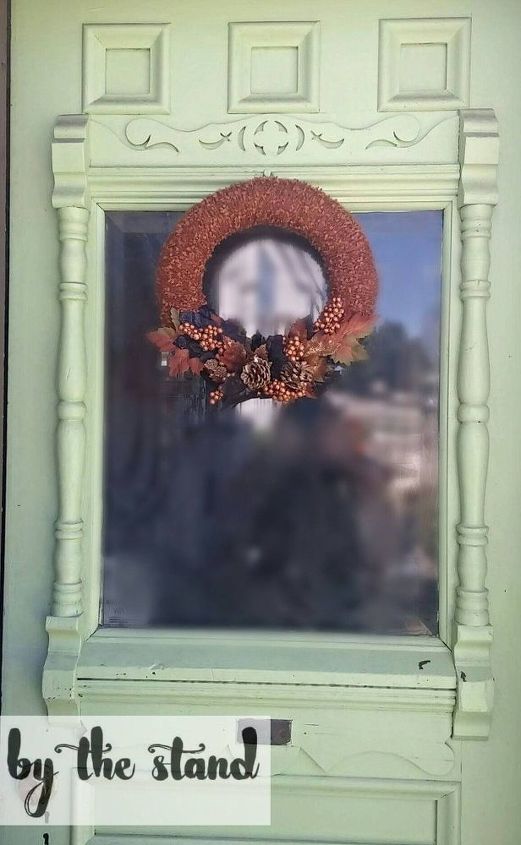
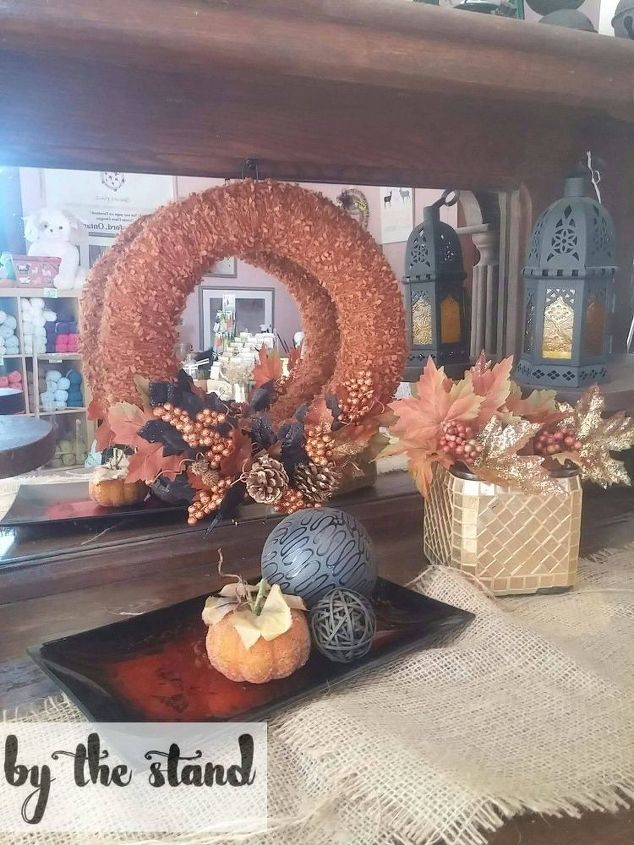
I arranged the fall decor pieces on the wreath in a pattern that I thought looked great and then simply hot glued them into place.
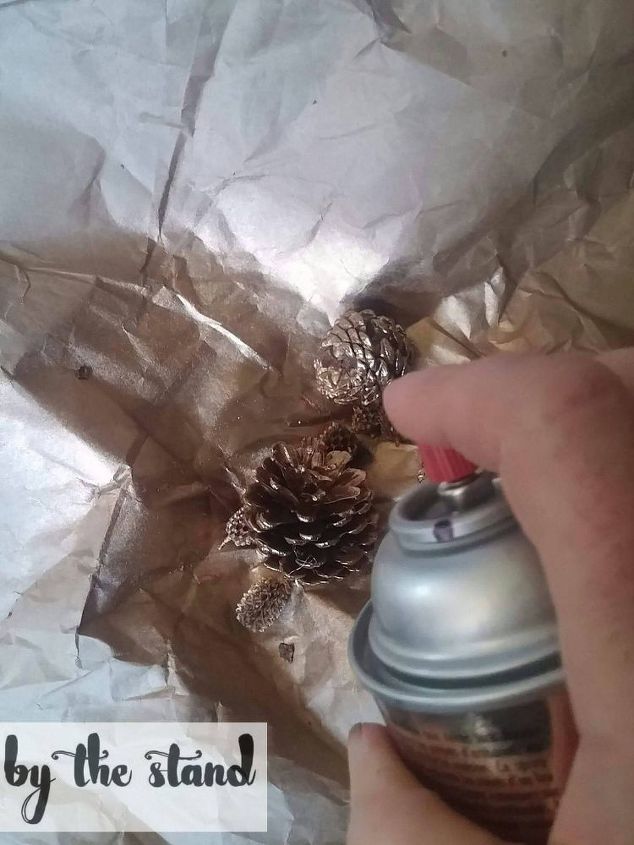
I still thought that the wreath needed a little something more, so I spray painted some pinecones from the yard in gold spray paint.
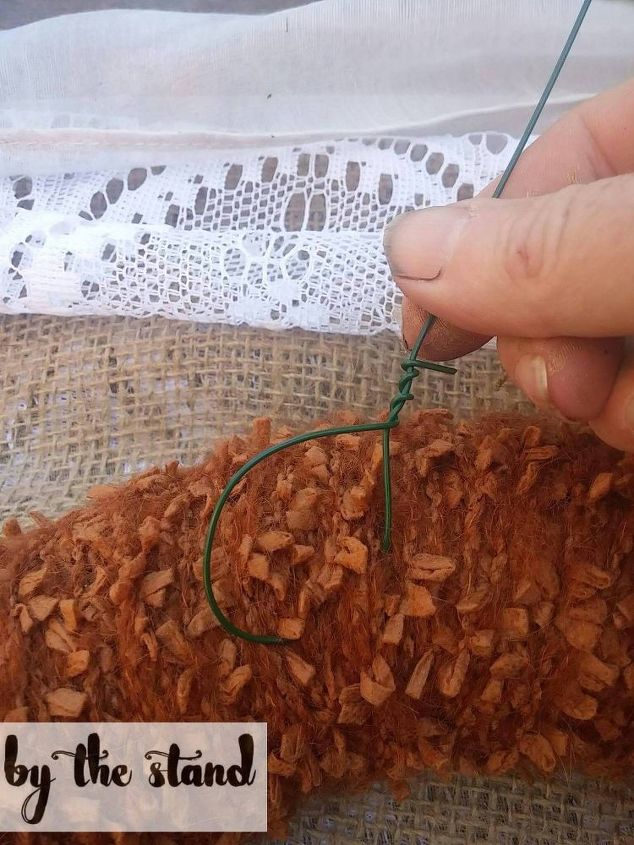
I also had some copper wire kickin’ around so I used the end of paint brush to twist it into spirals and then I attached these to the wreath as well.
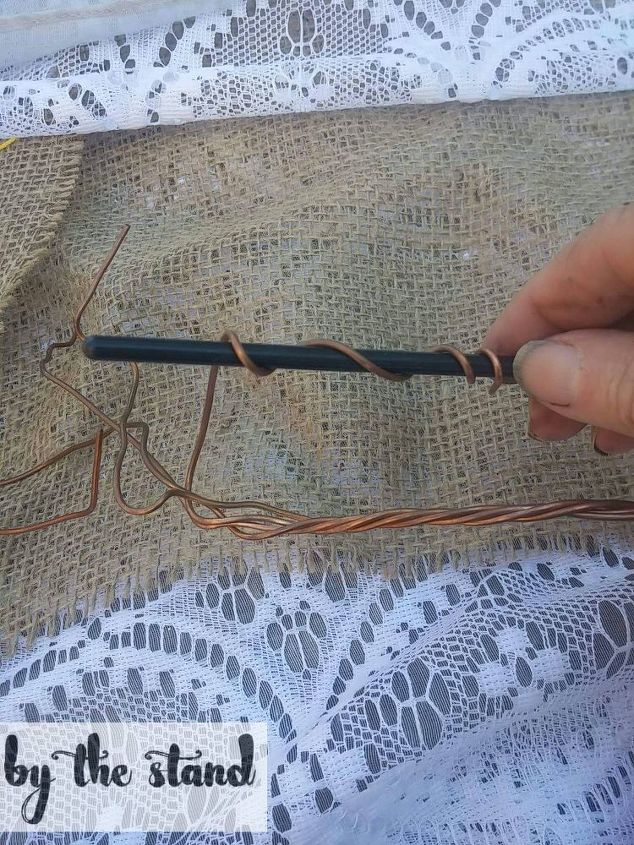
I love how the copper wire spirals just add that extra touch of fall color to this wreath!
I used a thin piece of wire to make a hanger for the wreath.
Fall is coming and I couldn't be more excited!
I will just leave this here... and I am off to get a pumpkin spice latte!
Want more details about this and other DIY projects? Check out my blog post!
Comments
Join the conversation
3 of 26 comments
-
so cute
-
Love it.... The colors blend together in such a beautiful fall day should! Who doesn't love metallics?


Frequently asked questions
Have a question about this project?