


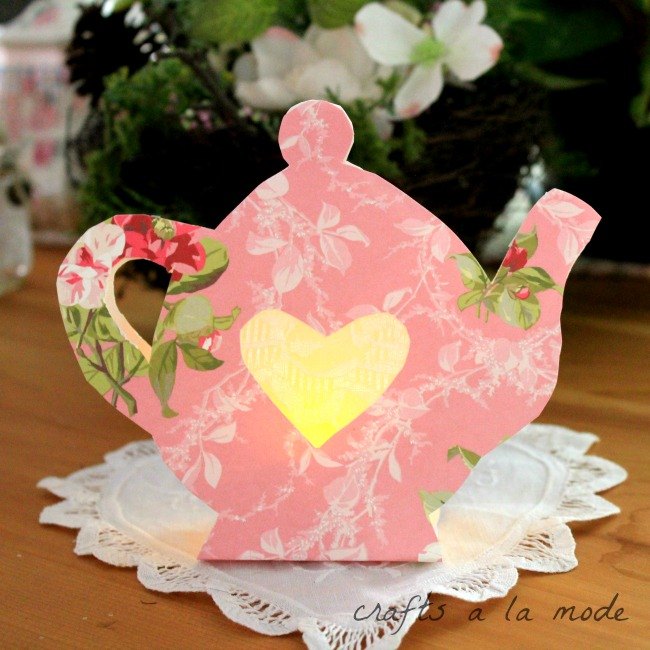
How to Make a Teapot Luminary

by
Linda B
I love having luminaries around the house in the Fall because the days are shorter. I look at my little lighted things and it makes me feel happy. I also have some mason jars that I painted with chalk paint with little tealights in them also.
I started this project with an idea. I wrote it down on a little piece of paper and how it would work when put together. To my delight and surprise, it came out even better than I imagined.
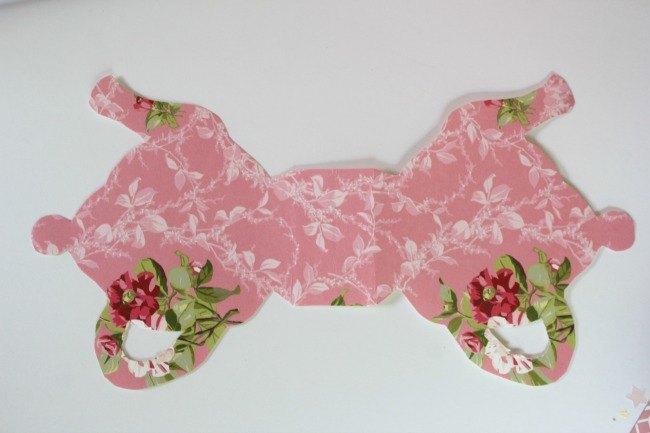
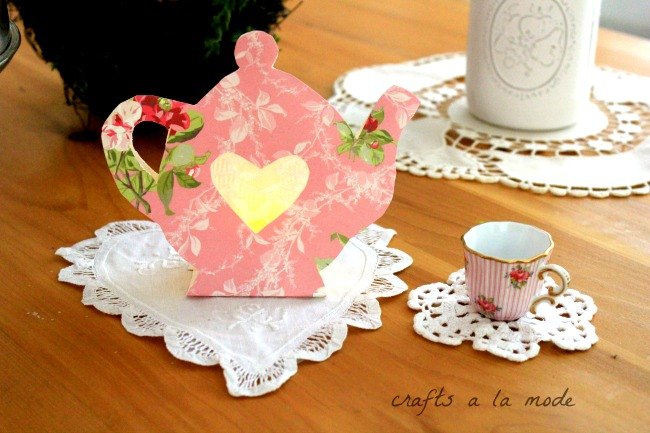
See how it's made? This is just abut the size of a 12" sheet of scrapbook paper cardstock. Two teapots cut out from cardstock paper. I have lots of scrapbooking paper because I love working with paper. You have to have a teapot at each end and then a square middle part. That's the part that the battery luminary will sit in.
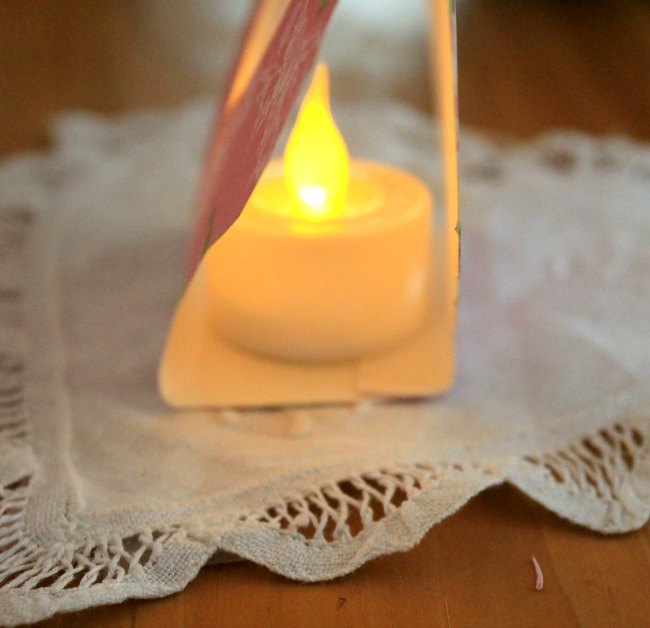
When you fold up the 2 teapots, you will have a flat section in the middle for the little tealight to sit in.
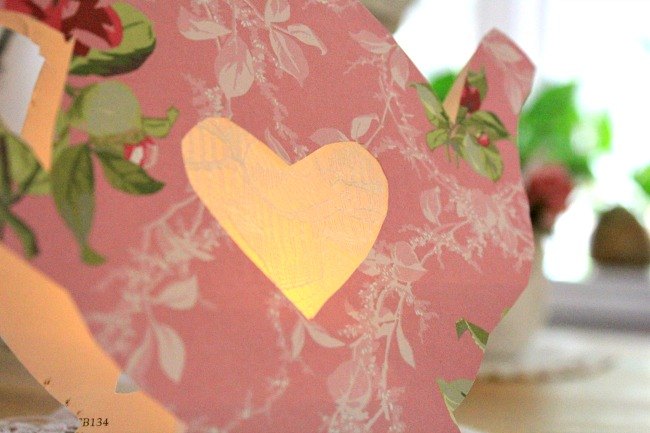
Then I cut a heart shape out of the middle of the teapot. In the back of the teapot I taped a piece of lace. For more detailed instructions come over to my blog.
I taped the top of the tea pot and the spout and handle together. I hope you enjoy this. I know I had SO much fun. Thanks for reading, Linda
Want more details about this and other DIY projects? Check out my blog post!


Frequently asked questions
Have a question about this project?