


Caramel Apples ~ To Eat Or Not To Eat?
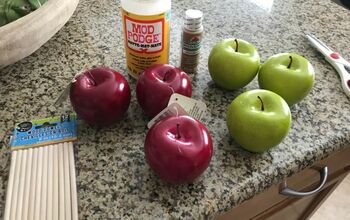
4 Materials
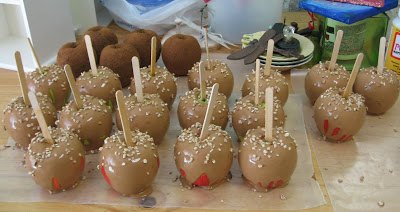
MMMM...these sure look good don't they? My family thought so too. BUT I had to stop them! These are faux Caramel Apples, not the real thing!
I've been trying to get in the spirit of the change in seasons but having a hard time because I've fallen behind on A LOT of things.
I decided to take a much needed break and make these fun Fall Decor.
I've been trying to get in the spirit of the change in seasons but having a hard time because I've fallen behind on A LOT of things.
I decided to take a much needed break and make these fun Fall Decor.
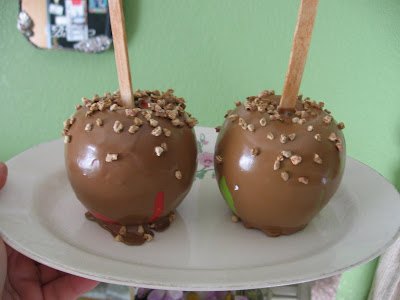
These are pretty easy to make and it something the kids will definitely enjoy. Heads up though, you'll probably need to make the real ones once you're done! LOL
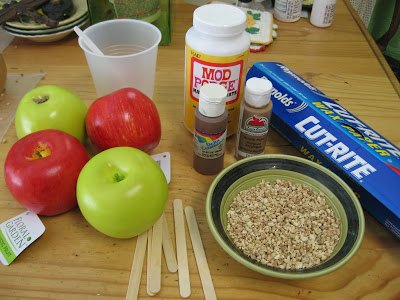
You'll probably have most of the supplies already, leftover from other projects. Since the tutorial is a tad long, I will shorten it a bit. If you'd like to read more in depth instructions on how to make your own, click on over to my blog from the link below!
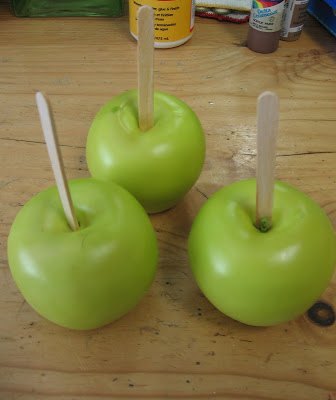
Insert your popsicle sticks into the top of your Apples. If you'd like, you can
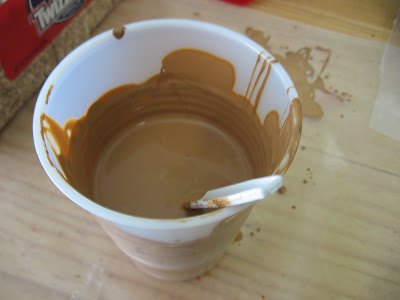
Mix approximately 1/2 the bottle of Mod Podge about 2-3
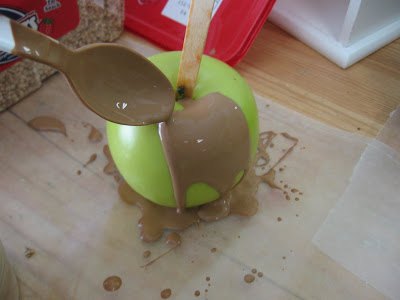
With your plastic spoon, spoon colored Mod Podge over your Apples.
Place your Apples onto a new piece of Wax Paper to dry OVERNIGHT!
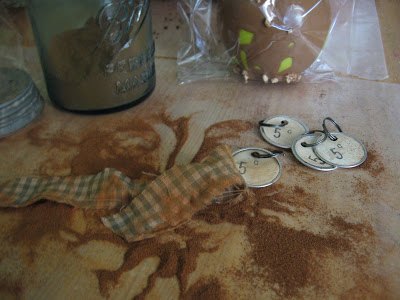
I went a step further and added homespun dredged in cinnamon to tie them with. I also added a aged, stamped tag.
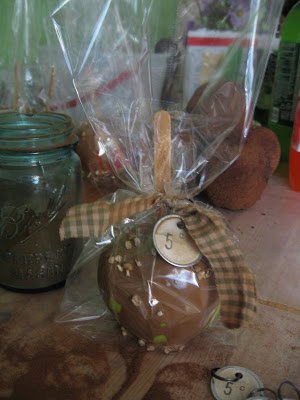
Wrapped in a cellophane bag tied with homespun they look perfect for a down home Fall Centerpiece.

Want more details about this and other DIY projects? Check out my blog post!
Comments
Join the conversation
3 of 63 comments
-
LOL Thank you!
-
Love it! I am embarking on faux desserts to showcase on my kitchen island. Thanks for this idea.


Frequently asked questions
Have a question about this project?