


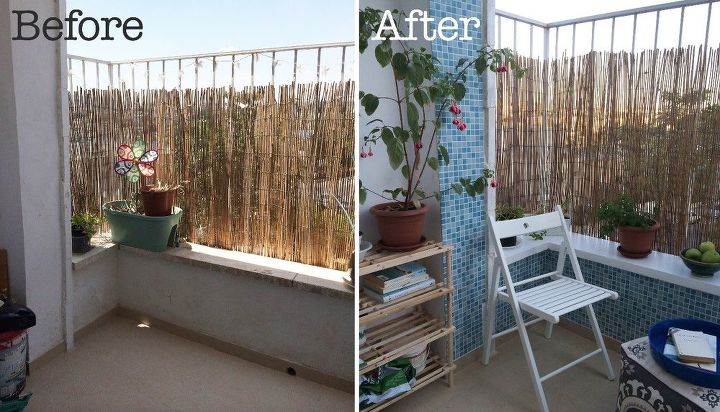
Teeny Tiny Balcony Makeover On a Budget

I have this little tiny balcony that had water damage on the walls and just overall dinginess, and I was looking for low cost ways to make it a nice place to sit and read. I had no experience with tiling before and I'm really happy with the result!
I've made a short video of the process of tiling the walls, which both looks pretty and keeps the water damage out of the concrete walls. I knew I wanted a blue theme, sort of like how on trips i had taken in spain and portugal, I had seen traditional buildings that had gorgeous blue exterior tiling. Okay, so mine was not going to get that glamorous, but I chose an affordable (read: cheap) blue mosaic tile to get a little mediterranean feeling going on...
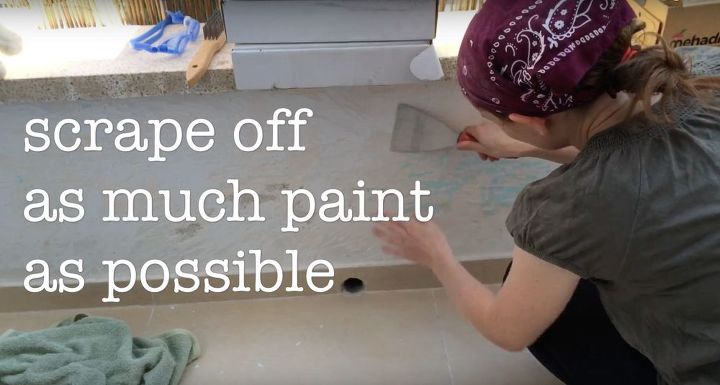
First i prepared the surface by scraping off as much paint as possible, and brushing with a wire brush. This is the most boring and annoying part of the project. Don't give up! You need a clean surface for the tile to stick to.
Next I bought some prepared mortar and laid a thin layer down with my scraper. It gets hard pretty fast (even though my bucket said 24-48hrs till full dry time), so you'll need to only put on enough mortar for a relatively small area.
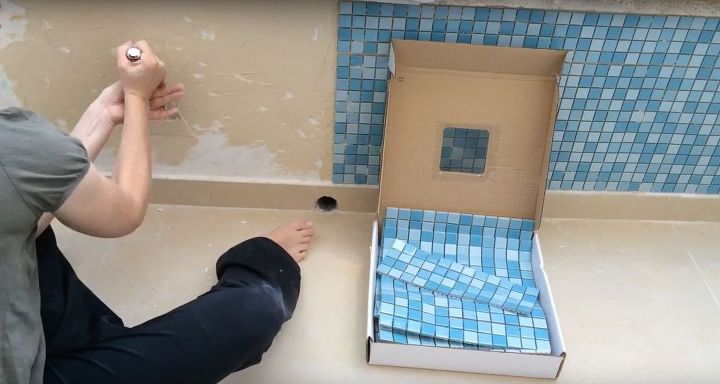
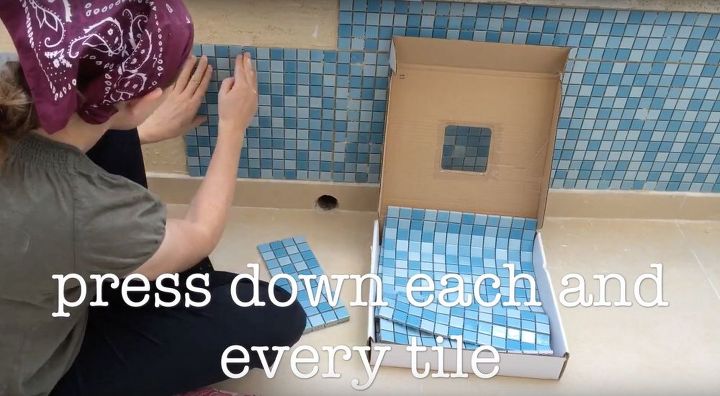
Now you are ready to lay the tile! Use a tile float to lay down the tiles, and especially if you are using mosaic tiles, make sure that each little tile is firmly pressed down and won't wiggle. (If it does, it means that tile probably doesn't have mortar on the back- you'll want to add some.)
Now, mix the grout powder with water (I used white, but you can get lots of colors) until you get a toothpaste consistency. Use your grout float to get it nicely and evenly between each tile. This is the fun part of tiling :-)

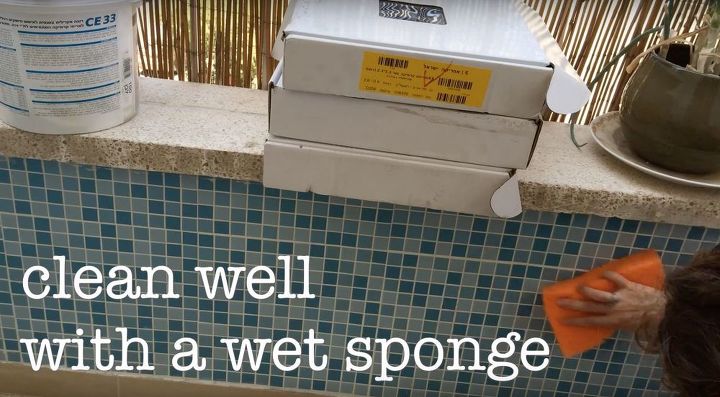
Clean, clean and clean some more with a wet sponge while the grout is wet, to get all the white residue off and let the color of your tile shine through!
Now that the tiling was done, I could go about making some general spruce ups: I painted the gross stone ledge with a fresh coat of white paint. I can't remember the brand but it's a cover-all type of gloss paint meant for exteriors. It stuck well to the stone, I just had to be careful to clean off all the years of dirt really well. Then, to make the space into a nice place to sit and read, I added a little bookshelf that I diy-ed by screwing two shoe racks together (another budget choice, since they were basically the cheapest storage units in the store). A couple of ikea chairs and a pouf finished it off.
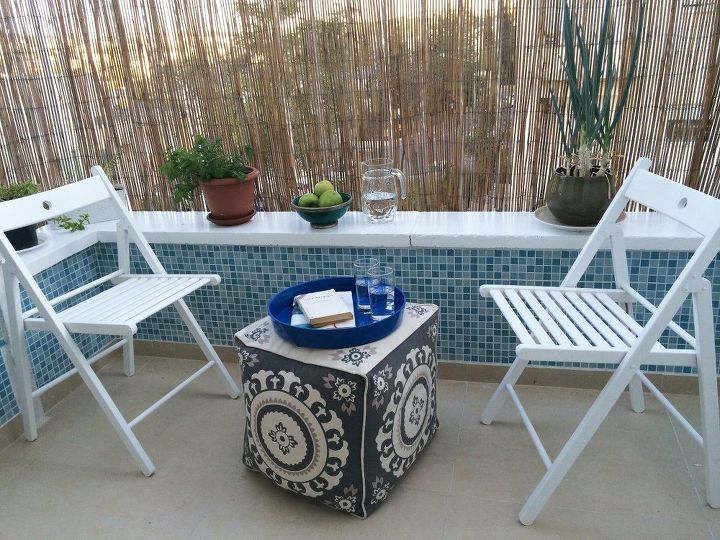
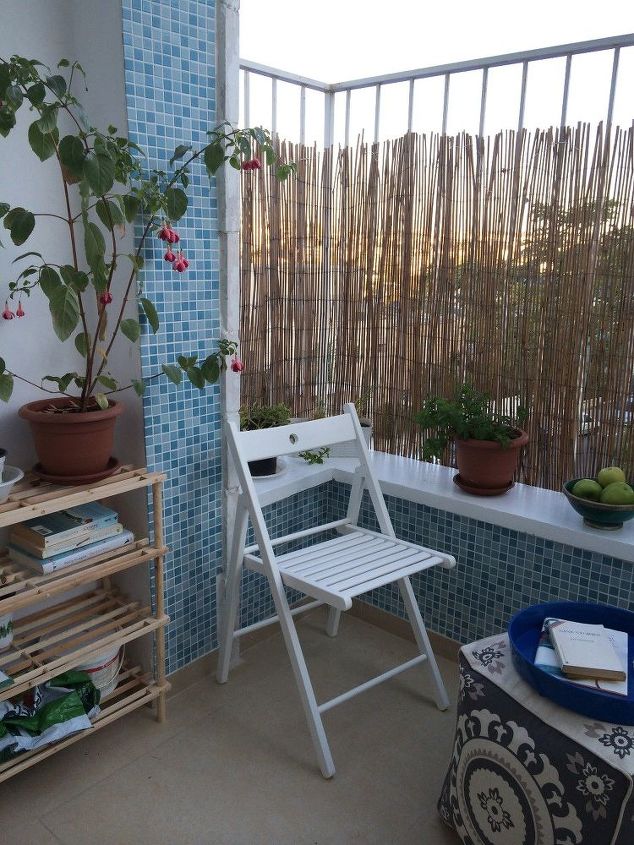
I think it came out pretty nice, considering the limited amount of time I have (what with job + kids lol) and that it was so low-budget. Looking forward to sitting and sipping a glass of wine out there...
More Wallet-Friendly Room Makeovers
Comments
Join the conversation
-
Awesome
-
Love this


Frequently asked questions
Have a question about this project?