


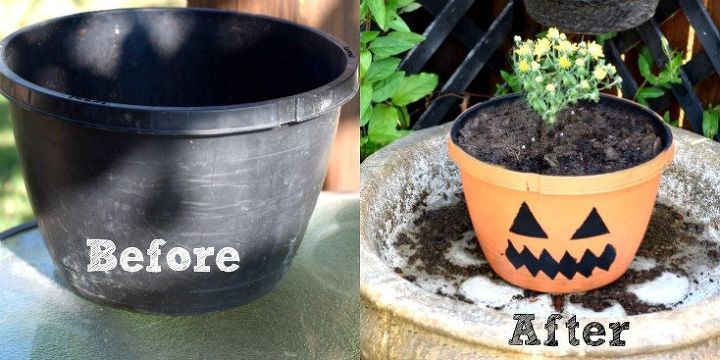
Almost Free DIY Pumpkin Planter (Jack O Lantern Planter)
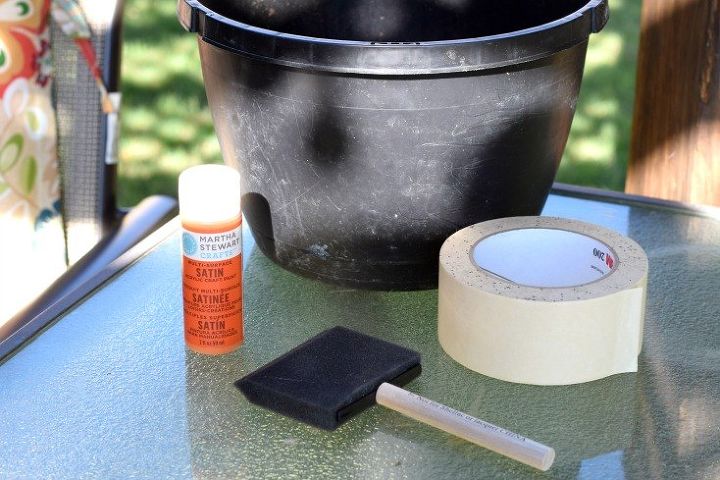
This almost free DIY pumpkin planter for fall is such a fun little project. I call it almost free because you may need to buy some paint, which is very inexpensive.
I bought some new plants for fall and wanted to work on decorating my front porch area for the season. I wanted a cuter planter to put my mums in, but I forgot to buy some. I really wasn’t feeling the black color that most of those plastic planters are from the store, so I decided to make it a little more festive.
It turned out pretty cute and it was very simple, which is the best DIY in my opinion :)
This is a great project for kids too! It is very safe and easy, and the possibilities are endless. Check back with me soon when the mums fill out and we've added more of these fun pots to our fall porch.
Here’s what you need:
Directions:
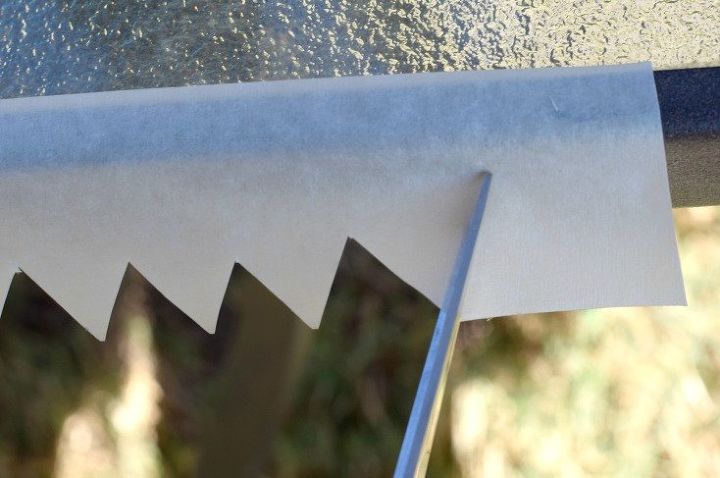
3. Stick the tape onto the planter and make sure to rub down the edges really good so paint won’t seep underneath
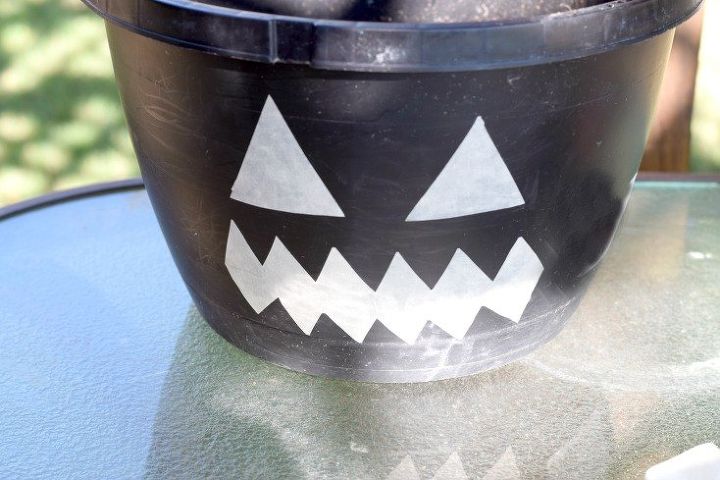
4. Paint the entire planter with your orange color. Let is dry, then do a second coat. For the second coat, I sponged it on to make it have some texture.
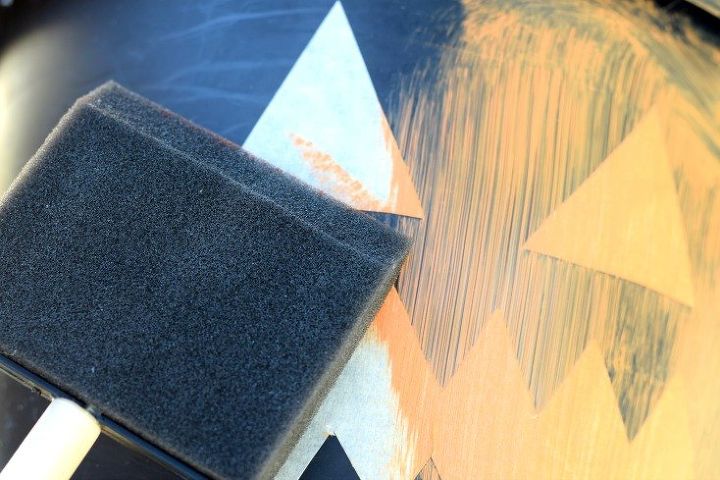
Be sure to click the blog post for steps 5 and 6 plus some more pictures on technique.

Want more details about this and other DIY projects? Check out my blog post!
Comments
Join the conversation
4 comments
-
Love this!
-
Loved your idea! Instead of using it as a planter, I painted the inside as well and used it as a candy bowl for my trick-or-treaters.


Frequently asked questions
Have a question about this project?