


Mobile Coat Closet for Under $60

4 Materials
Here in NYC closets are scarce! Most apartment dwellers will invest in some wall hooks to mount in the entryway, and that's usually enough storage for whoever lives there, but what if you're throwing a party? With the holidays just around the corner, you might be thinking of party logistics if you live in a small space. That's exactly what one of my organizing clients was pondering. She wants to throw a Halloween party, but not only does she not have an entryway, but she also does not have a coat closet nearby to catch jackets, etc. We searched online for mobile coat racks, but most of them lacked shoe or purse storage, and if we wanted to stay under $100 we were forced to buy something boring. Furthermore, we wondered how we would store a mobile coat rack when she wasn't using it - most of them don't come apart. Like with most of my space saving solutions, I go to plumbing piping and fixtures. For just under $60, we were able to create something custom that allowed for shoe and bag storage for her guests by putting an old plank of wood on wheels and then attaching a flange to the wood with piping to hang coats on. This project was so quick and simple and it solved all of my client's problems! When it isn't in use, just unscrew the pipes from the flange and roll it under the bed!
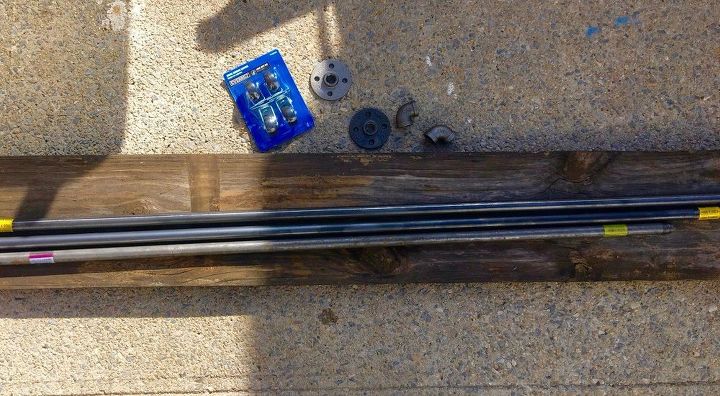
Materials:
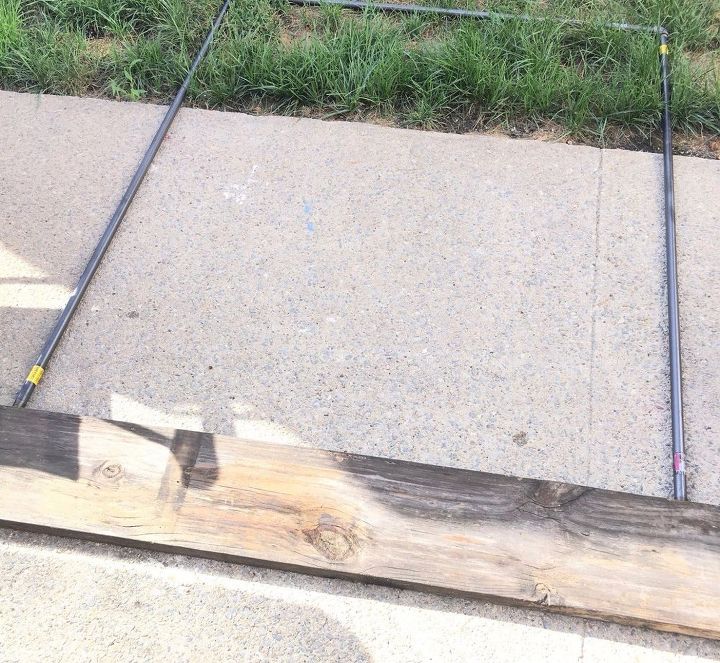
STEP 1: Lay out the wood and pipes
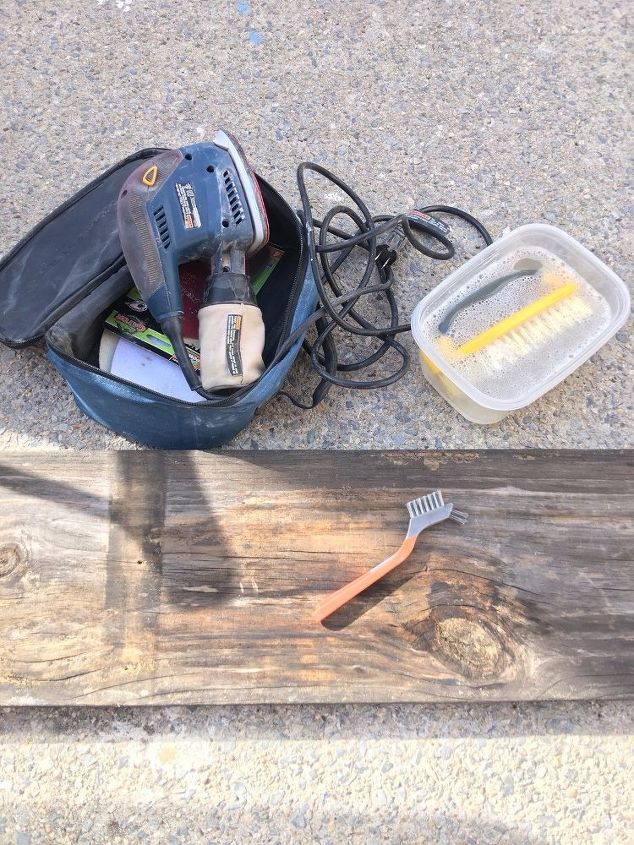
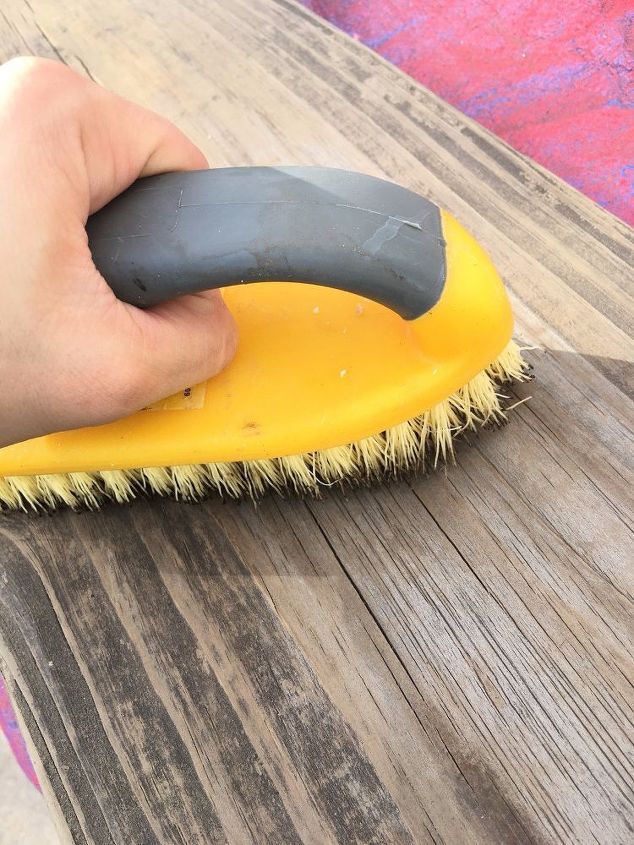
STEP 2: Clean the wood
STEP 3: Sand it down
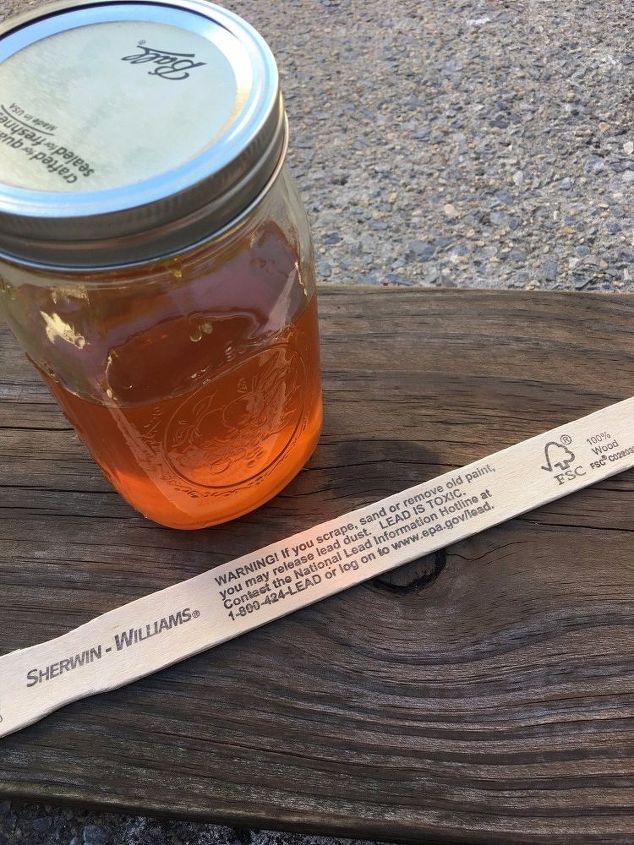
STEP 4: Coat the wood
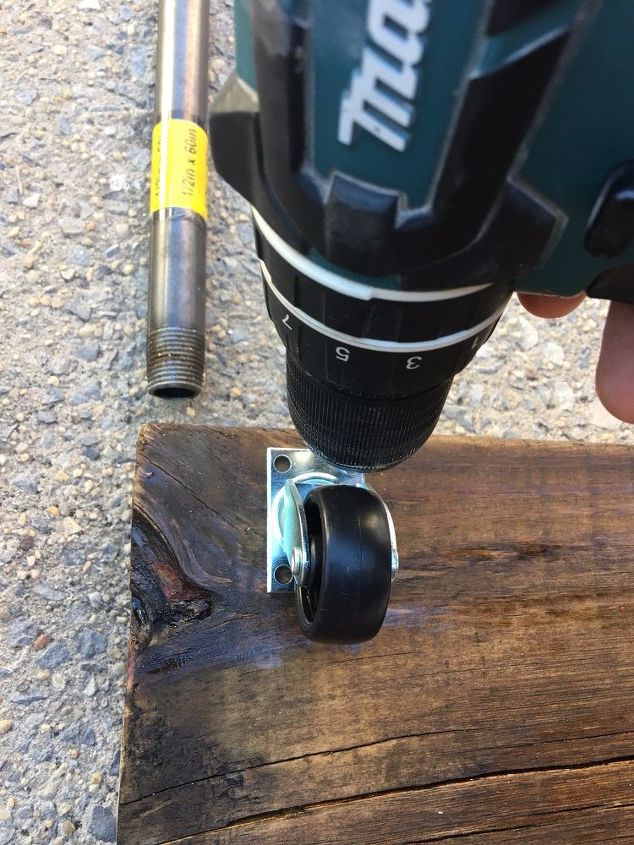
STEP 5: Install the casters
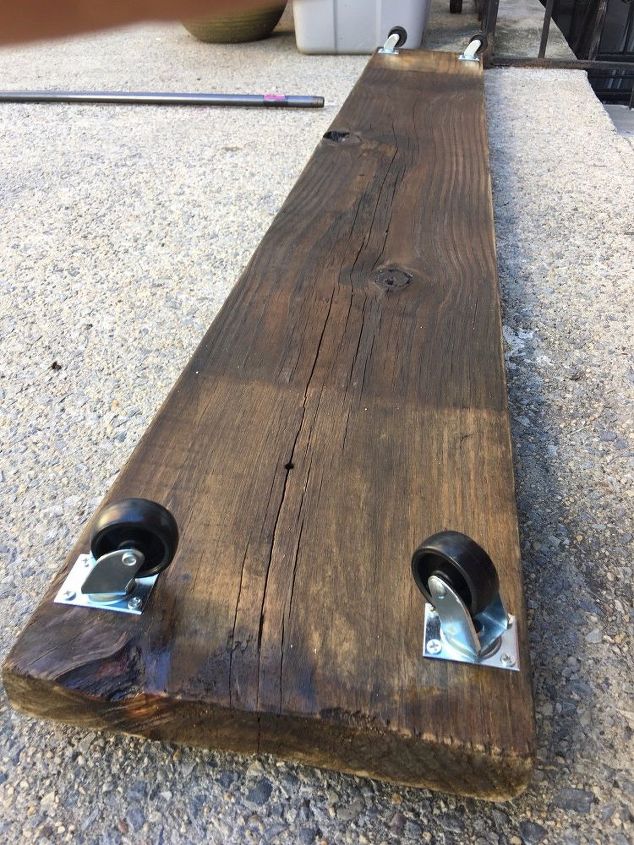
STEP 6: Repeat on three other corners
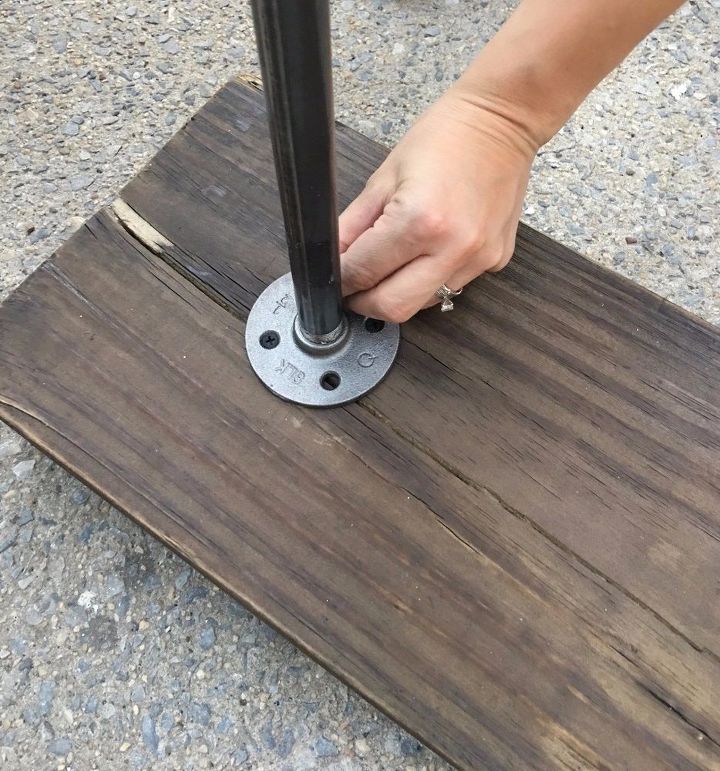
STEP 7: Attach the flanges
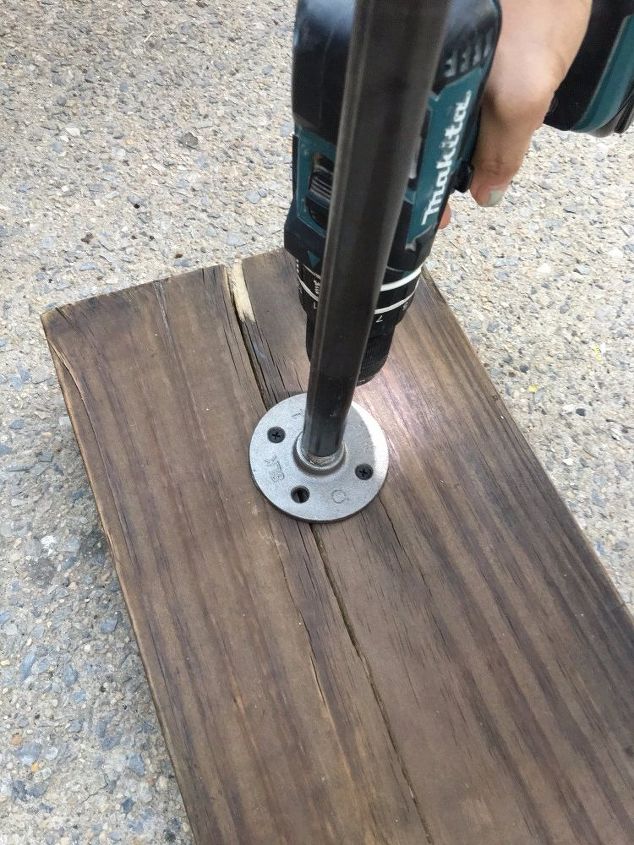
STEP 8: Screw it in
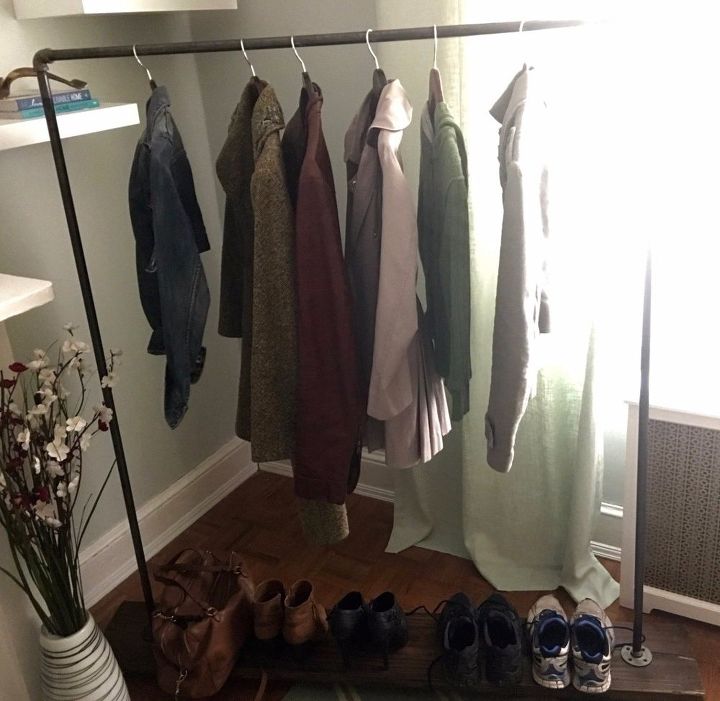
STEP 9: Enjoy your new coat rack
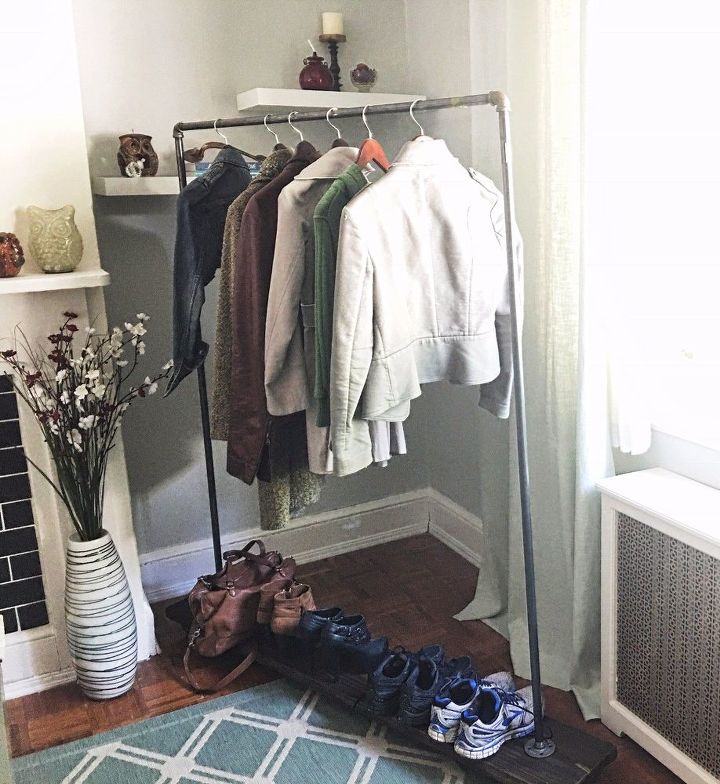
Here it is in all its glory! Roll it to a living room, guest room, or wherever makes sense in your home to store your guests' coats when hosting a gathering.
Comments
Join the conversation
2 of 23 comments
-
Love this idea...
-
I'm making this tomorrow!!! Thank you I love it and I need one too. buying stuff from Ikea and places just doesn't do the trick but this idea will!!!


Frequently asked questions
Have a question about this project?
How sturdy is this? Looks like it might sway from side to side.