


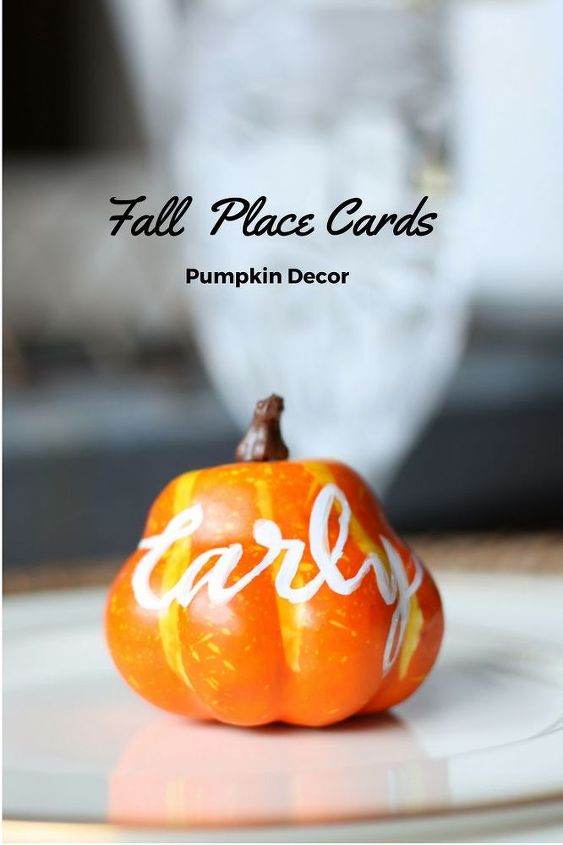
Baby Pumpkin Place Cards
4 Materials
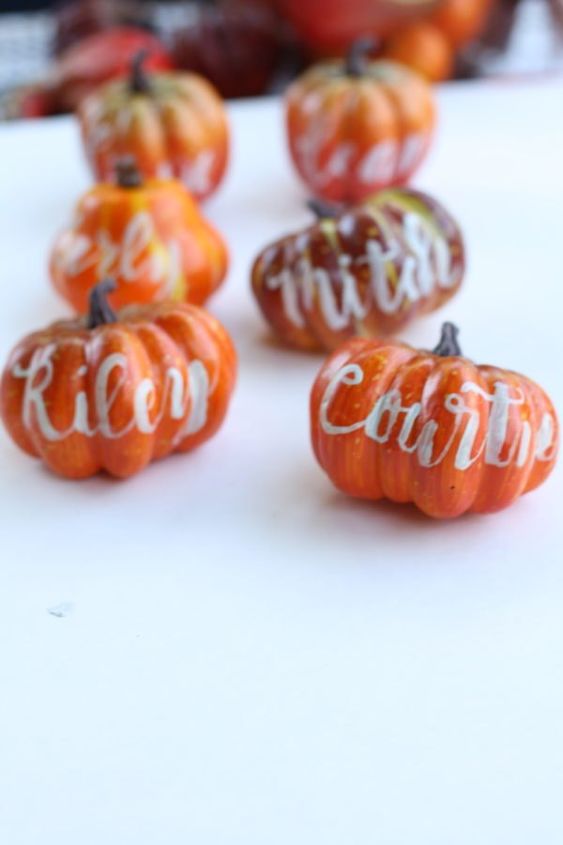
The most recent fall place cards I made with inexpensive pumpkin decor were so easy and look amazing. Anytime you can personalize something, I say go for it.The baby pumpkins and squashes came in a netted bag at hobby lobby. They were less than $5.00 for the bag that probably had 10-12 pumpkins and squashes in each bag. As our family has grown, I had to buy two bags. With my 40% off coupon, I thought it was a pretty good deal.
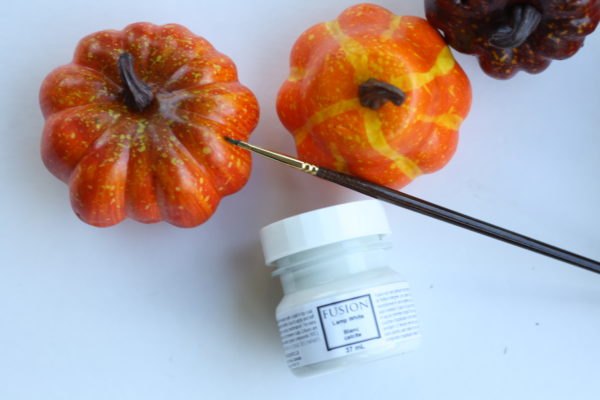
I always try to use what I have on hand first before buying anything. Paint and markers are abundant here in this household and I remembered I received some free samples from Fusion so I thought I would try their paint for the first time. Lamp White was the color I hand painted on with a thin rounded paintbrush.
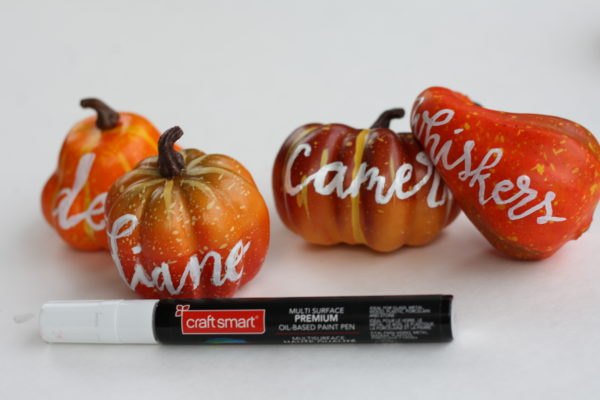
After the paint dried it wasn't quite as white as I wanted so I grabbed my oil based paint pen. Let's face it, pumpkins aren't the easiest thing to write on but I found the paint pen worked better and it was a brighter white that I was looking for. It really boils down to what you prefer to write with, a paint pen or a paintbrush.
Don't worry about messing up. Keep a damp paper towel or cloth nearby. You can wipe off either one before it dries and start over.
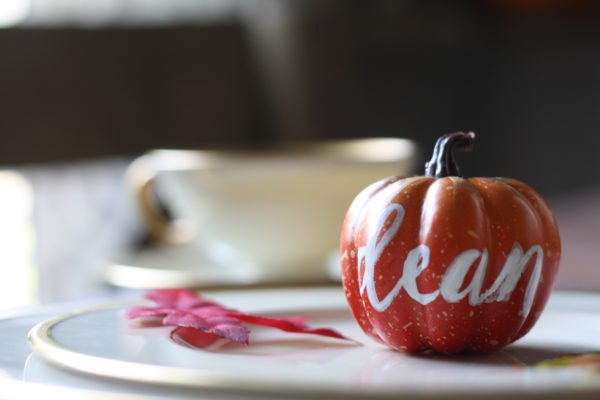
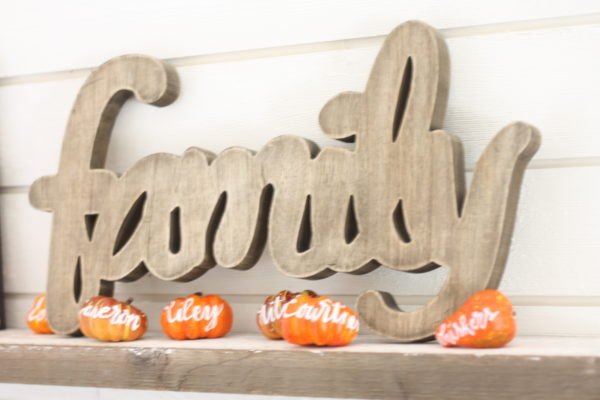
You can set the baby pumpkin place cards directly on the plate and decorate with real leaves or dollar store fall leaves that come in a bag.
What I love about these baby pumpkins is that you can use them for other fall decor for your home.
For other DIY place cards for the fall season please click the link below.

Want more details about this and other DIY projects? Check out my blog post!


Frequently asked questions
Have a question about this project?