


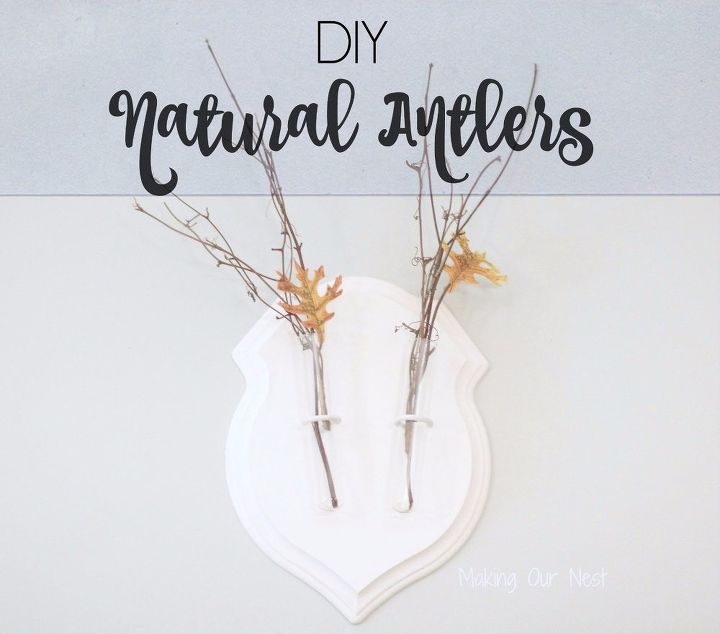
DIY Natural Antlers

by
Tara Marie
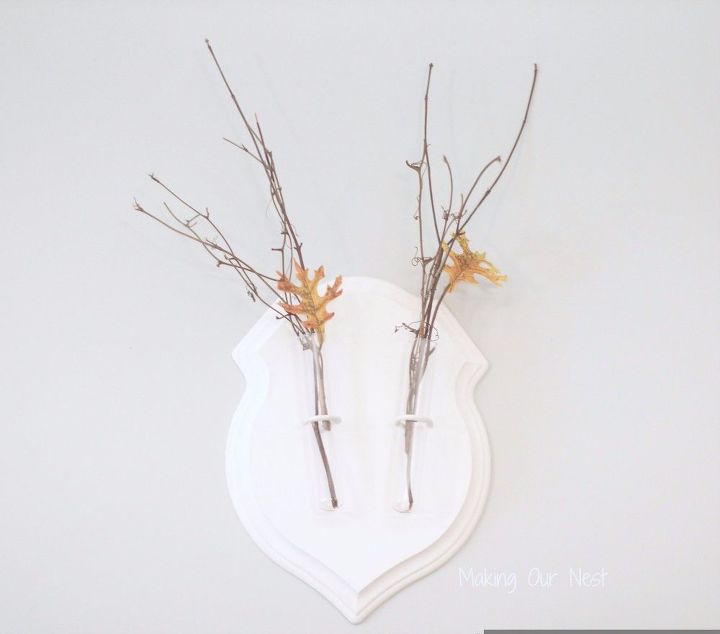
Inspired by the products put out by Eco Deer, I made my own "natural antlers" and I will show you how to make your own!
I am obsessed with decorating with antlers, like a lot of other people these days. In my house, I have real antlers over my bed, on my mantle and on various shelves. I have fake ones scattered throughout the house as well. I have been seeing some other versions of antlers on Pinterest and blogs. In particular, I have seen some "natural antlers" by a company called Eco Deer. I LOVE the look and and all the options so I thought I could try my hand at some DIY natural antlers.
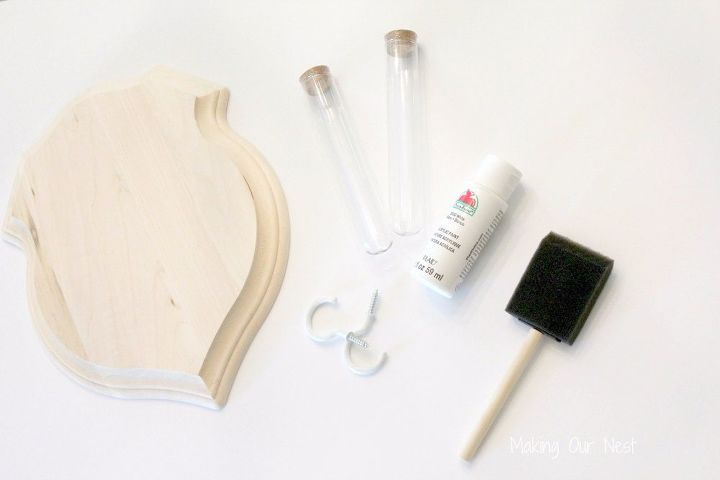
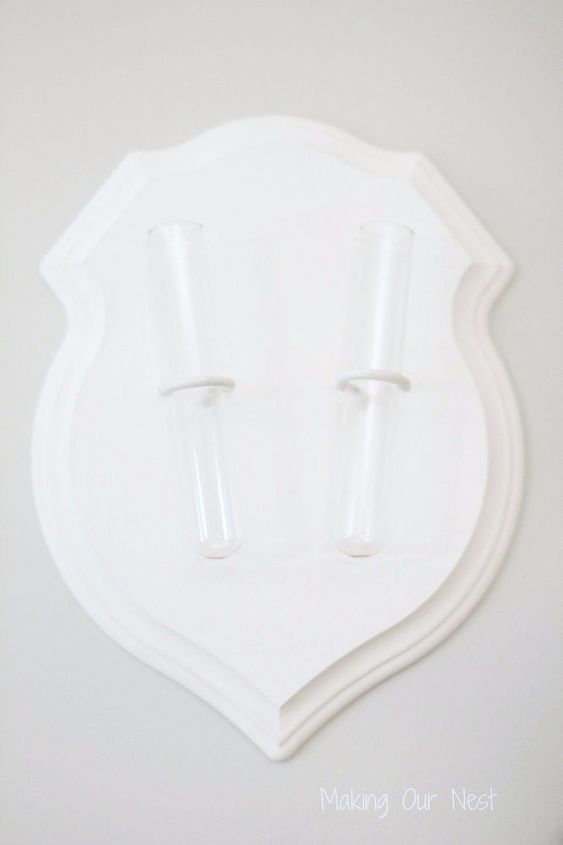
Here is what you will need:
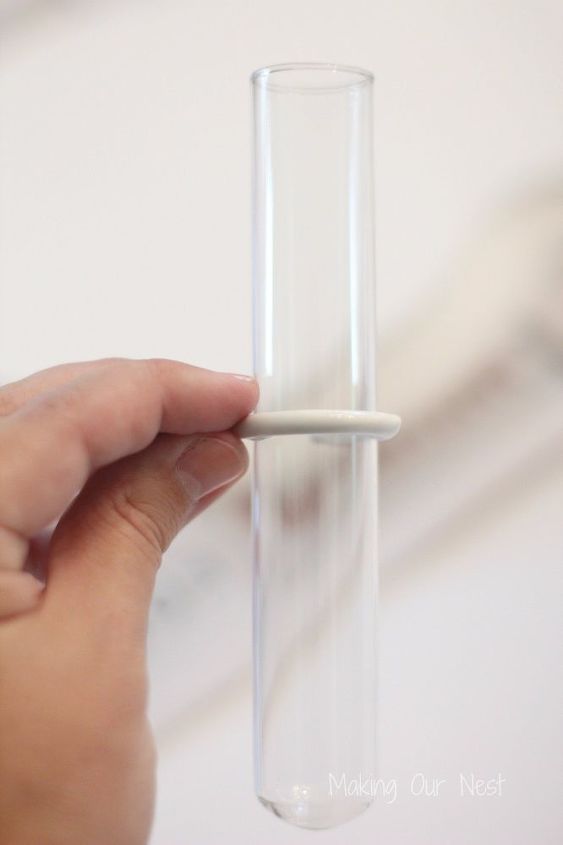
Once the paint has dried, you will want to decide were to attach the test tubes to the plaque. (Make sure your test tubes fit in the hook/wire you choose to attach them to the plaque. My hooks needed a little help of a pliers to open them larger)
I just eyeballed where I wanted them to go on my plaque. Now most professionals will have pre-drilled some holes to screw the hooks into but not me. I just screwed my hooks right into the plaque and risked it. Pre-drilling is smarter as that will ensure the hooks have gone into the plaque straight and without risk of splitting the plaque. But I was confident in my skills (aka super lazy) that I could do it without pre-drilling the holes. You may have to fiddle with the tubes a bit as you want them to slightly angle toward the bottom point so anything you put in the tubes will fan out slightly. (Clearly, I am not a perfectionist crafter. If you are, you may want to do some measuring for this step.)
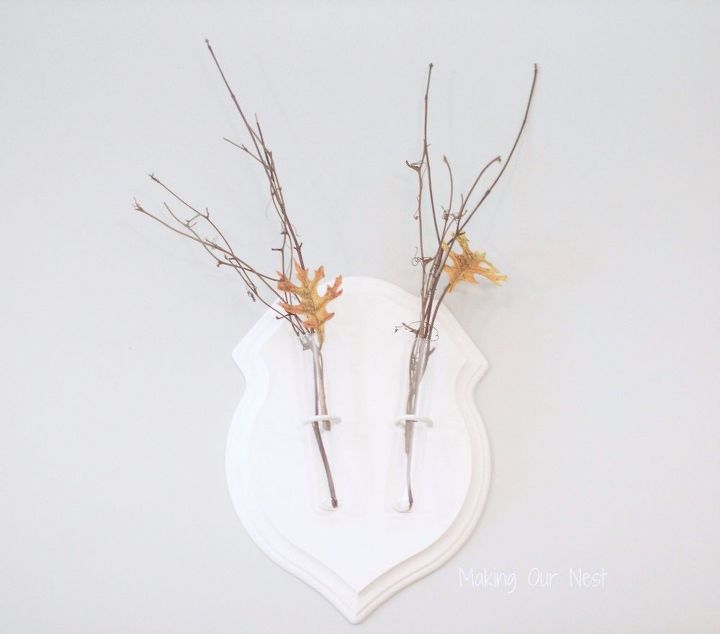
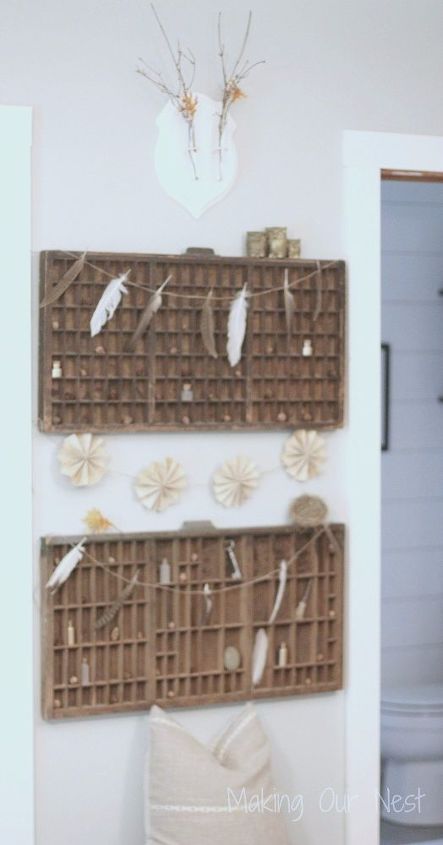
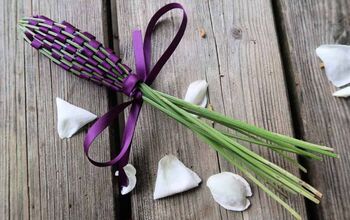
Then comes the fun part, filling the tubes with natural elements. I loved this project because it was so fast and easy and now I have versatile piece of decor that can span through the seasons.

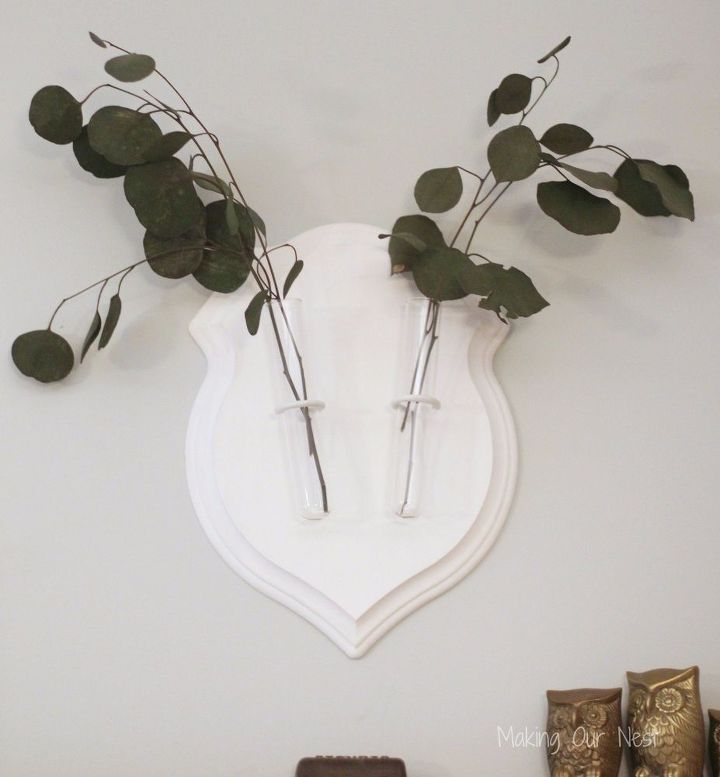
Here is a view of my DIY natural antlers from a little further back.
Well, what do you think? I hope you enjoyed this little DIY and if you try it, let me know how it turned out!
Want more details about this and other DIY projects? Check out my blog post!
Comments
Join the conversation
4 of 5 comments
-
Wow! Great idea! Beautiful:)
-
Were you get the wood plaque love that shape ty
- See 1 previous


Frequently asked questions
Have a question about this project?