


DiY Concrete Skull Candle Holder
$2
1 Hour
Easy
Last weekend, right after I finished my haunted mirror, I started searching for more creepy stuff online. I wasn’t running out of ideas (after all, I have The Creepmaster, aka Greg, by my side) – it was more like a little window shopping. My browsing led me to Decoist.com’s Halloween Gothic Candle Holders post. I was stunned with all the spooky candle holders, but one of them really gave me the creeps: johnny head tea light holders.
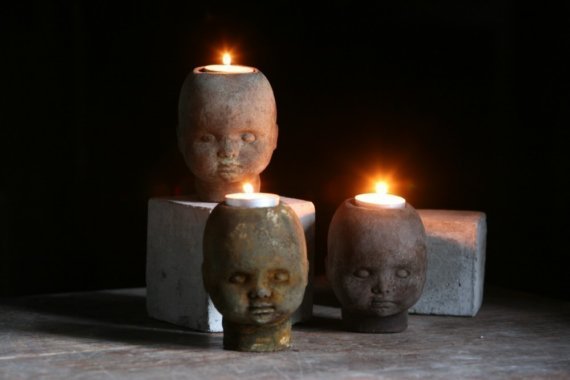
When I clicked on the picture, I found out the tea light candle holders were made by Mudstuff (on Etsy). I actually considered buying them, even thought they were $28 per head. But if only I didn’t make the haunted mirror…because these dolls also have that subtle effect you get from the haunted mirror I made – they look as if they are watching you…a little bit creepy. So having both of them under one roof was going to be just too much for my sanity. What can I say, as I am the only scaredy cat in our family, I don’t want to morph our house into a tunnel of terror. Hence I passed on these lovelies, but I wanted to use the idea: concrete candle holders…or concrete skull candle holders to be exact!
As I wanted to make 3 of them, I looked in my Halloween stash to see what I could use for a mold and found these Dollar Store plastic skulls. YAY! The game was on!
First I needed an opening in the skulls in which I would pour the concrete. These skulls had a small hole on the top, but it definitely wasn’t big enough. I needed to enlarge it.
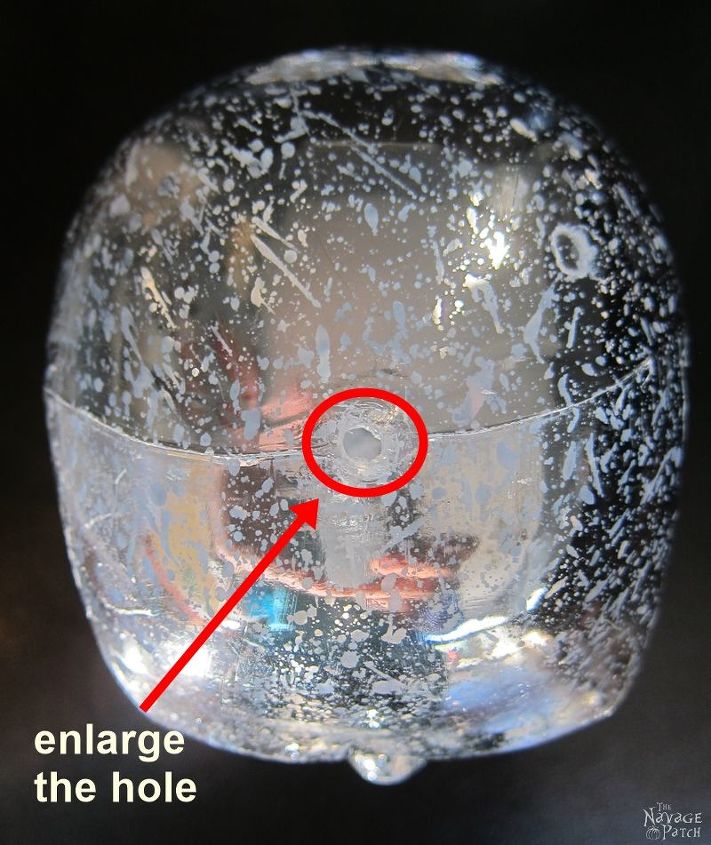
This is when my "go to" drill bit came in handy. I started slowly drilling the top of the skulls. As the plastic was very thin and fragile like glass, I really was nice and slow when drilling, because I didn’t want to break the skull into pieces. Once I opened a good-sized hole, I poured in some oil and swirled it around to fully coat the inside of the skulls.
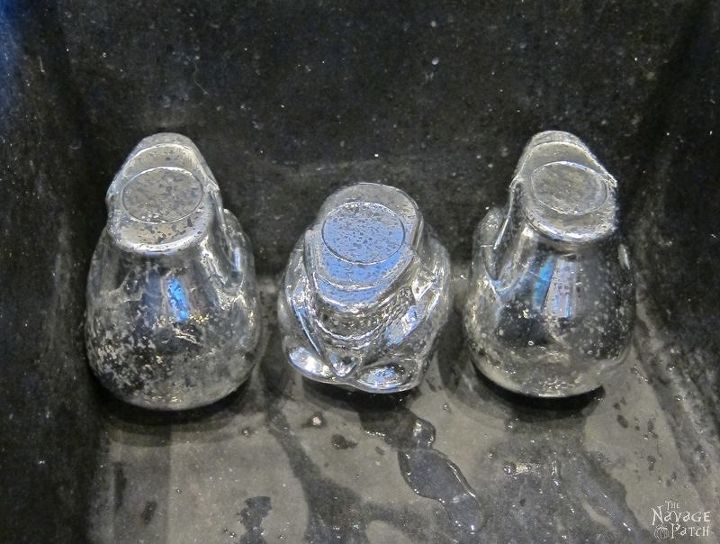
Then I turned the skulls upside down to get rid of the excess oil...
Next day, the concrete was dry and that was the end of this project.
When the concrete started to set, I slightly twisted the candle and removed it and let the concrete dry overnight.
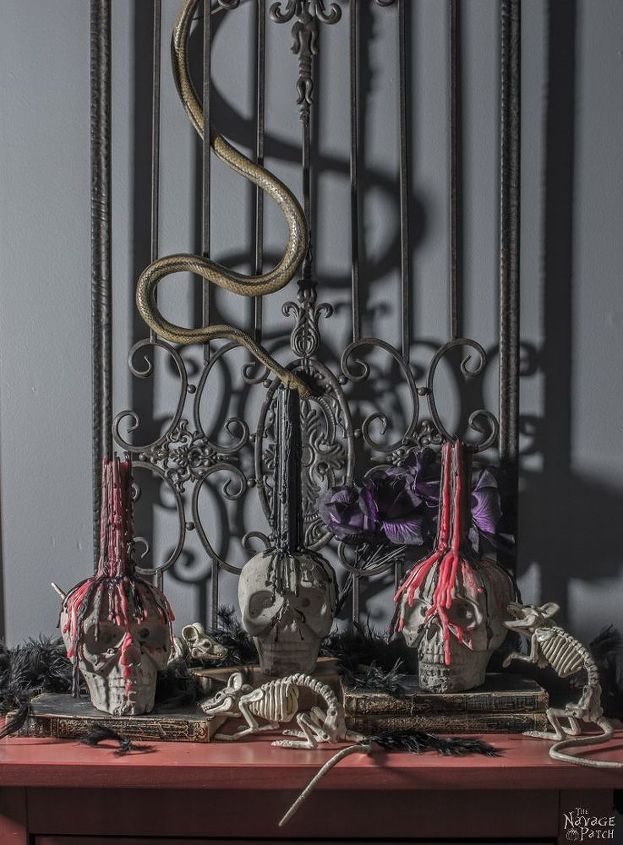
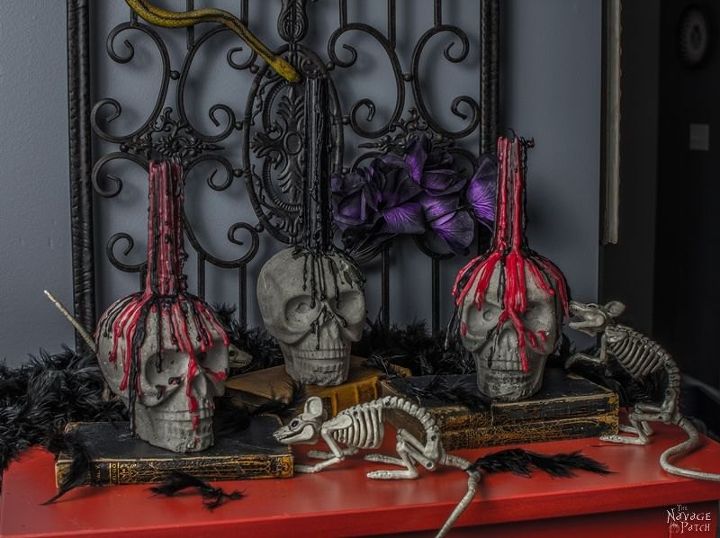
Such an easy project this was! And the best part is the cost: $7 for 3 of them. Not bad at all for a quick weekend project, is it?
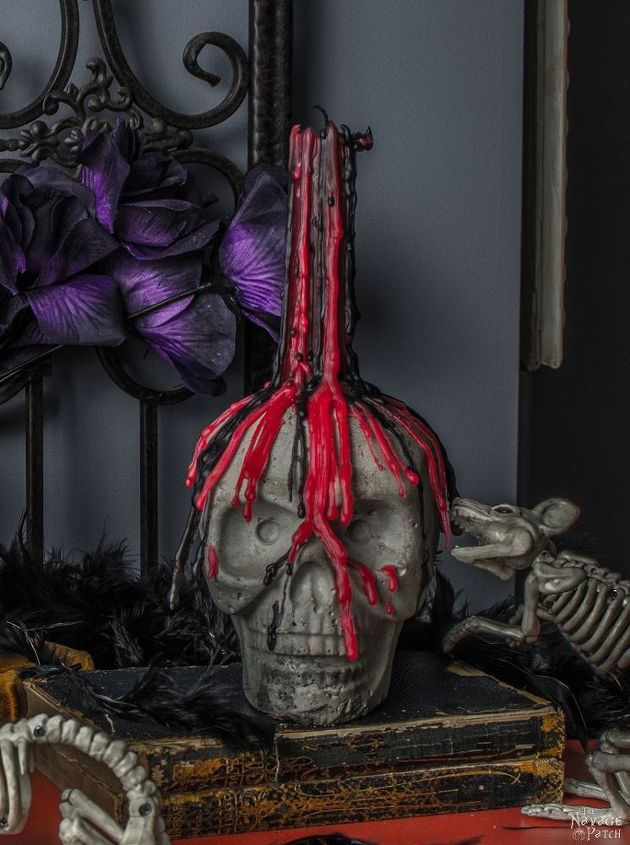
These skulls are the perfect size – not too small or too big. I think they can even be used as paper weights during Halloween.
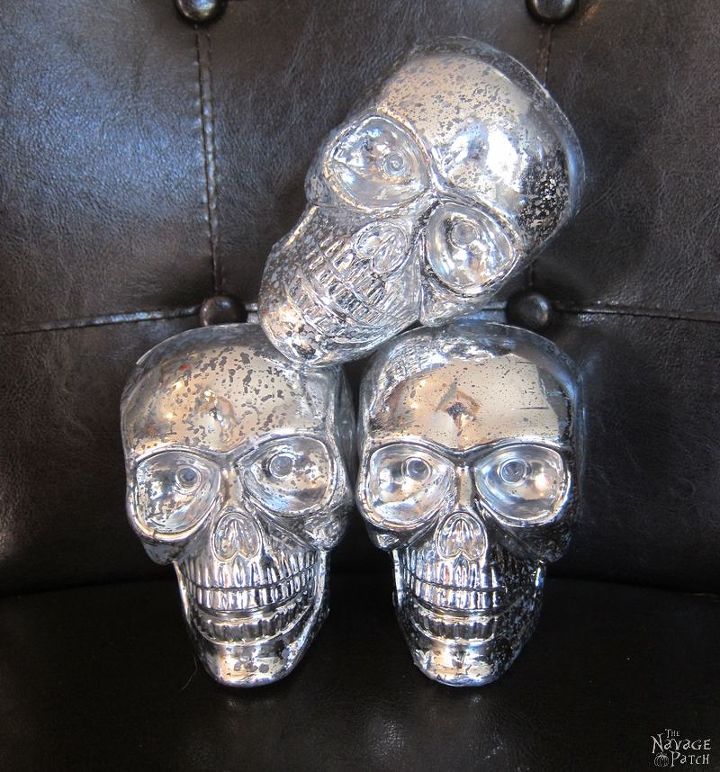
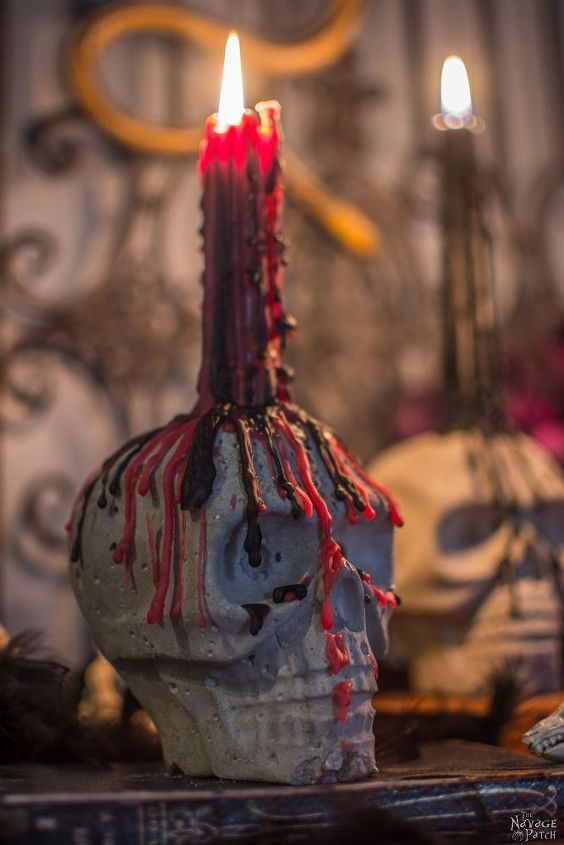
And here they are with the candles lit!
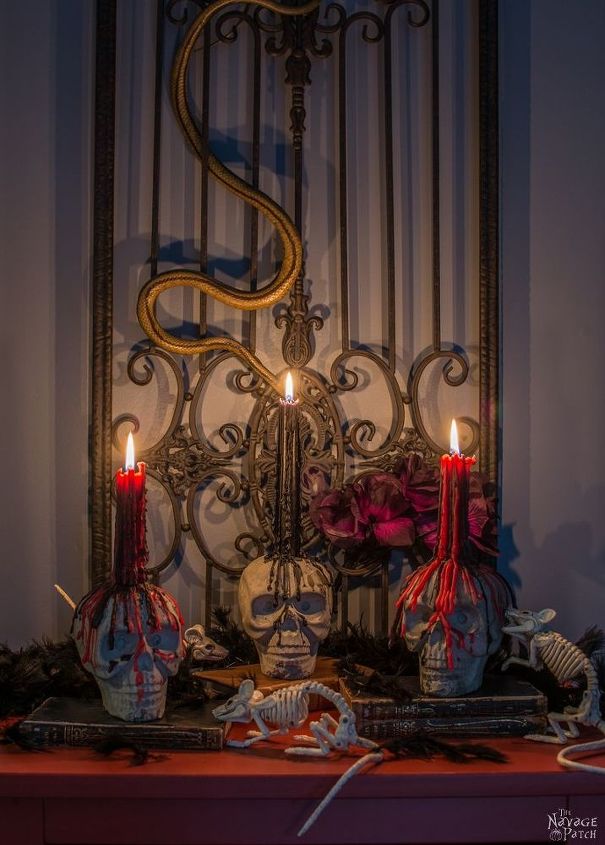
I really love these guys, especially with the candles lit. They definitely don’t look scary, but they do carry that Gothic feel, which is perfect for Halloween.

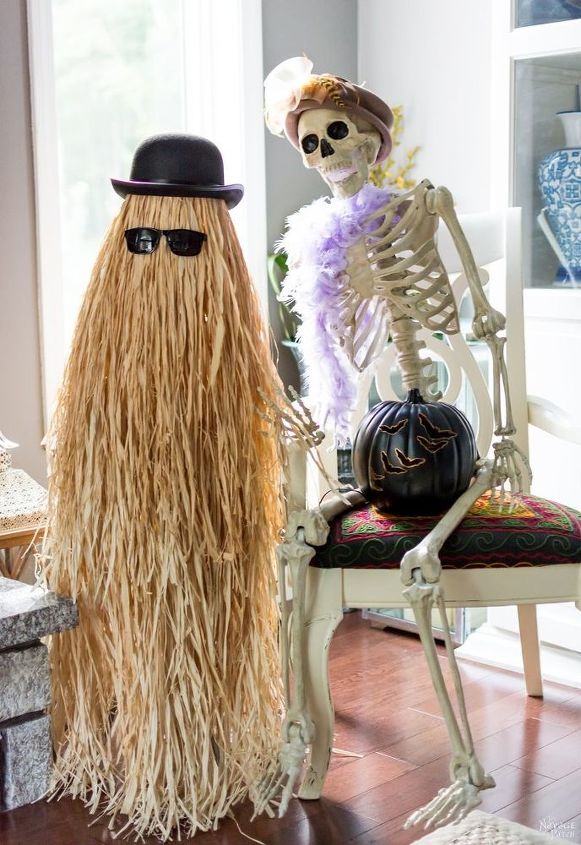
If this is too spooky for you how about my Cousin Itt Halloween prop. Look at him, isn't he the most handsome Halloween prop ever?
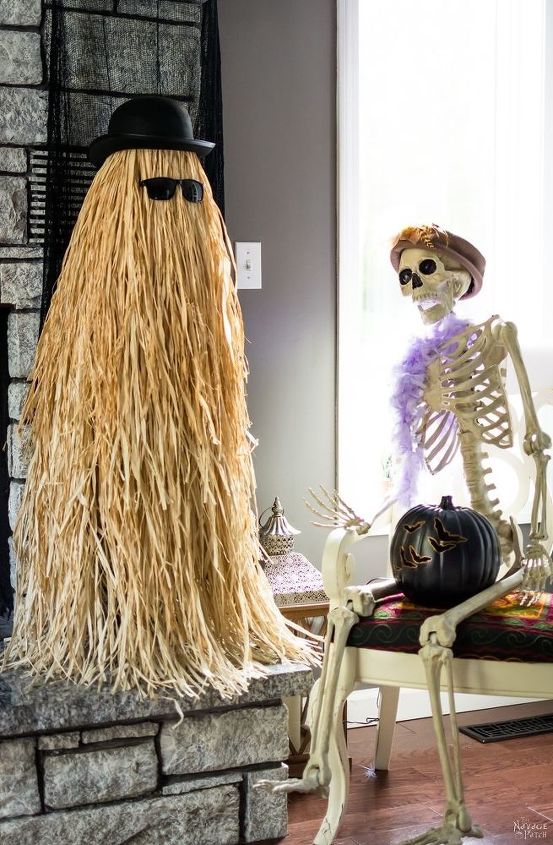
Do you want to see how I made him? Then CLICK HERE TO SEE the step-by-step TUTORIAL of my Cousin Itt.
Trust me, not only it is the easiest prop ever, but your kids will love him too! :-D
Thanks for reading and happy crafting!
Handan, xo

Want more details about this and other DIY projects? Check out my blog post!
Comments
Join the conversation
4 of 87 comments
-
Creepalicious! I think I just made that word up, but it's so apt! Love the gnawing rat skeletons, too.
-
There is spray pint available that goes on like cement. I once used it to make a plastic bat look like a gargoyle. Very effective and
much cheaper , easier than messing with cement.


Frequently asked questions
Have a question about this project?
Where can I get skulls like that. Only ones I can find is half of the skull.
I was wondering where you find candles that still drip? All I can ever find are dripless. Thanks.