


DIY Pine Cone Flower
3 Materials
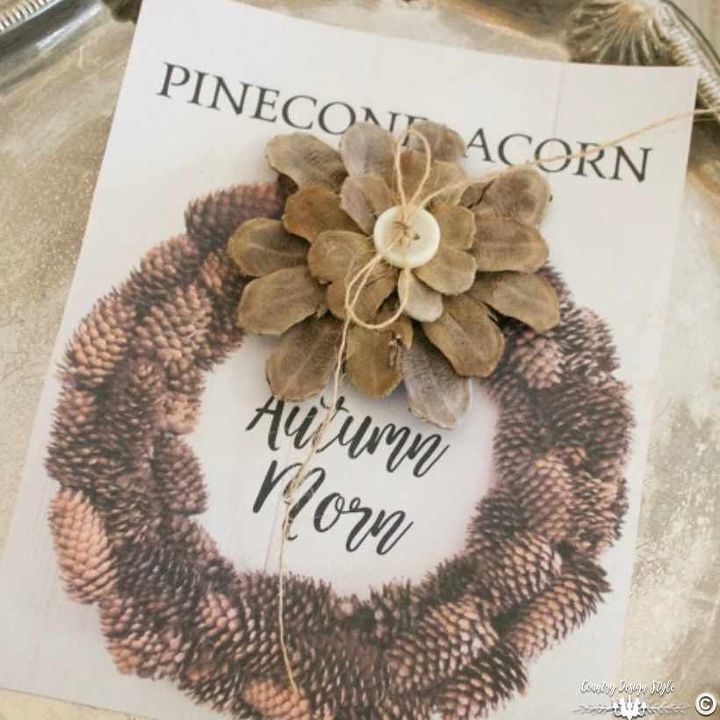
A quick tutorial to make a DIY Pine Cone Flower. After bleaching a large batch of pine cones I starting getting creative with decorating with my new lighter pine cones.
Here's one of the results of decorating with bleached pine cones.
Here's one of the results of decorating with bleached pine cones.
I made this one into a magnet for displaying in my craft room. I like displaying things on thrift store trays with magnets.
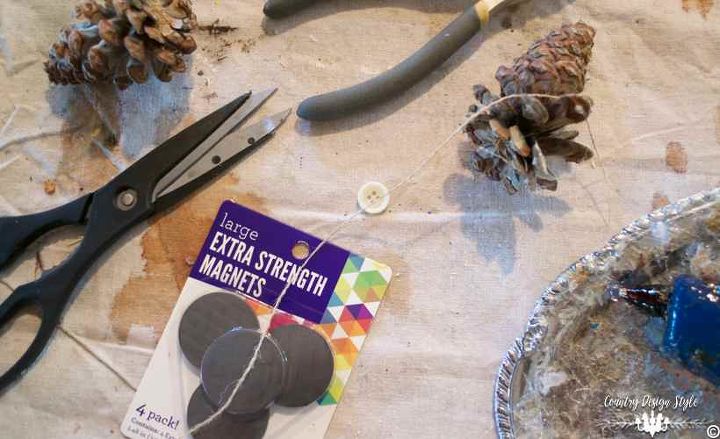
Here are the supplies I used.
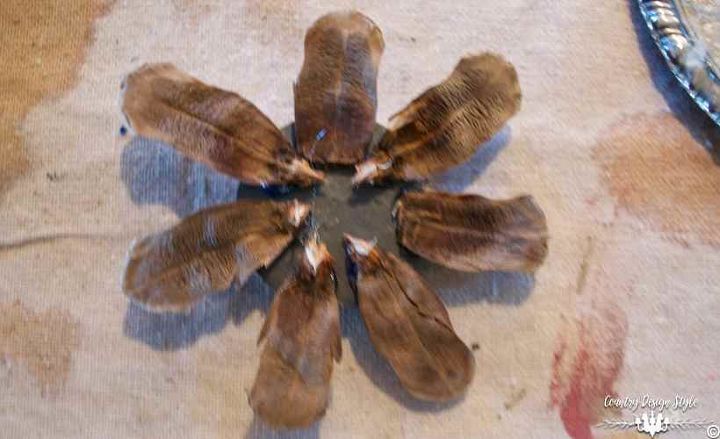
Peel or cut off 21 to 25 scales from the pine cone. Make piles of small medium and large scales. Start with the large and glue in a circle on the disk.
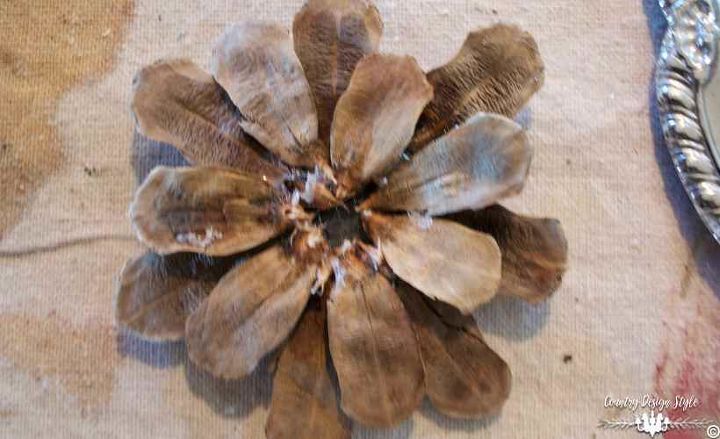
Next, add the medium scales in the center. I added the scales to overlap in the center. Like petals.
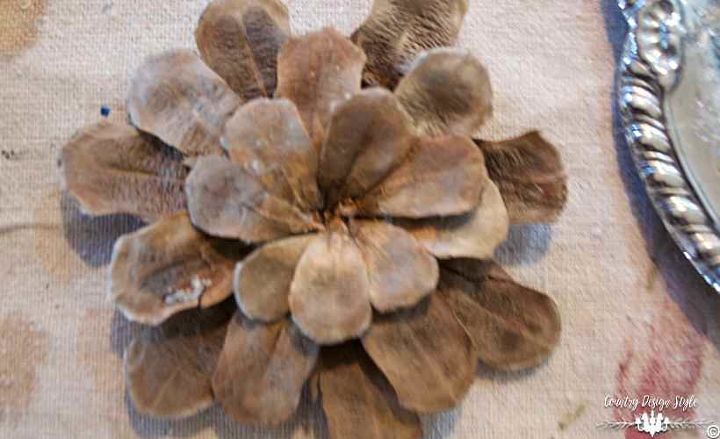
Then I added the small scales in a circle in the middle. Top the flower with a center object. I used a button with burlap thread tied through the button holes. Now I'm ready to hold my free fall printable!

Want more details about this and other DIY projects? Check out my blog post!


Frequently asked questions
Have a question about this project?