


Diy Dryer Vent Pumpkins
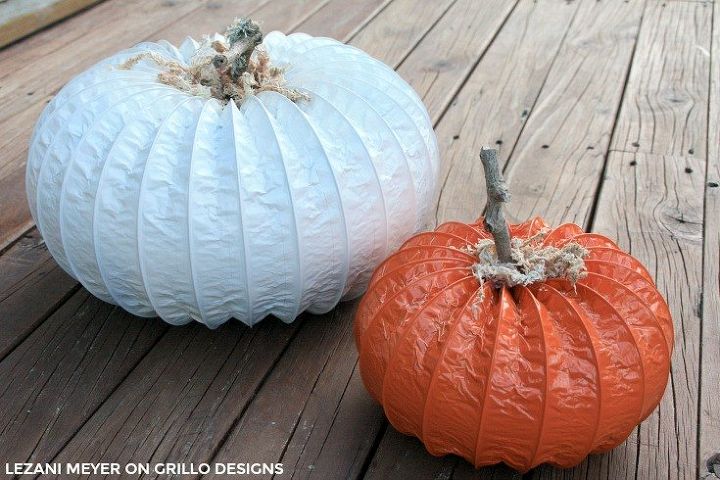
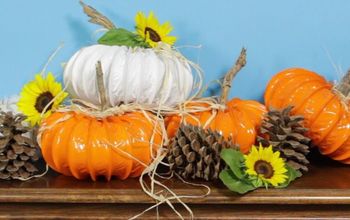
This project was submitted by Lezani Meyer who is a member of our Home Decorating, Upcycling and DIY Facebook group. These Dryer Vent Pumpkins are super easy to make and are a great addition to the inside of your home or porch this Fall (or Autumn as we call it here in the UK)!
Keep scrolling for her tutorial below
Keep scrolling for her tutorial below
Materials Lezani used to make these pumpkins"
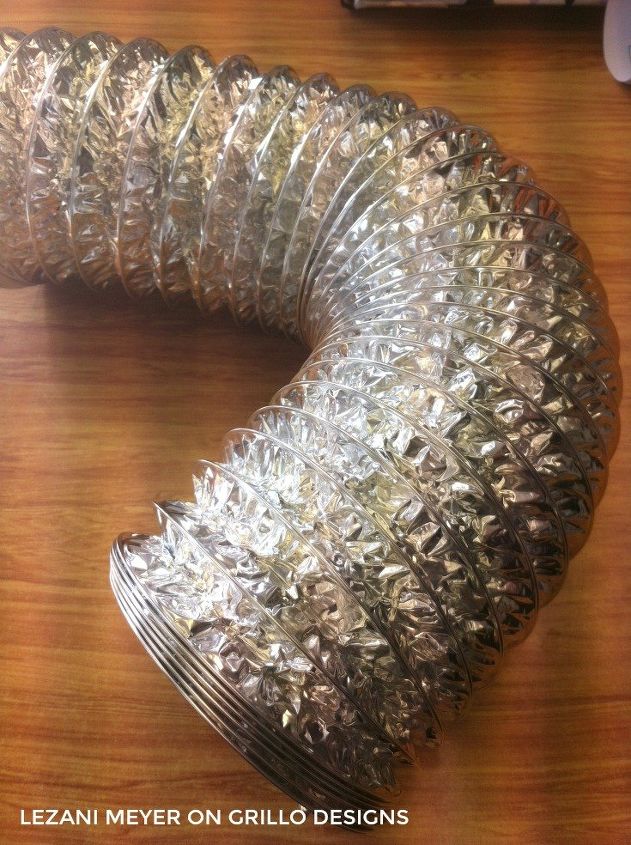
How Lezani made it:

She made them quite tight, that way your stem/stick doesn’t need to be glued, She just pressed the stem in firmly and this holds on its own as the product is very light weight. She just pushed the one end into the other and bent the top wire over a bit with the leatherman tool listed above.
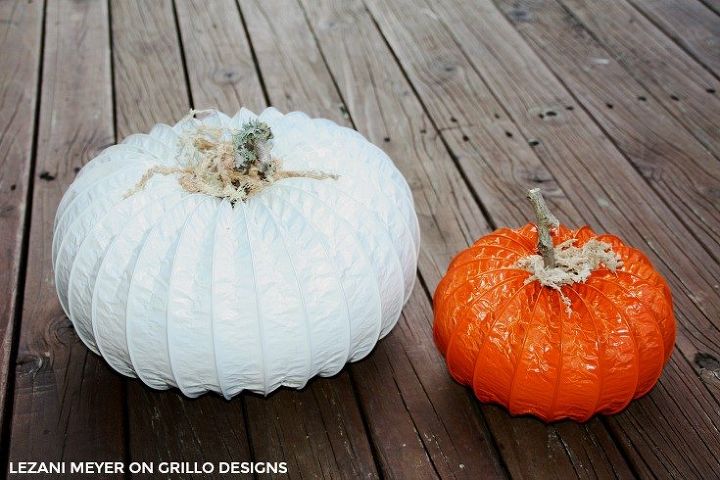
Next she spray painted and used an old branch for the stem. Voila!

Want more details about this and other DIY projects? Check out my blog post!


Frequently asked questions
Have a question about this project?