


How to Make a Pine Cone Monster for Halloween

8 Materials
$15
3 Days
Medium
Someone gave us over 100 Pine Cones and challenged us to see what we could to with them. We immediately found inspiration from Linda at Craftaholics Anonymous®. Her wreath made from pine cones was absolutely adorable and a perfect use for the amount we had. Armed with paint and a glue gun we got started right away.
After baking our pine cones for about 20 minutes at 200 degrees. We painted them. You can do this by hand, which we did (because we're kids) or have mom spray paint them for you. WATCH THE VIDEO FOR MORE!
{
"id": "3574785",
"alt": "",
"title": "",
"video_link": "https://www.youtube.com/embed/TBB4cjwyvmI",
"youtube_video_id": "TBB4cjwyvmI"
}
{
"width": 634,
"height": 357,
"showRelated": true
}
Watch the video above to learn how to make your own Pine Cone Monster Wreath for Halloween! OR you could always read the step by step guide below.

If you found your pine cones outside it's a good idea to bake them in the oven at 200 degrees for 20 minutes. This will get rid of any bugs that may be hiding inside your pine cones. If you bought your pine cones, move to the next step.
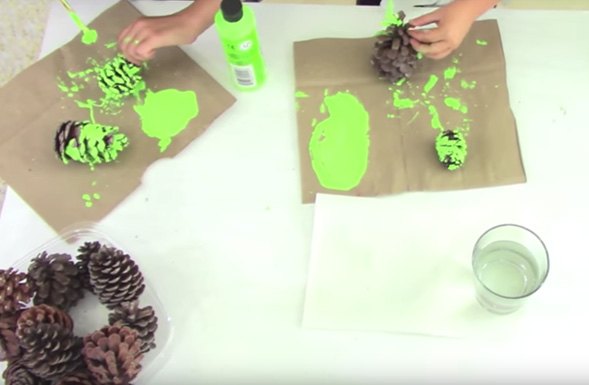
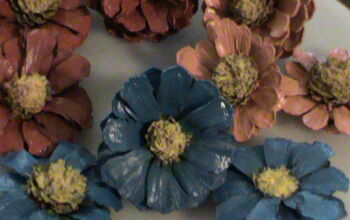
Paint your pine cones and let them dry overnight. We used a paint brush with hard bristles to get into the nooks & crannies of the pine cones. This step takes a while, so grab the neighborhood kids and have fun ;-).
NOTE: We tried dipping the entire pine cone in paint, but ran into two snags:
- Dipping used a ton of paint
- Due to the moisture of the paint, as the dipped pine cones were drying they closed up.
We didn't have this problem when we painted them individually. Yes...spray painting the pine cones would probably be quicker; however because we're kids, we chose the hand-painted method.
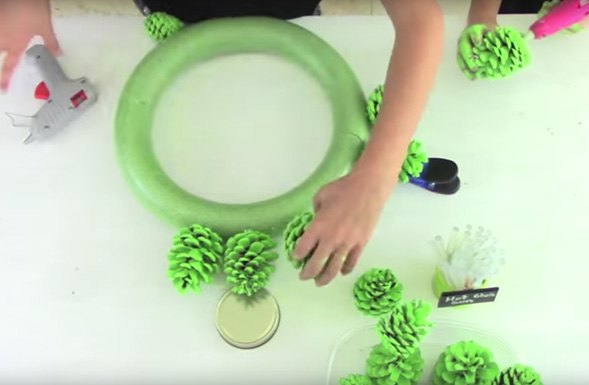
Start hot gluing the pine cones around the foam wreath. As each pine cone was glued on we placed a lid or chip clip under the pine cone until the glue dried. About 5–15 seconds.
NOTE: Using Craftaholics Anonymous® tip, we glued our large pine cones around the edge, filling the wreath in with a variety of sizes as we moved along.
Realizing this was a lot of work, we started wondering if we could extend the life of our Halloween Wreath by converting it into a Christmas Wreath.
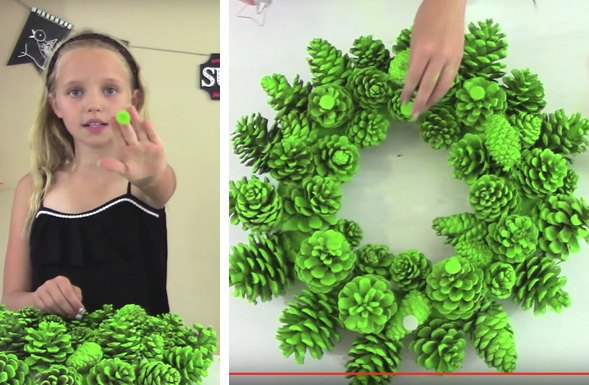
So we decided to attach our Halloween Monster features with small velcro tabs. This gave us the flexibility to swap our the Halloween eyes, bow & teeth for our Christmas Grinch eyes, santa cap & smile.
NOTE: We purposely painted our white velcro tabs with the same green paint we used on the pine cones. Then we hot glued them in position on the Halloween Wreath. If you pre-position your monster, eyes, bow & teeth on the wreath you can easily determine where to put the velcro tabs.
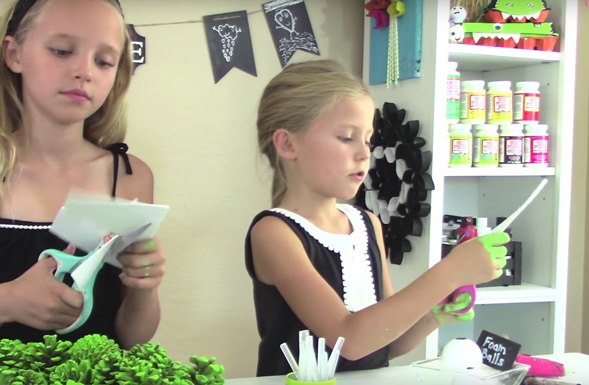
Paint black circles into the middle of the White foam ball for monster eyes and cut triangles out of White foam for the teeth.
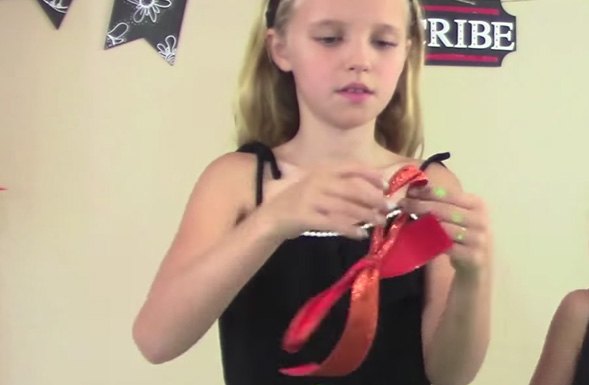
Tie the Orange ribbon into a bow & puff out the loops.
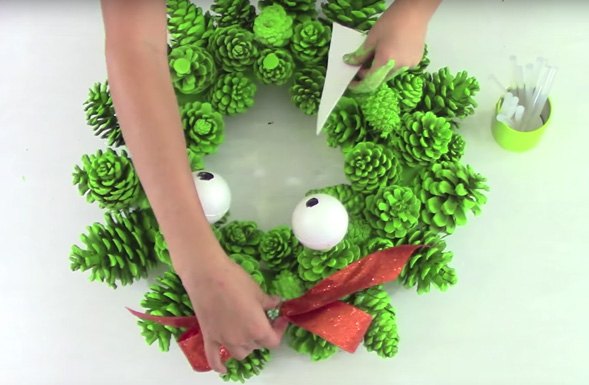
Hot glue the other end of the velcro tabs on your Monster features and add them to the Halloween Wreath. It was a lot of work, but the results are really cool.
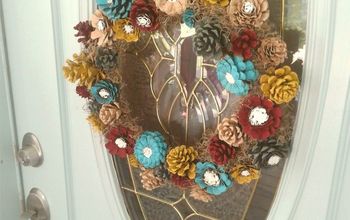
We suggest letting the wreath sit for an extra day after all the pine cones are glued around the foam. After that, you can hang it on the door using an over the door wreath hanger.
If you do it too soon, you might loose a pine cone or two. Just hot glue them back on.
If you enjoyed this DIY, check out our YouTube channel:
https://www.youtube.com/c/KidsCraftsbyThreeSisters
Thank you so much for reading/watching!


Frequently asked questions
Have a question about this project?