


Creepy Marbleized Pumpkin

by
Linda kelley
5 Materials
I've been staring at this pumpkin for a few days wondering what I am going to try on it! I decided to try the marbleizing technique I used on the flowerpot, here's a link : https://kelleysdiy.com/2016/09/28/marbleized-flowerpot/
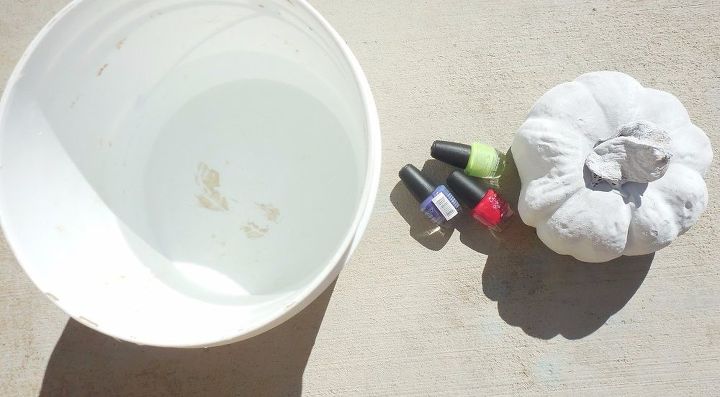
I first sprayed the pumpkin with Rustoleum 2x white blossom, then let dry completely.
All you need for this technique is: Bucket, Water, Pumpkin and 2-3 Nail Polish Colors
I first sprayed the pumpkin with Rustoleum 2x white blossom, then let dry completely.
All you need for this technique is: Bucket, Water, Pumpkin and 2-3 Nail Polish Colors
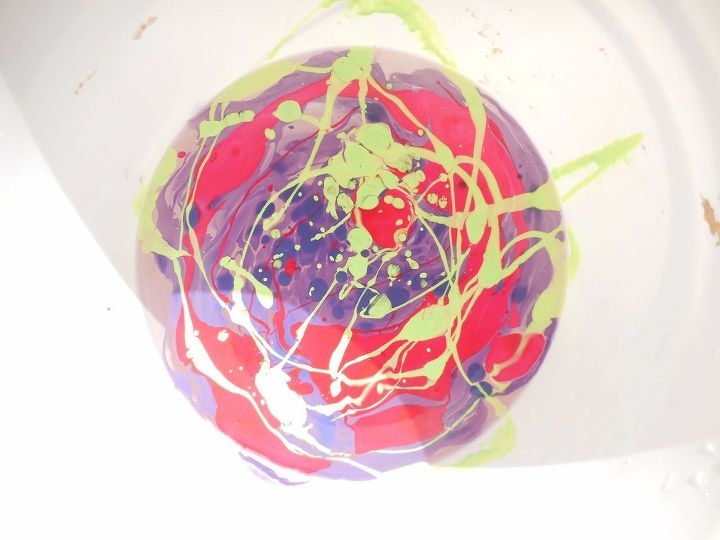
You slowly add one half of each nail polish to the bucket of water. The nail polish doesn't sink...if yours does, it won't work. I purchased these polishes at the Dollar Tree...so you don't have to use your good nail polishes! Anyway, I dribbled out the 3 colors one at a time. This is what it looks like:
Then I slowly put the pumpkin in the bucket upside down....moving it slowly and turning it to get all the polish on the pumpkin. I forgot...yes I did...to put the top in first
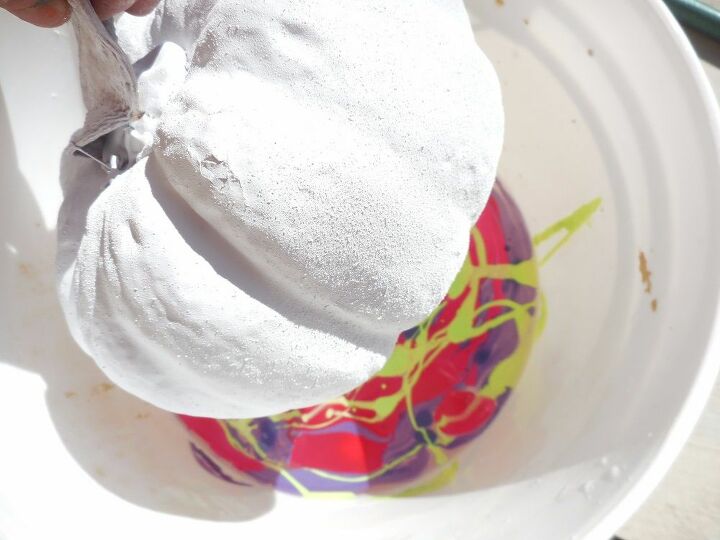
so after the bottom was done...I put the rest of the 3 nail polishes in the bucket of water (you don't have to change the water) and this is what I ended up with:
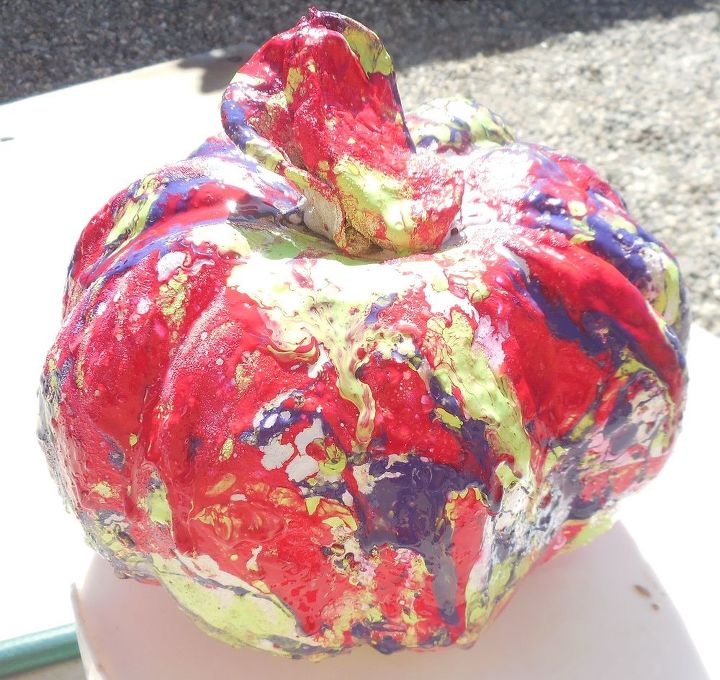
here's another look;
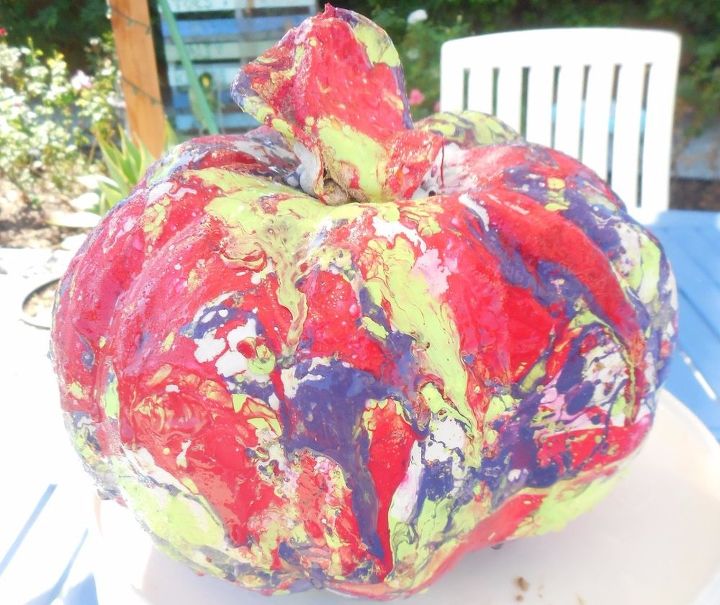
t will look better when dried. Clean off any blobs with a paper towel. This is not a messy job...seriously..I did this on a patio and no messes!
Want more details about this and other DIY projects? Check out my blog post!


Frequently asked questions
Have a question about this project?