


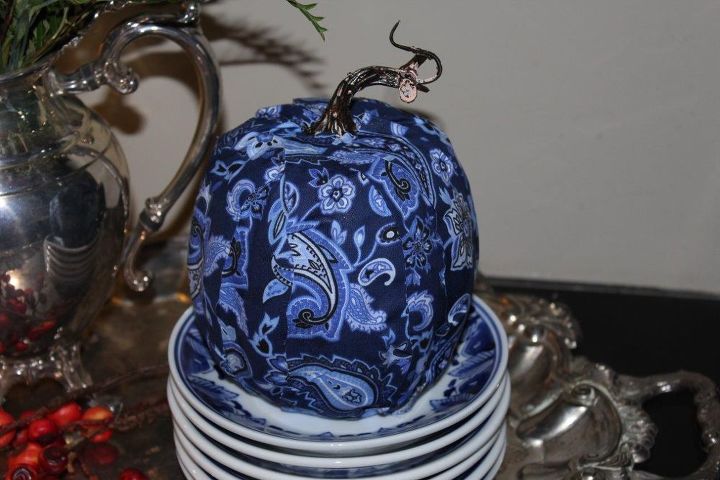
DESIGNING AN ELEGANT FAUX PUMPKIN
4 Materials
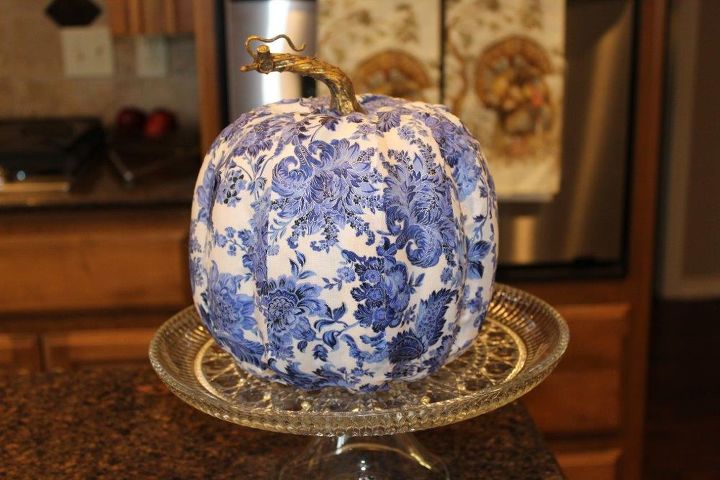
If you are like me, you have been adoring all of those gorgeous faux pumpkins that are on the market. However, these beautiful pumpkins can be quite expensive. Why not make your own designer pumpkin, at a fraction of the price? If you can cut and paste, then you can do this. I promise, and the end results will be unbelievable!

For this project, you will need a faux pumpkin (particularly one with a pretty stem), Mod Podge, scissors, paint brush, and a fabric of your choosing.
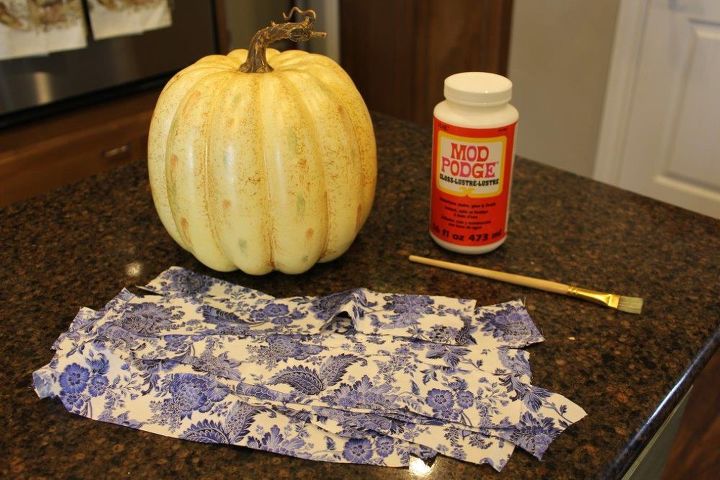
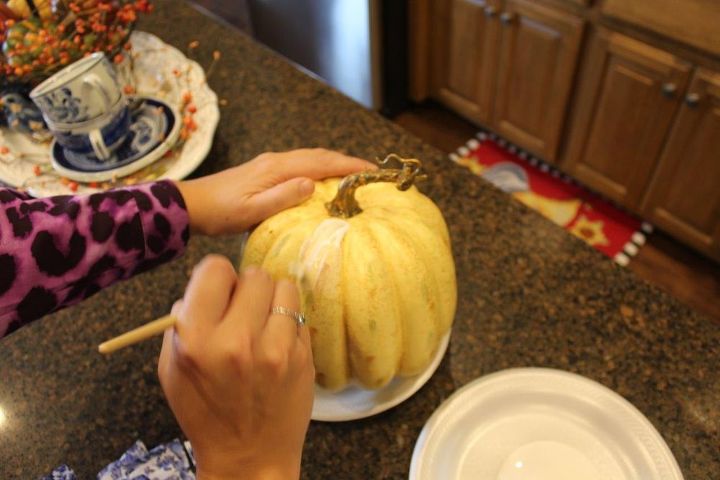
First, you will need to cut your fabric into 1/2 to 1 inch wide strips. The length of your fabric strips will depend on the size of your pumpkin. Also, you will probably want to use a cotton fabric. I believe it works best with the glue. Second, brush on a strip of the Mod Podge onto the pumpkin.
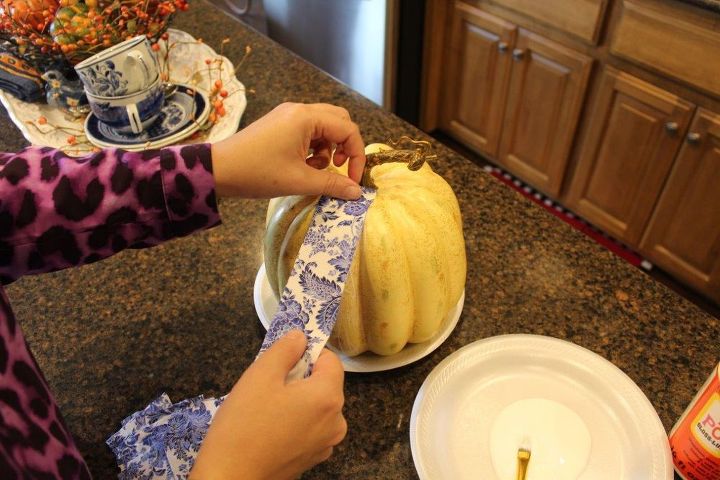
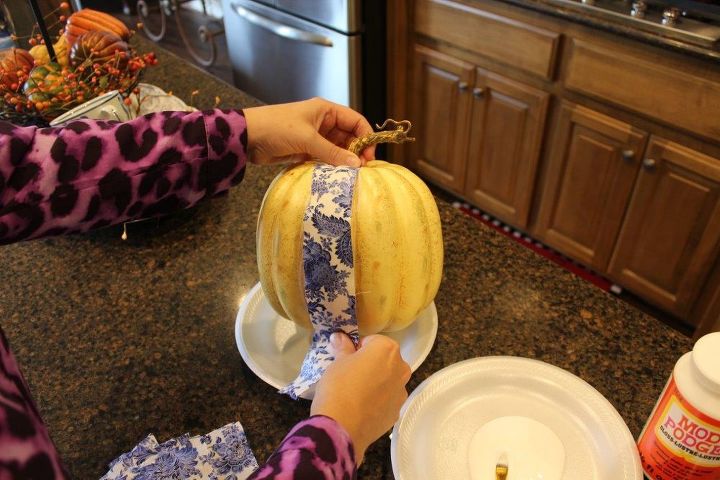
Third, place a strip of fabric along the glued portion of the pumpkin. Repeat until the pumpkin is entirely covered.
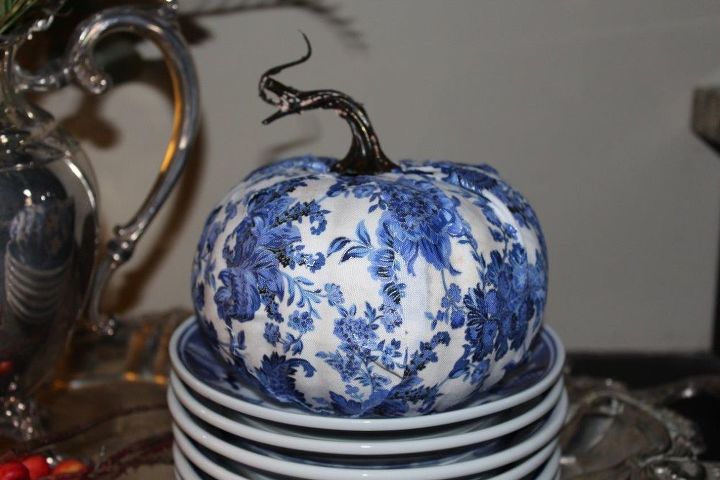
This is the finished project. I told you it was easy, and the results are fabulous!
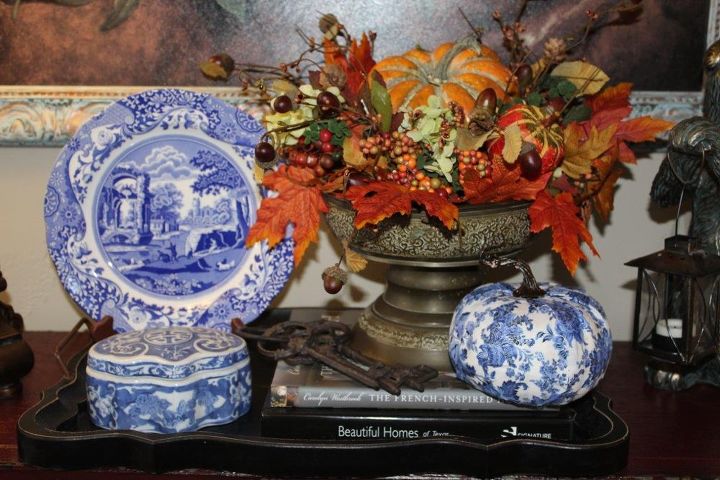
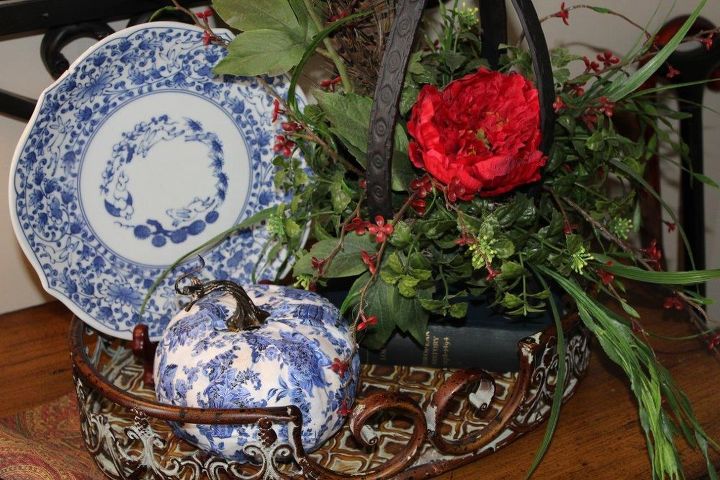
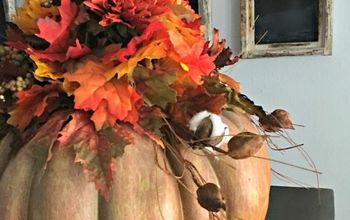
I have had so much fun making these designer looking faux pumpkins and creating Fall vignettes all over the house.

Want more details about this and other DIY projects? Check out my blog post!
Comments
Join the conversation
2 of 107 comments
-
Gorgeous gorgeous yummy! Im
loving the non-trad colors of these pumpkins
-
Ooh! I want to make one of these!!


Frequently asked questions
Have a question about this project?