


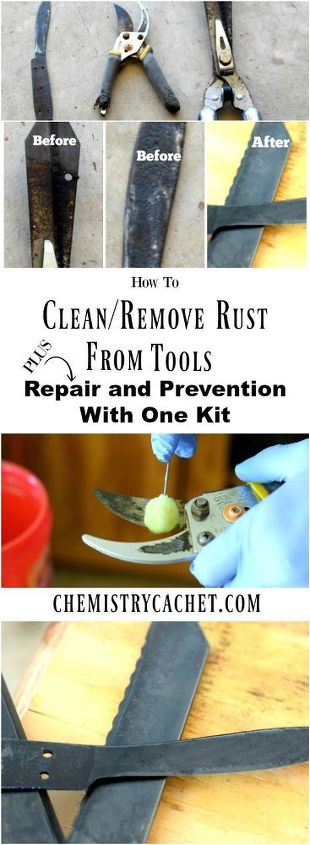
Unique How to Tutorial: Remove, Repair & Prevent Rust on Tools
Today for our Chemist Solutions Series is a tutorial for how to remove rust from tools PLUS steps for repairing and preventing further rust.
This is a unique spin on some homemade options we use that really preserves and brings your tools back to life. All with one kit, you can prepare all your garden tools, regular tools, or anything else made of steel for winter.
Believe it or not, this affordable little kit is made for gun metal, but it has proven to be just as effective for household tools, even outdoor knives. This how to remove rust from tools tutorial is great for anything made of steel.
Since this is part of our chemist solutions series, we talk a little about the chemistry behind this process along with a tutorial so you can easily do this at home. Before we start in on that, I know we will have some readers wonder about my homemade rust removal.
There are numerous rust removal processes out there. In fact, the upcoming Chemistry Cachet book full of AWESOME chemistry hacks (should be out next month!) has a great home rust removal recipe in it. I have used this particular one for years, and it is great for removing basic rust on your tools. Plus, it is so easy. More details on that will be in the book though.
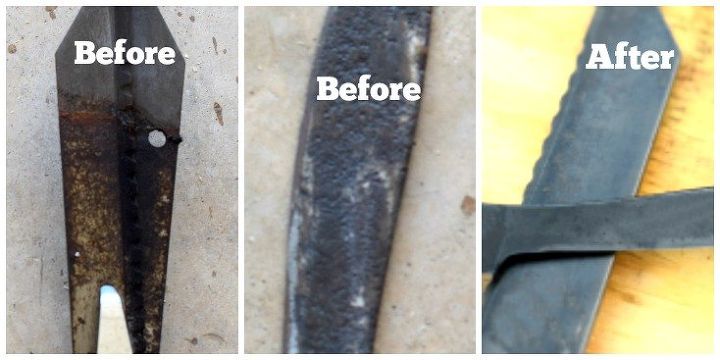
This method is exceptionally effective on those tools that are pitted, scarred, and corroded in addition to rusted. Using this kit not only cleans the tool and removes rust, but it repairs and coats the metal to make it almost as good as new.
This is a unique spin on some homemade options we use that really preserves and brings your tools back to life. All with one kit, you can prepare all your garden tools, regular tools, or anything else made of steel for winter.
Believe it or not, this affordable little kit is made for gun metal, but it has proven to be just as effective for household tools, even outdoor knives. This how to remove rust from tools tutorial is great for anything made of steel.
Since this is part of our chemist solutions series, we talk a little about the chemistry behind this process along with a tutorial so you can easily do this at home. Before we start in on that, I know we will have some readers wonder about my homemade rust removal.
There are numerous rust removal processes out there. In fact, the upcoming Chemistry Cachet book full of AWESOME chemistry hacks (should be out next month!) has a great home rust removal recipe in it. I have used this particular one for years, and it is great for removing basic rust on your tools. Plus, it is so easy. More details on that will be in the book though.
This method is exceptionally effective on those tools that are pitted, scarred, and corroded in addition to rusted. Using this kit not only cleans the tool and removes rust, but it repairs and coats the metal to make it almost as good as new.

What You Need For the Complete Process:
Directions:
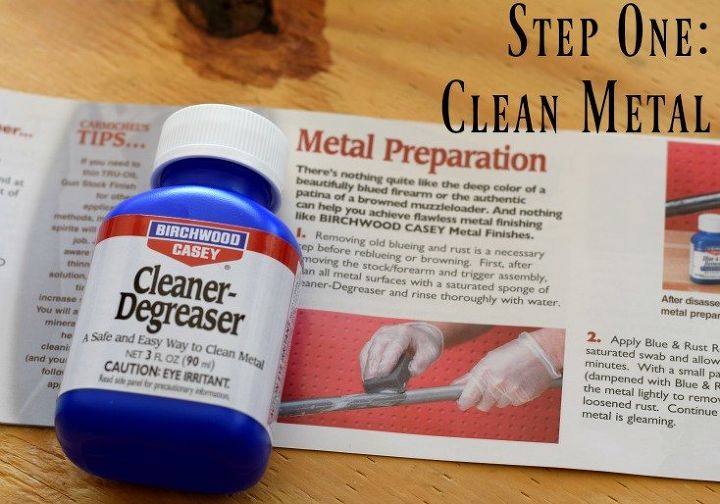
Step one: Using the clean-degreaser bottle and sponge, scrub the tools well over a bucket. We do this to save any of the cleaner that comes off. Then, we dip the sponge back in and continue to wash it.
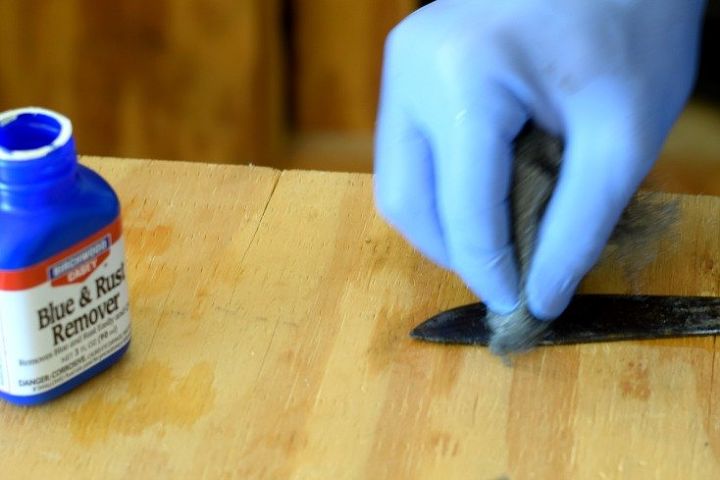
Step two: With the steel wool, apply the rust remover bottle and really scrub well. If needed, use some sand paper to get into any pitting. This is the only step that may take some. Depending on what shape the tools are in, just make sure to get as much rust off as possible.
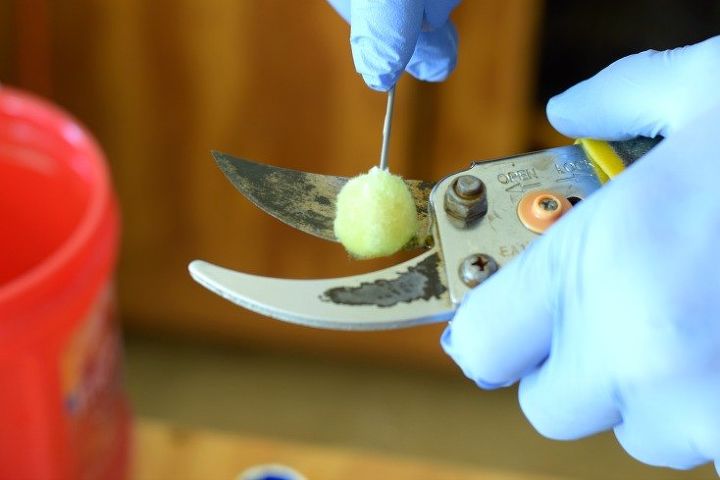
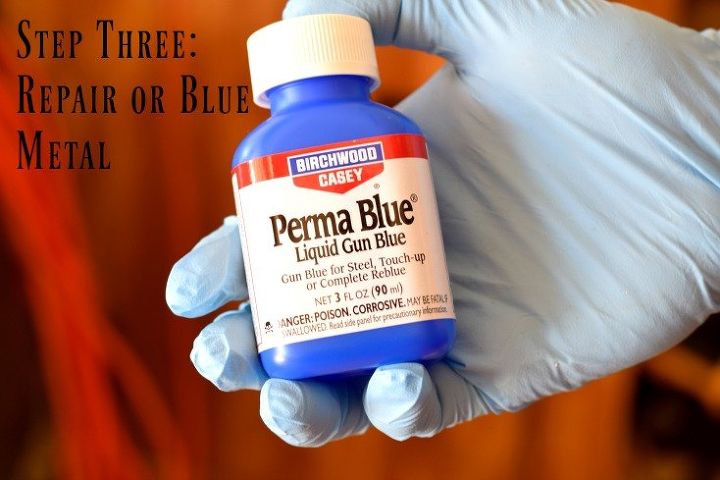
Step three: Repair the metal with the Perma Blue Bottle. Work quickly and rub the tool with this substance. Leave on for 30-60 seconds. Rinse in cold water while rubbing the tool with steel wool to make sure it gets into pitting.
Make sure to CLICK HERE for scientific tips, detailed information on how this works, and more detailed pictures!

Want more details about this and other DIY projects? Check out my blog post!


Frequently asked questions
Have a question about this project?