


Quick DIY: Instagram Photo Magnets
Easy
There is something really special about having pictures up around the house. They act as a constant reminder of all the good memories shared with your loved ones. That being said, I am still really terrible about actually putting any photos up! After 3 years of marriage, we have just one picture printed! The closest I normally get to printing out photos is scrolling through the ones I have saved on my phone when I’m bored. Enough is enough! These easy Instagram Photo Magnets DIY are a good start for me to bring some special memories out into the open.
This is a surprisingly easy DIY and ends up looking extremely professional. With your friend’s Instagram photos being freely available to you, why not use some of their photos and make them a surprise Instagram Photo Magnets DIY gift?
Preparation:
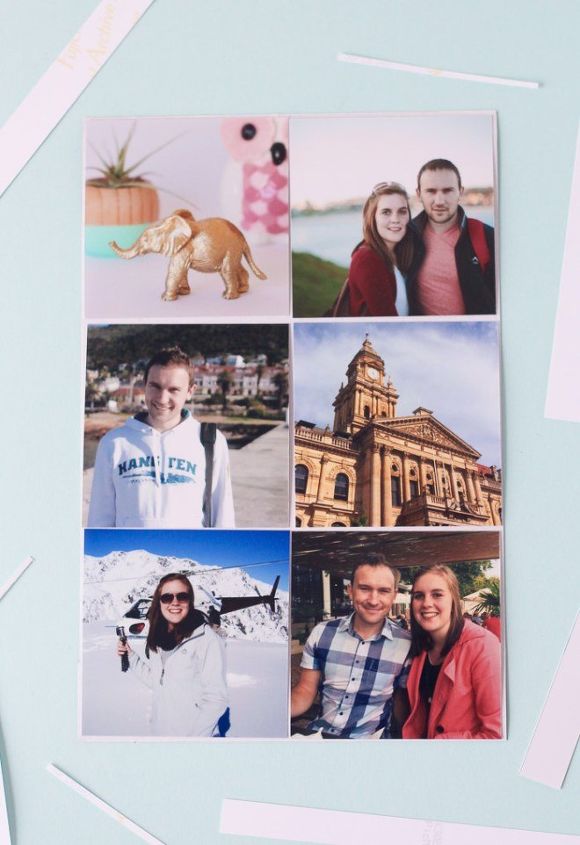
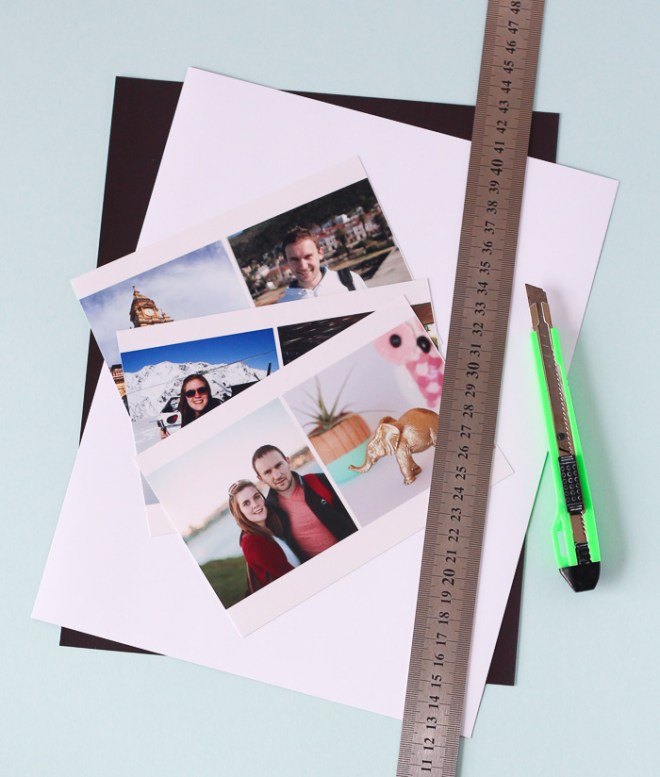
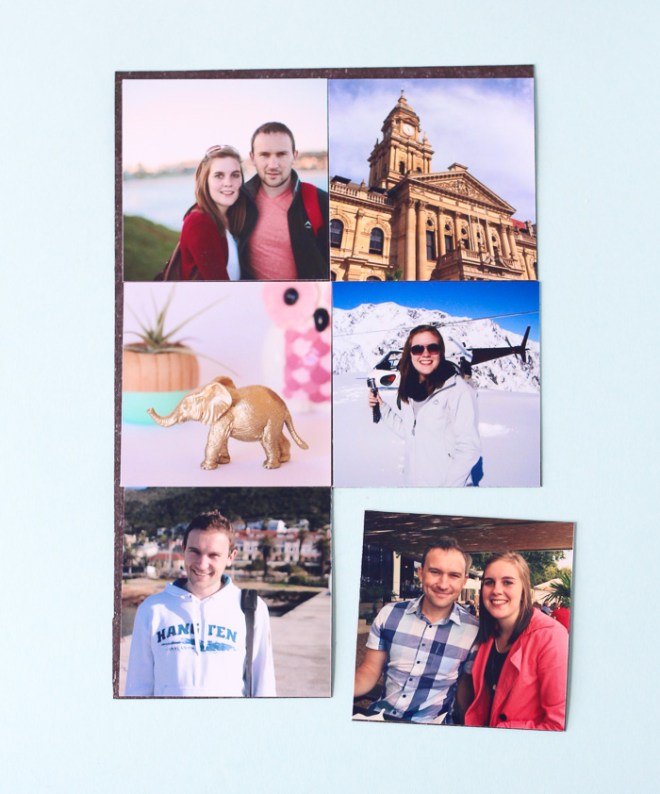
Pull off the backing of the adhesive magnet paper and stick down your photographs. Allow a small gap between photographs, for cutting the magnets to size.
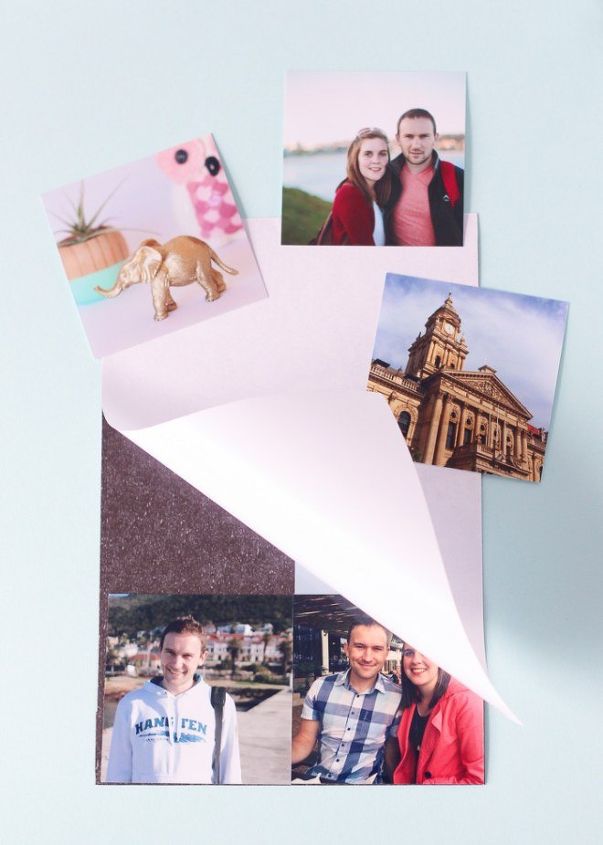
Again, using the craft knife, carefully cut along the edge of each photograph.
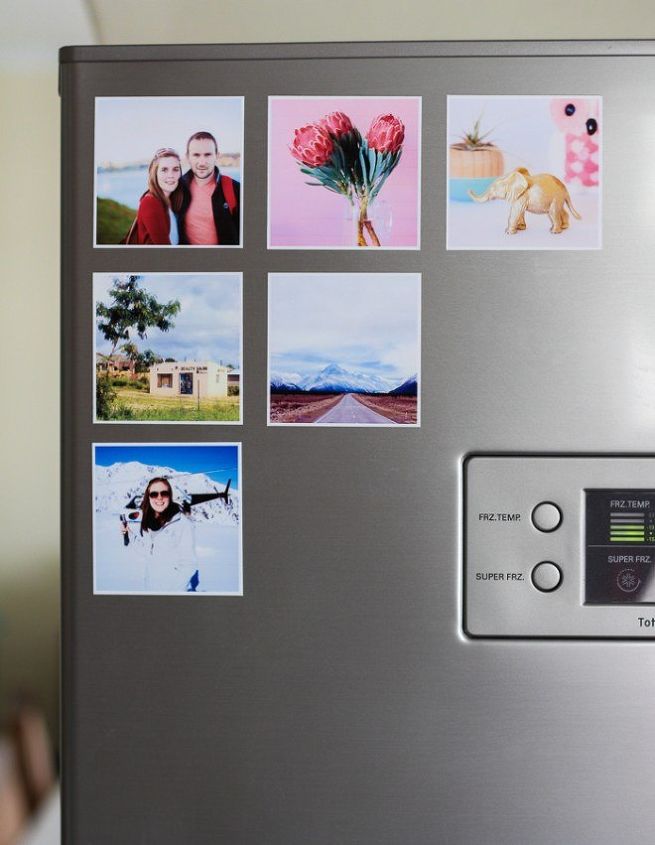
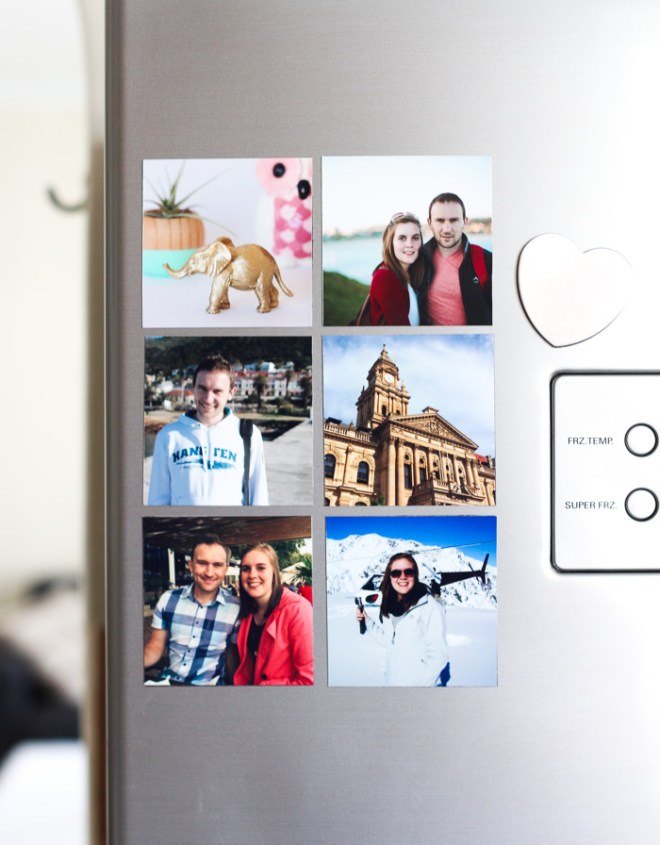
Now all that’s left to do is admire your handiwork and take a trip down memory lane!
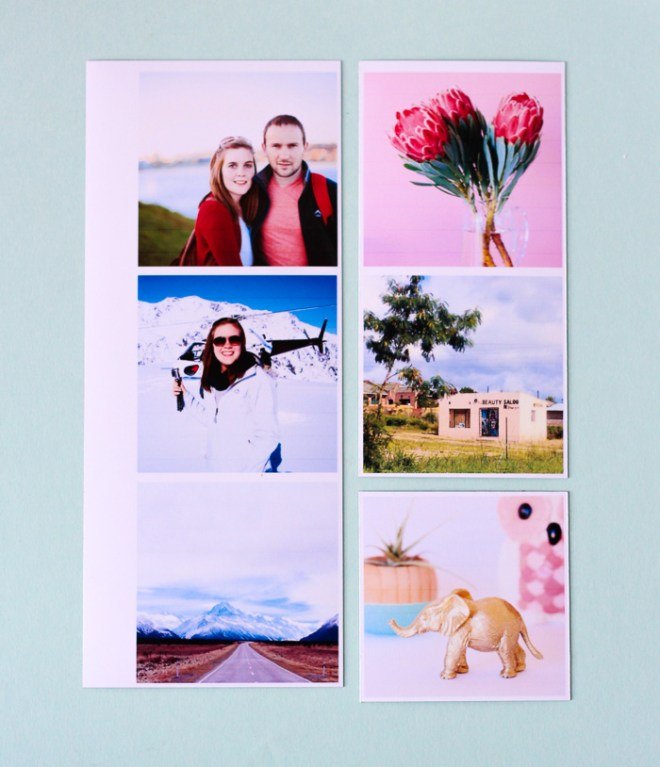
*If you have printable magnet paper, all you need to do is arrange your photos onto a page the size of your printable magnet paper. You can do this in Word, Photoshop or an online collage site, such as Picmonkey. Print the photos onto the shiny white side of the printable magnet paper. Carefully cut around each photo with the craft knife and your magnets are ready to be displayed!
Hope you enjoyed the DIY! Do share your experience!

Want more details about this and other DIY projects? Check out my blog post!
Comments
Join the conversation
3 of 5 comments
-
We have been making magnets using flexible magnet sheets for many years. We also sell magnet sheets on our Etsy site in small quantities to crafters. Another great idea for using magnetic sheets is to mount your children's artwork on magnet. If it is too big, take a photo of it, scale it to the size you want, and then turn it into a magnet. Great gifts for the grandparents! Happy Holidays! Fredda from The Magnificent Magnet
-
I have printed pictures off Facebook, & framed for friends. Had transfered for blankets too. Can regular printing paper be used for this? I would probably put a light coat of mod podge mat over the top for durability. SOS, this would be a last minute Christmas gift. Help‼️ TY 😊


Frequently asked questions
Have a question about this project?