


No Sew Moroccan Wedding Blanket Tree Skirt

5 Materials
$20-32
4 Hours
Easy
I haven't had a tree skirt in years and have instead been covering my tree stand with some beautiful saris my sister brought me back from India. The thing is they are clearly not meant for such a purpose and for that reason I decided it was time to do something about it and make a tree skirt! I love Moroccan wedding blankets and all their glitz and fluff so I thought it would be fun to replicate the same sort of style in a tree skirt. It only takes glueing a variety of trims to a large piece of felt fabric to make this tree skirt. Super easy and super snazzy!
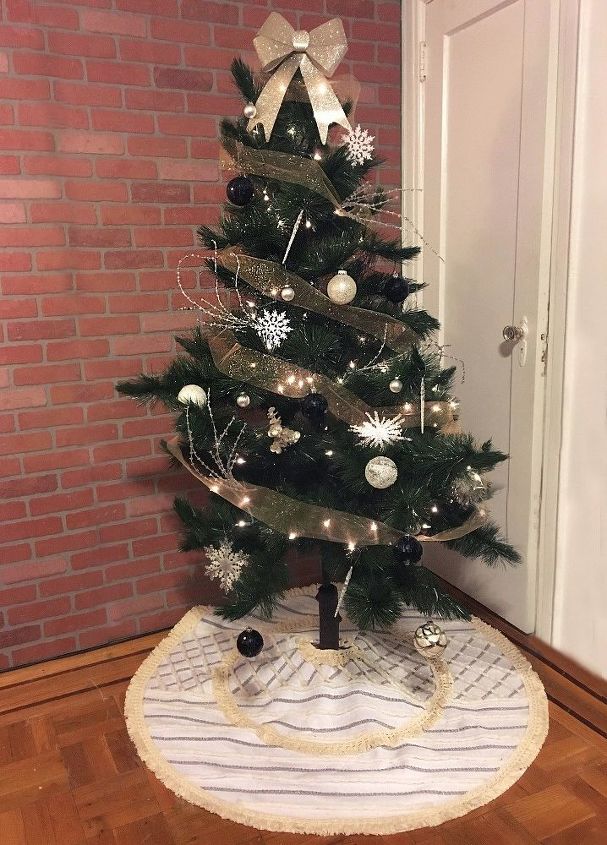
Ok so this tree is seriously the saddest and most ridiculous fake tree ever, but I don't have my real tree yet and wanted to grab a picture of the skirt in use. Funny lil tree aside, this tree skirt really gets me excited about dressing the house for the holidays!
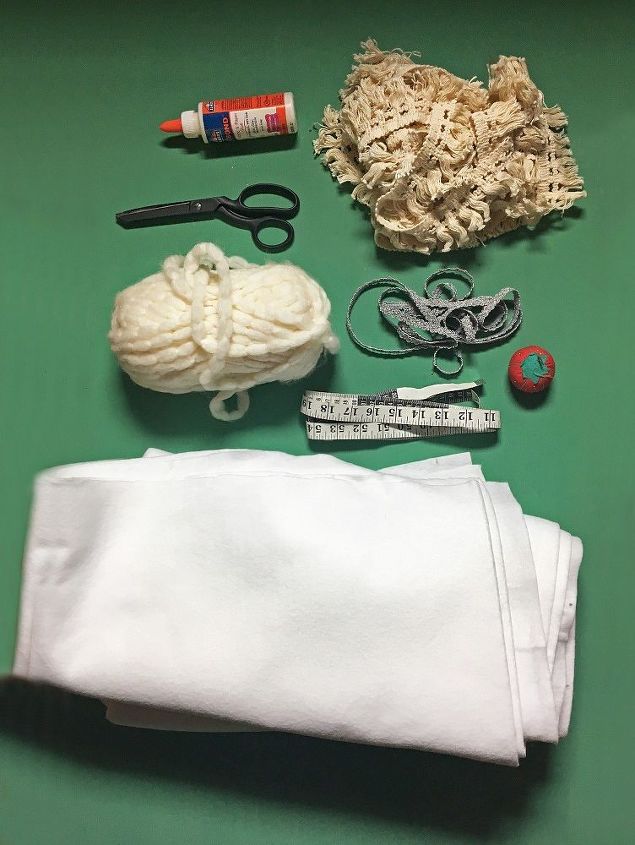
SUPPLIES:
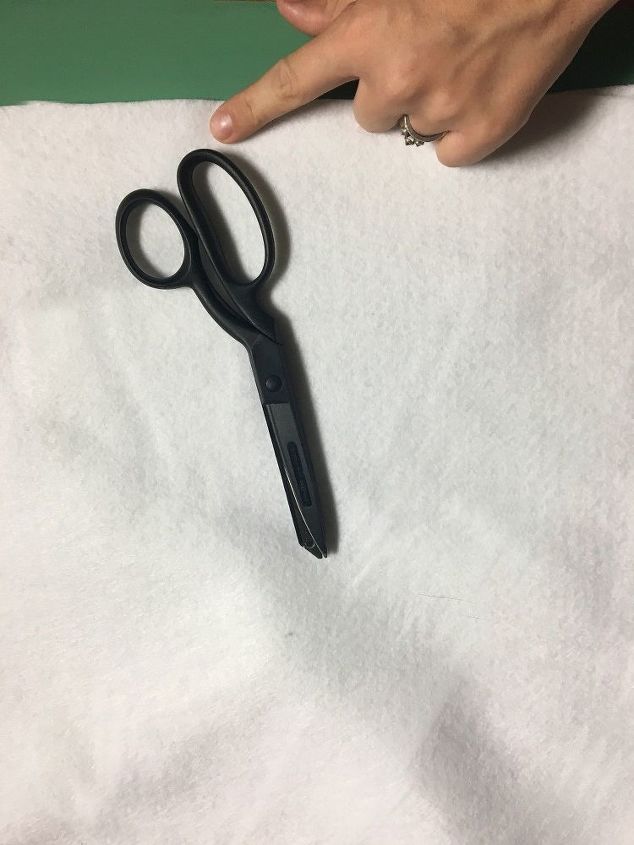
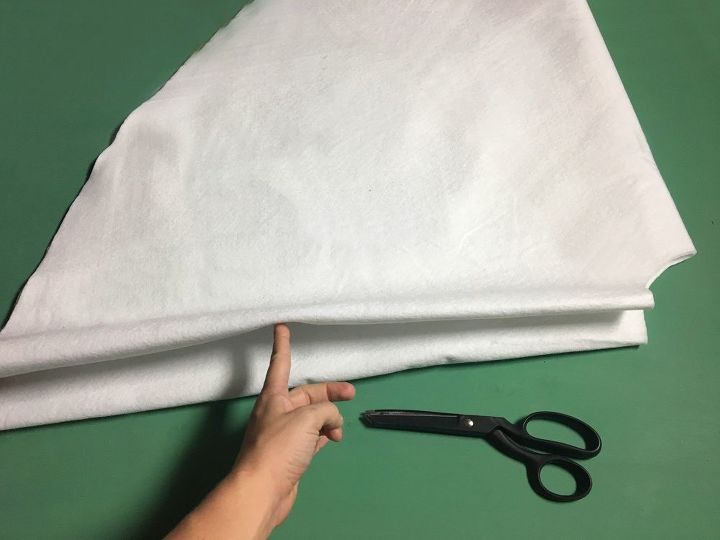
STEP 1: Cut out a large square from your felt fabric. You can cut this to the size you need for your standard tree size. I cut mine to 60"x60".
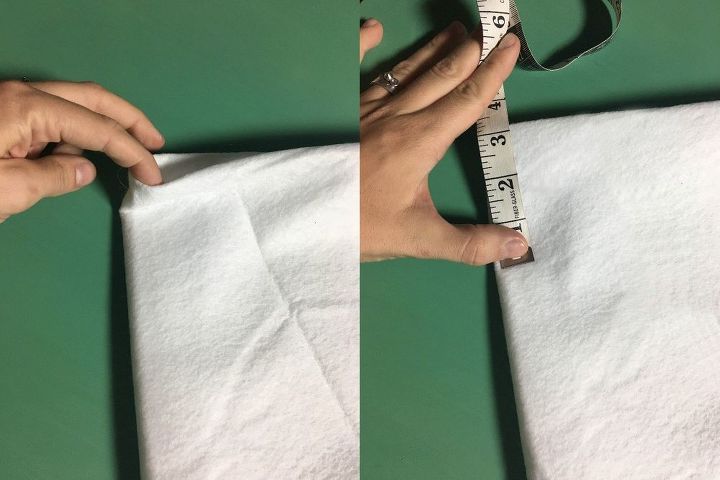
STEP 2: Fold your piece of fabric in half once and then one more time so that it creates a square. There will be one corner that has no raw edges. This is the corner we will be working with for the next several steps.
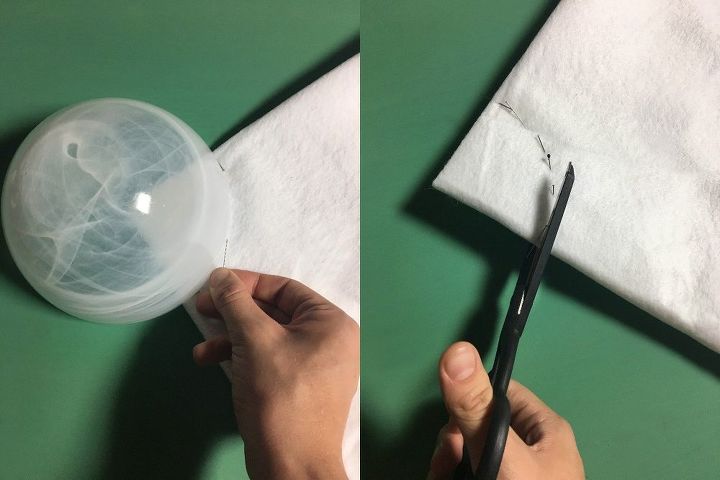
STEP 3: Take a bowl or a round object and place it at the 3" down and mark all around with pins.

STEP 4: Now to make a rounded outer edge you will sort of use a tape measure like a compass. Keep one end of the tape measure in the corner circle you just cut out and move the other end around marking an even distance around the entire bottom to create a circular edge. Mark the distance with pins. (I measured mine at around 22.5")
STEP 5: On the side where there are 2 folded edges cut one on the crease for an opening to feed the trunk through.
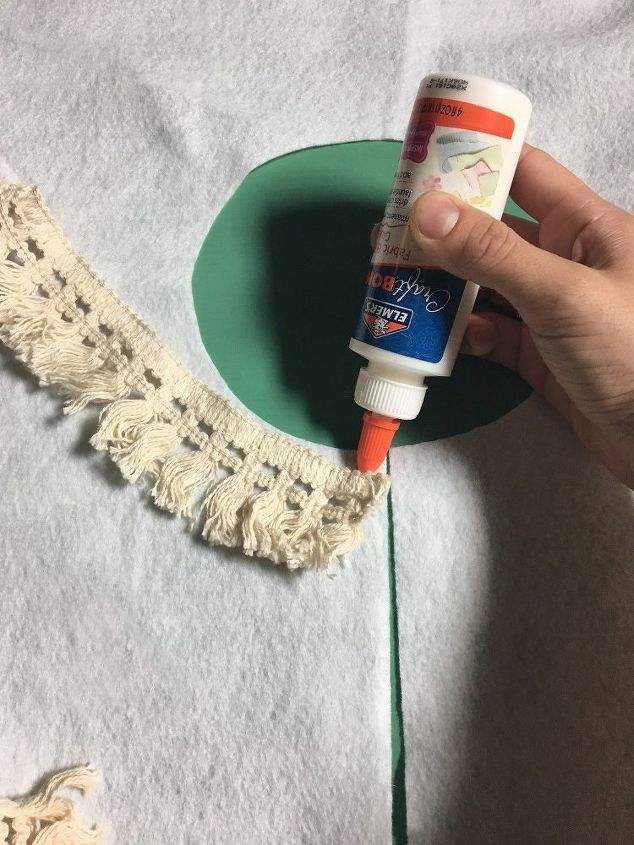
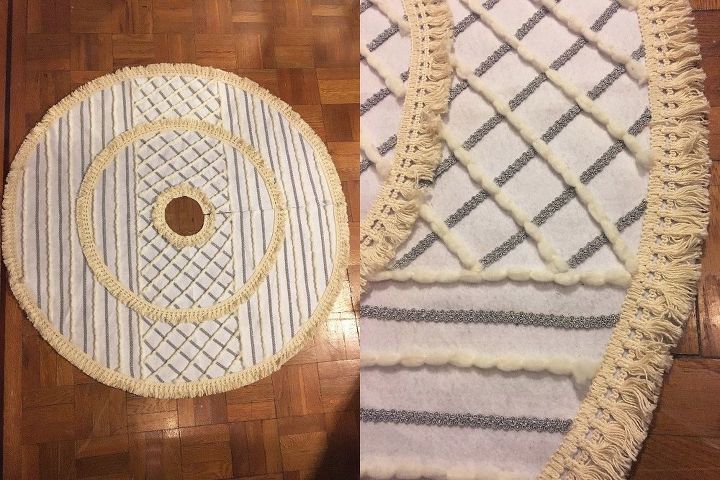
STEP 6: Now that the base fabric is all cut out and ready it is time to add your trims and fancies! First take care of the inner circle opening by glueing a nice and fluffy trim around the edge.

STEP 7: Glue another piece of the same trim around the outer edge. Measure where the halfway point is between both trims and glue another piece of trim in the middle of the outer ones you just set in place.
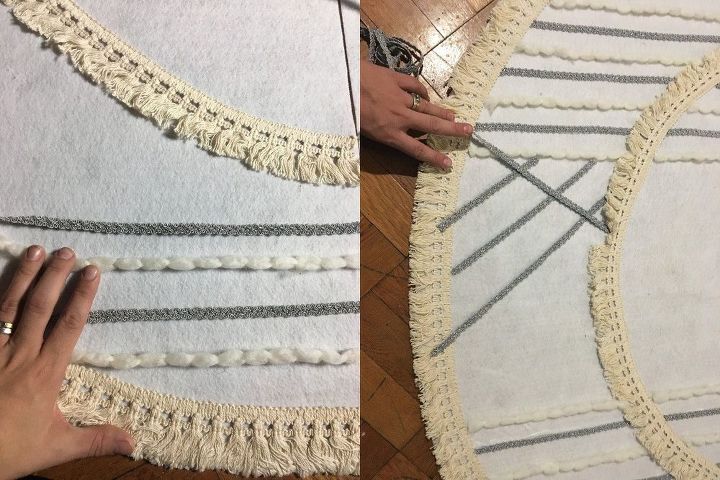
STEP 8: Take a sparkly piece of trim and some yarn and glue spaced stripes from each end of the skirt. Leaving a nice open space in the middle for some fancy design work.
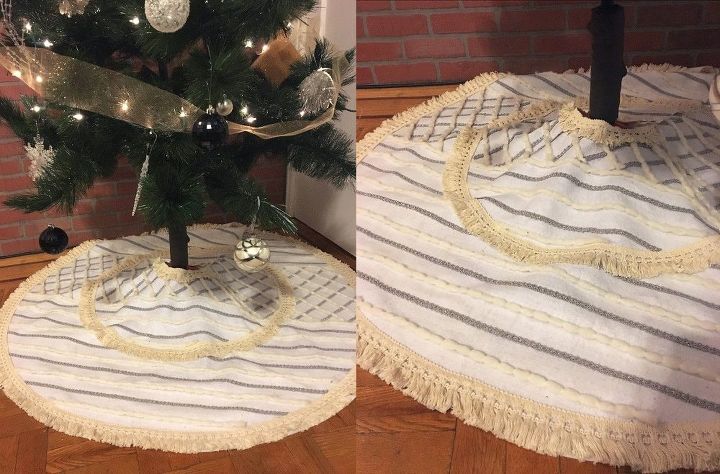
I love this thing! It fancies up my trees feet so much! I can't wait to load it up with pretty packages! (under a nice and full real tree... and properly decorated hehe)
Look at all that fun and fluff! I want to make another one with some different trims. You could do this too with some colorful trims if you wanted!
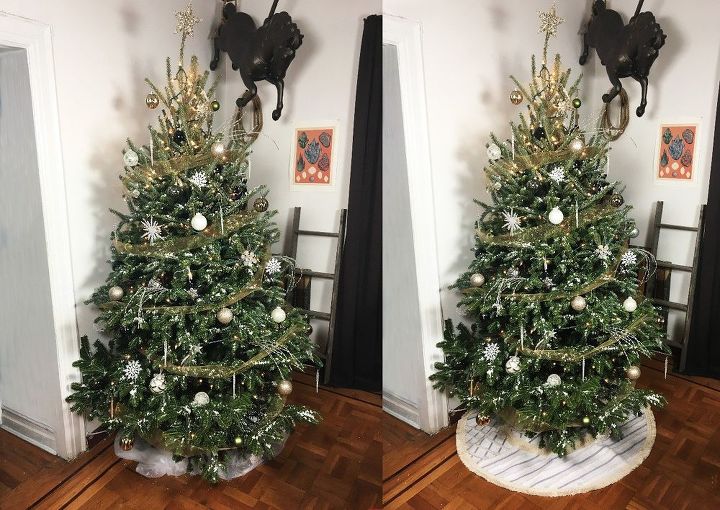
Now that I have my real tree I thought I would add a photo of what it looks like before and after I added the skirt! I just love this thing! (FYI the plastic underneath is a bag that hardware stores sell that you can just lift around the tree when it is time to dispose of it and it's stinkin amazing! If you've never used one before you really should! It certainly helps with the mess.
Comments
Join the conversation
2 of 20 comments
-
many people do not have access to real trees, i think yours is wonderful as is
-
This is so awesome! Cannot wait to make one but alas my kitchen is calling...


Frequently asked questions
Have a question about this project?