


Cure for a Termite Infested Trunk
When my sister and I first saw this trunk at a flea market this past summer, this is what we saw. It was marked $3.00, FIRM…as if we were going to try to talk him down from $3.00.
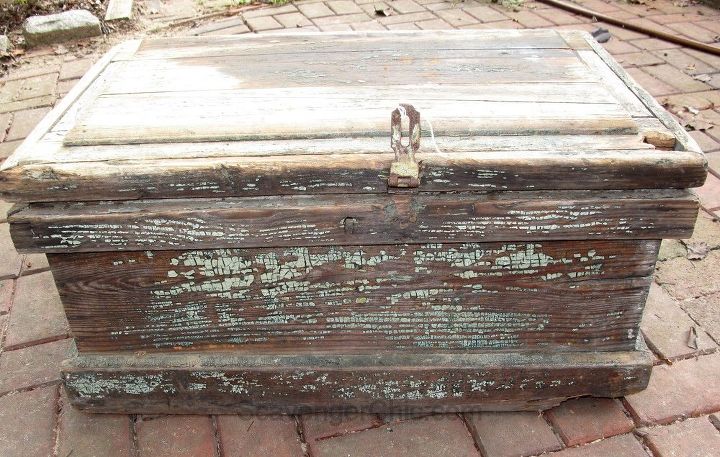
Just look at that chippy paint. Was that some kind of mistake? Was it supposed to be $30.00? Was the decimal point in the wrong spot?
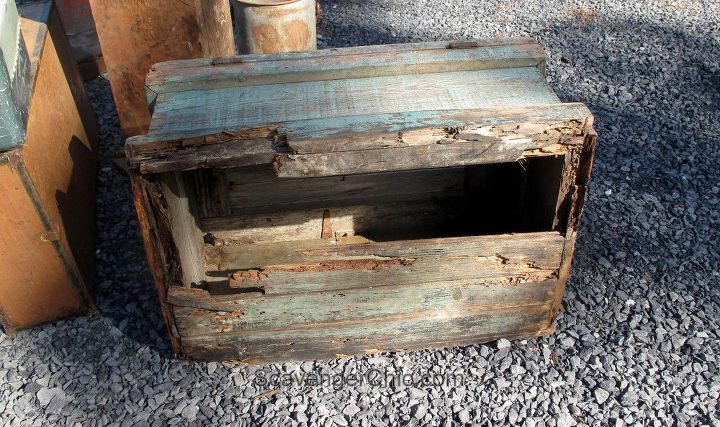
And then we looked inside. OK, this could be a problem. Termites had eaten a great deal of the bottom and they had slowly been working their way up the sides.
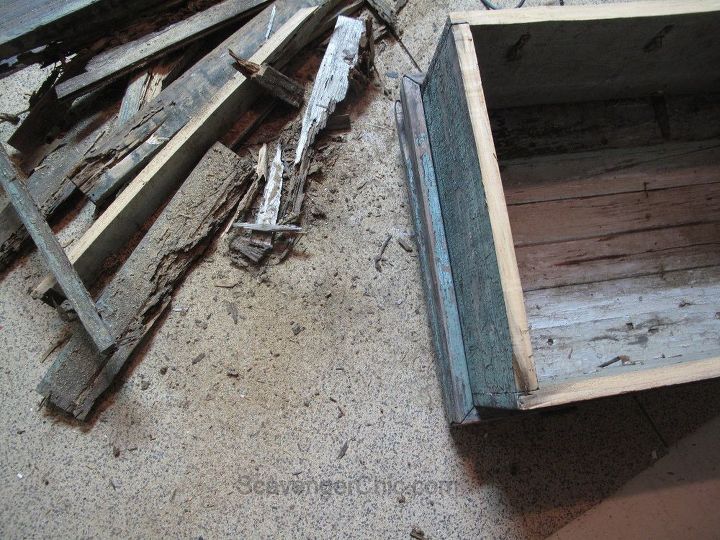
I had high hopes of saving some of the boards that make up the bottom trim but by the time I got the trim pieces off the bottom I knew the entire bottom would have to go.
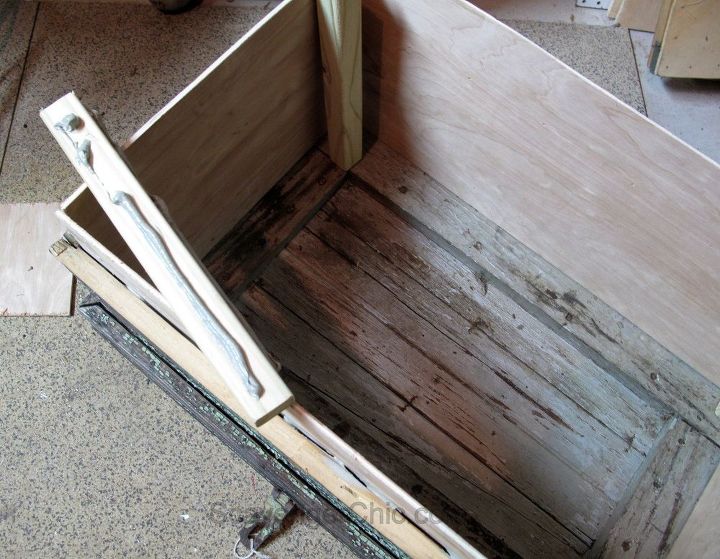
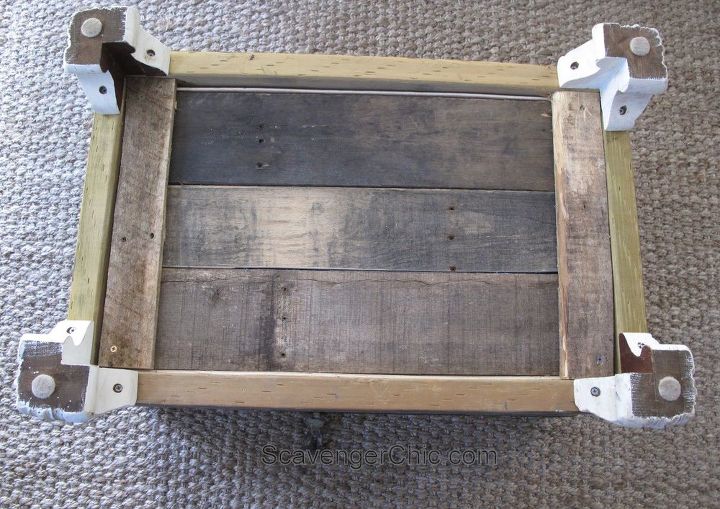
I needed just a few supplies…a 2’x4′ piece of thin plywood, 2 deck spindles and some heavy duty construction adhesive.
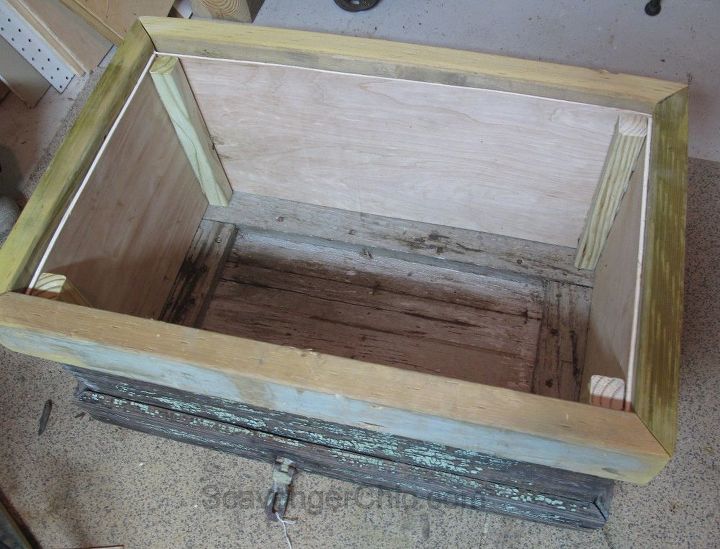
I was originally going to use 2 pieces of wood…one to act at the original layer of the trunk and the other to be the trim…but once I saw how well the 2×4 fit, I couldn’t use anything else. It was perfect. Corners are nailed and glued. Screws attach the 2×4 to the spindles and construction adhesive to the plywood.
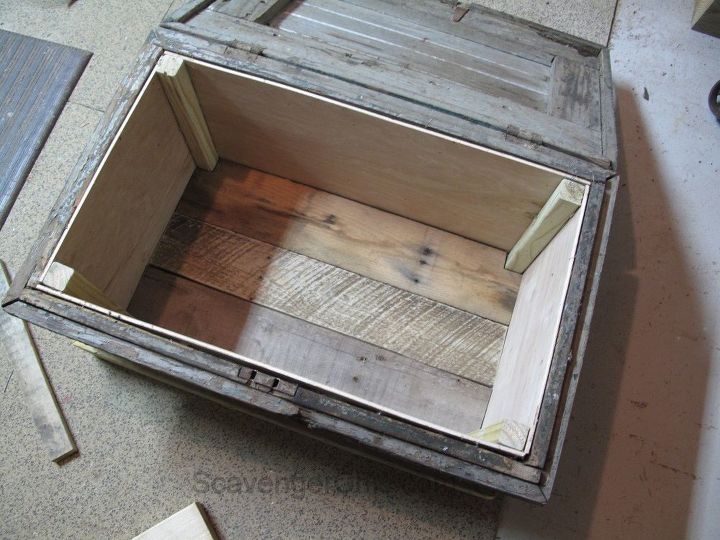
Inserted a pallet wood bottom.
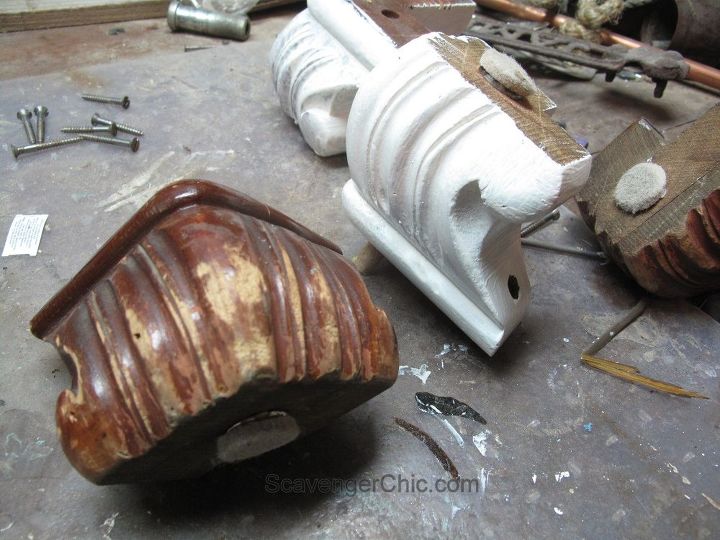
These feet were from another thrift store find. They were painted with white chalk paint, edges sanded then waxed.
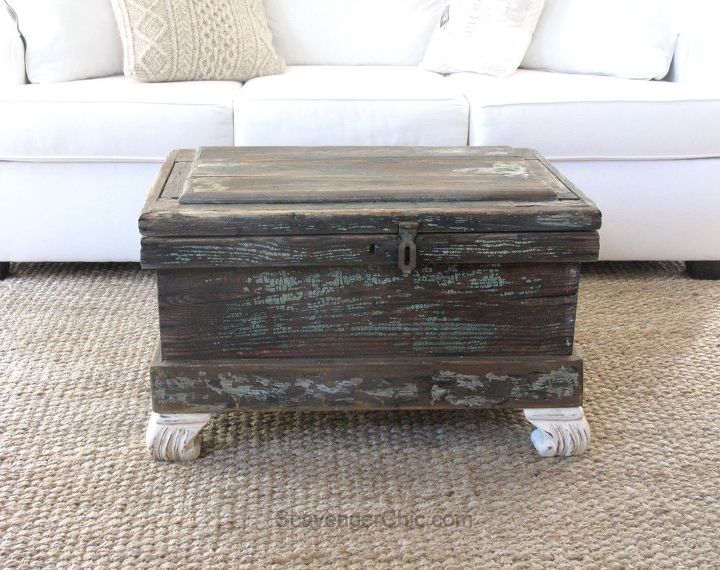
Since I started with pictures of the bottom of the trunk, I wanted to finish with a picture of his underside…not a termite to be found!

Want more details about this and other DIY projects? Check out my blog post!
Comments
Join the conversation
1 comment
-
This is super helpful! :) Thanks for sharing!


Frequently asked questions
Have a question about this project?