


Craft Moss Wreath DIY
I think that wreaths are flexible home decors because you can suit it to a theme or season by simply using certain materials and changing the treatment.

This craft moss wreath diy suits fall and spring but if you hang it in summer, it still looks good. And this is an awesome gift idea.too. I’m actually making this as a gift.
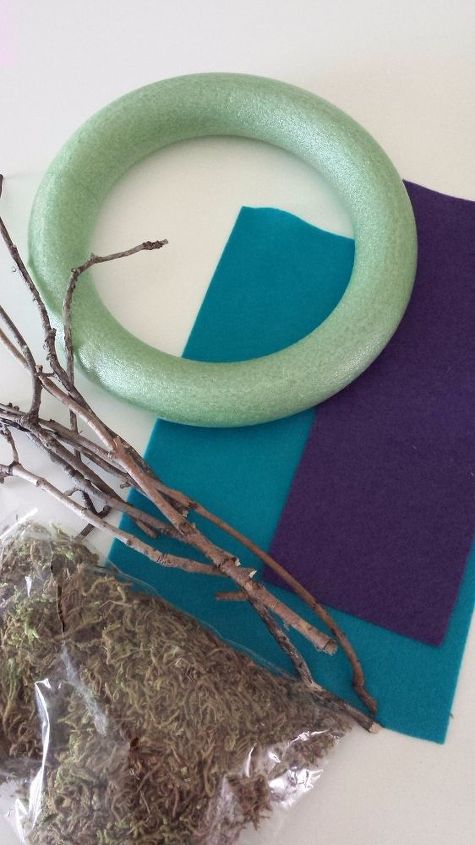
Prepare all your materials. You can just pick up twigs from your yard.
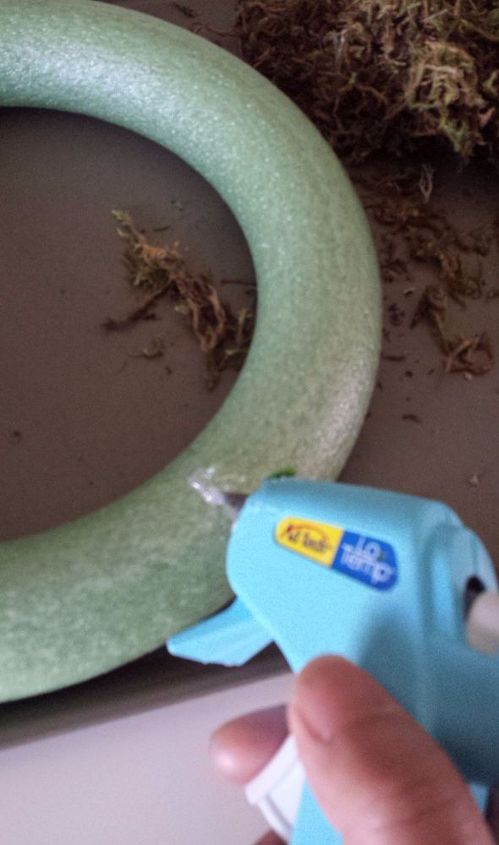
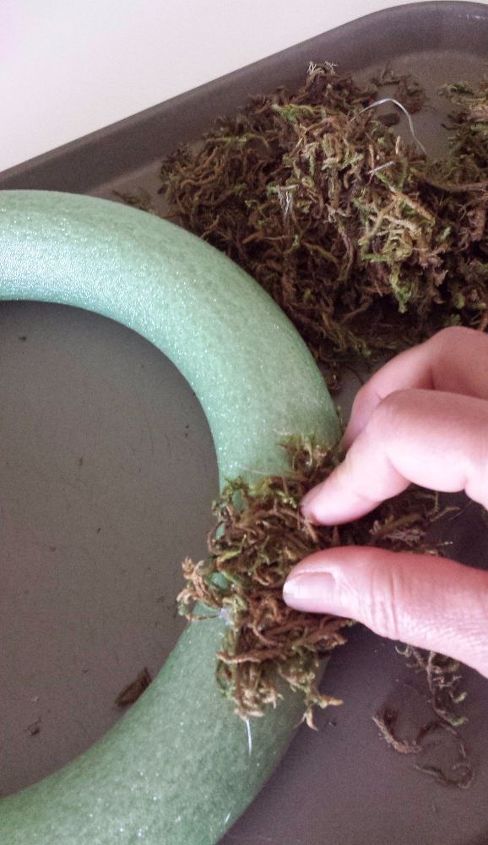
Begin by filling up your floral wreath foam with craft moss by using hot glue. Be careful when using hot glue especially when you have to press the moss onto the base. You can choose to use a low temp glue gun if you’re not used to handling hot glue.

I would often use a tray when I work with craft moss. That way most of it gets contained in one area and it is much easier to clean up.
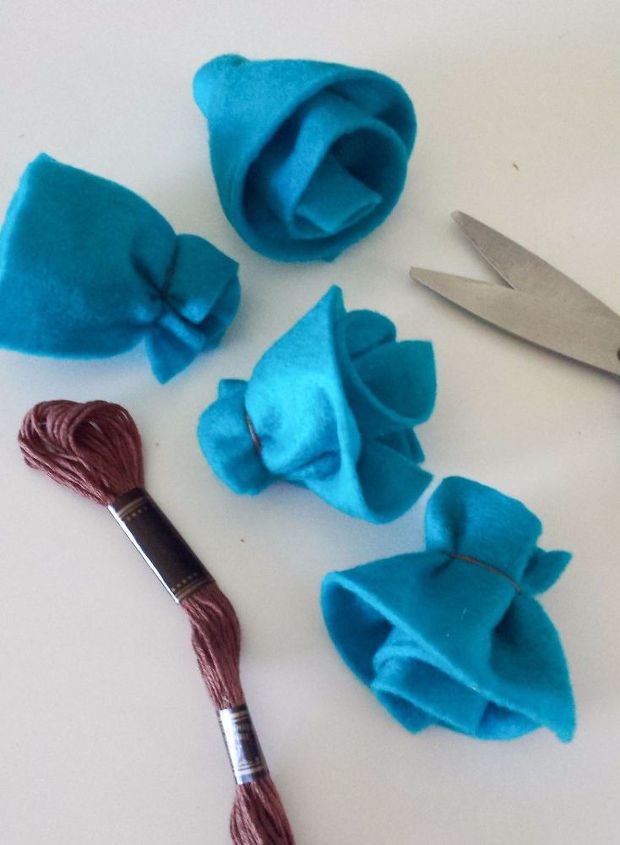
These are the felt flowers. You can check the full tutorial for the flowers in my blog from the link at the end of this post.
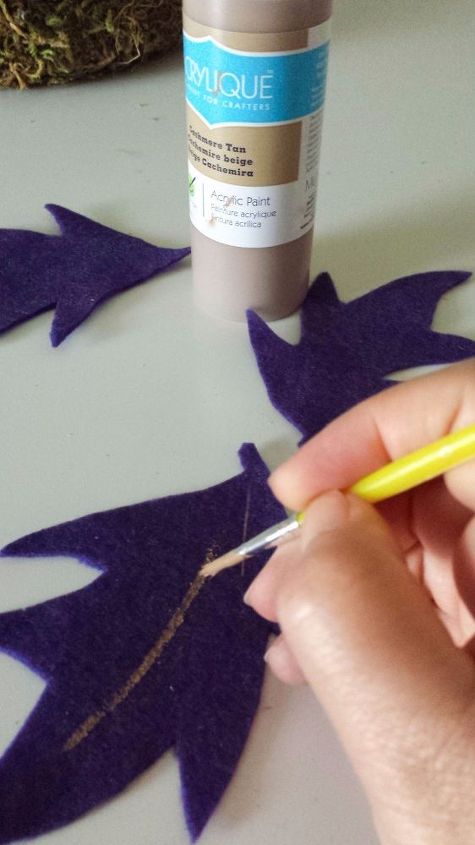
Trace or draw leaves on the felt and cut them out. Once you’ve cut them all out, bring out any color of acrylic paint that will complement the color of your leaves. Then paint some lines that resemble the veins of leaves.
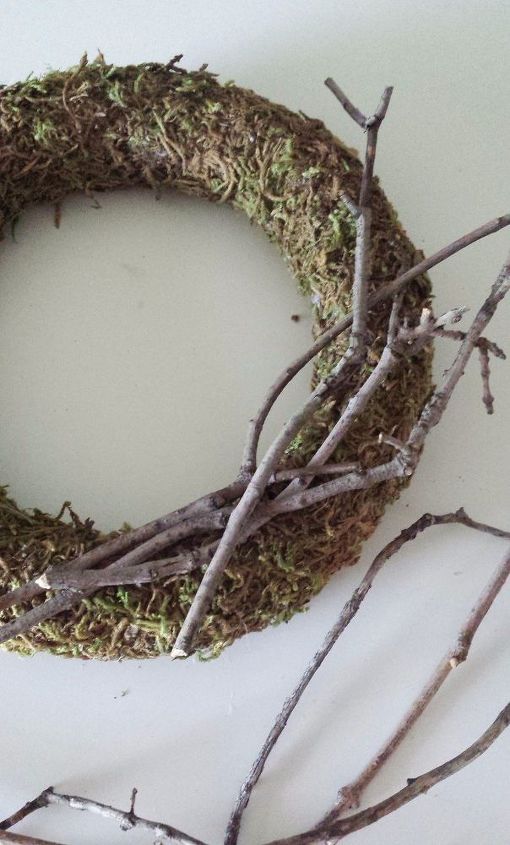
This part is important, you have to map out where you want your twigs first. And you may want to cut short some of them.
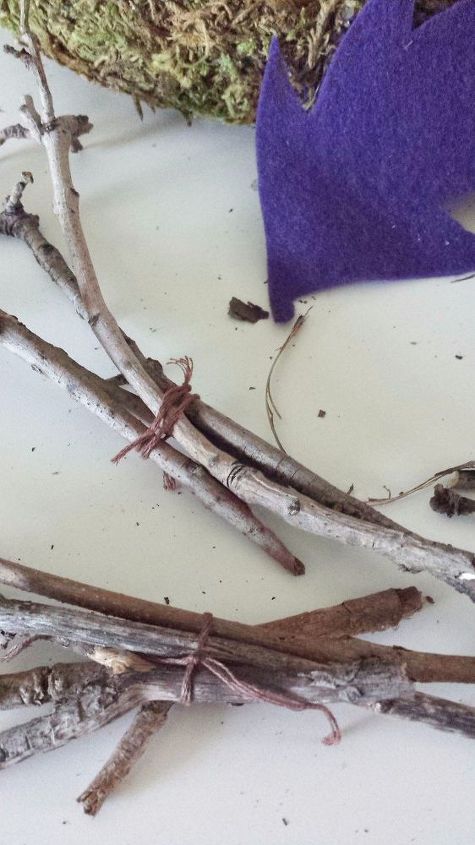
Bundle up the twigs and tie them up with brown thread to secure them together.
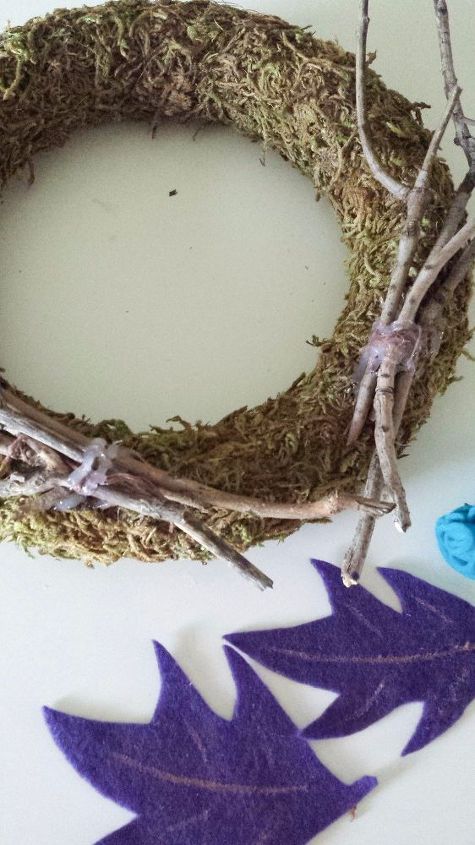
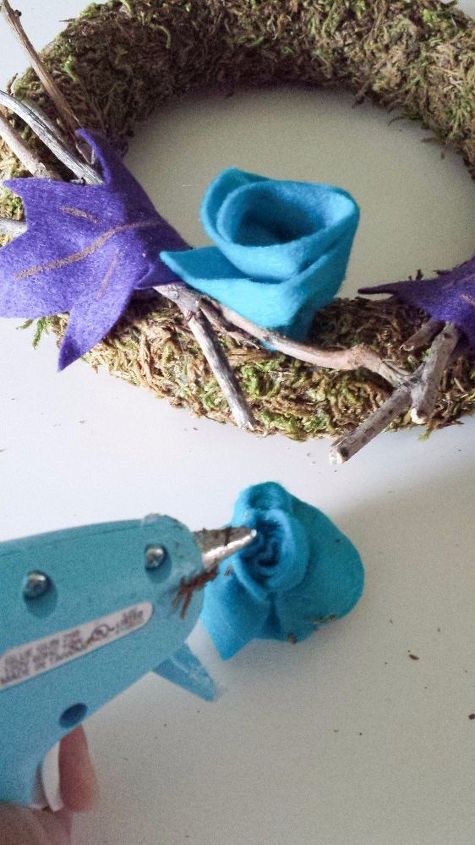
When you have decided on the placements, use hot glue to permanently place the leaves, flowers and twigs on the craft moss floral wreath.
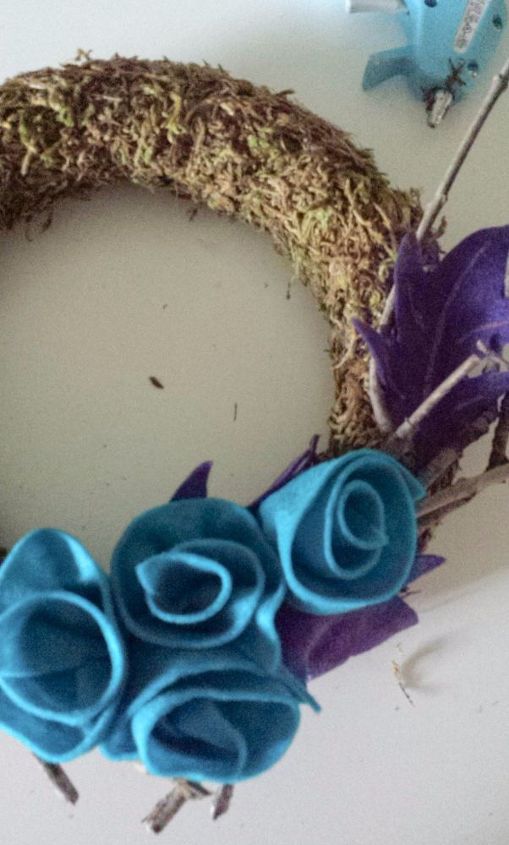
One of the best part of any diy project is enjoying the finished product. Look it! I’m excited to give this as a gift.

Want more details about this and other DIY projects? Check out my blog post!
Comments
Join the conversation
2 of 18 comments
-
lovely
-
Thanks Giorgia!


Frequently asked questions
Have a question about this project?