


Low Budget Bathroom Makeover (Phase 1)

5 Materials
$70
2 Days
Easy
Owning a home comes with being able to spruce it up at will. As I've mentioned in previous posts, I'm trying to find my/our style and have a flow through our home--but we're on a tight budget and I'm always trying to find a deal. Last fall I painted our entire house a light grey color with anticipation of selling it eventually and wanting a blank canvas--now I'm hoping to give each room a facelift, one phase at a time. I decided to start with our {only} bathroom, and though it didn't come out exactly how I had envisioned, I'm happy with the clean colors and how it's almost a "zen"-inspired space. What's best of all is the first phase of this bathroom makeover only cost us $70.
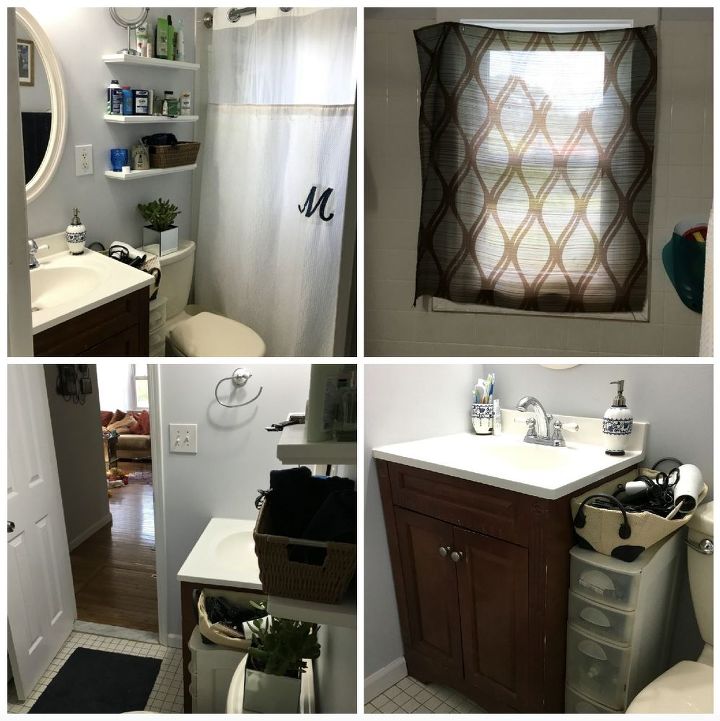
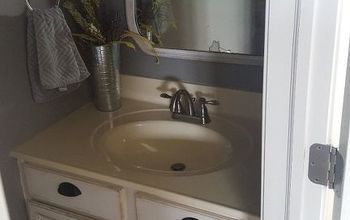
BEFORE:
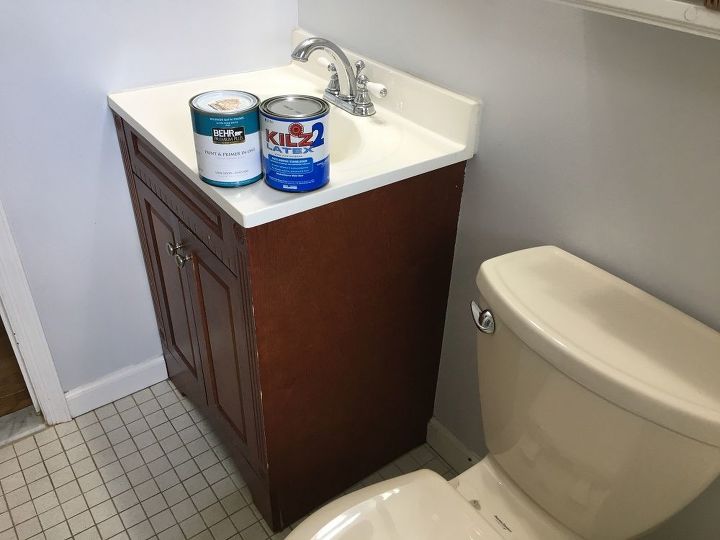
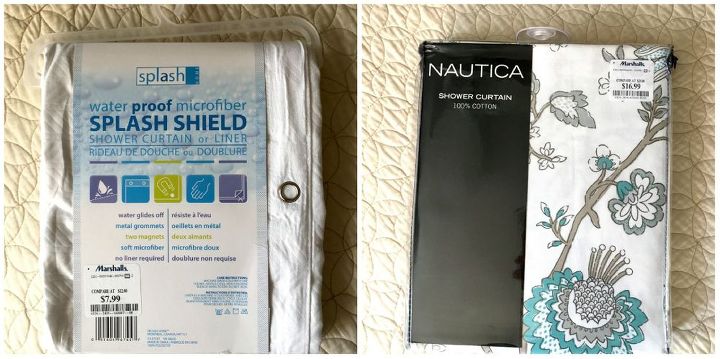
SUPPLIES FOR VANITY:
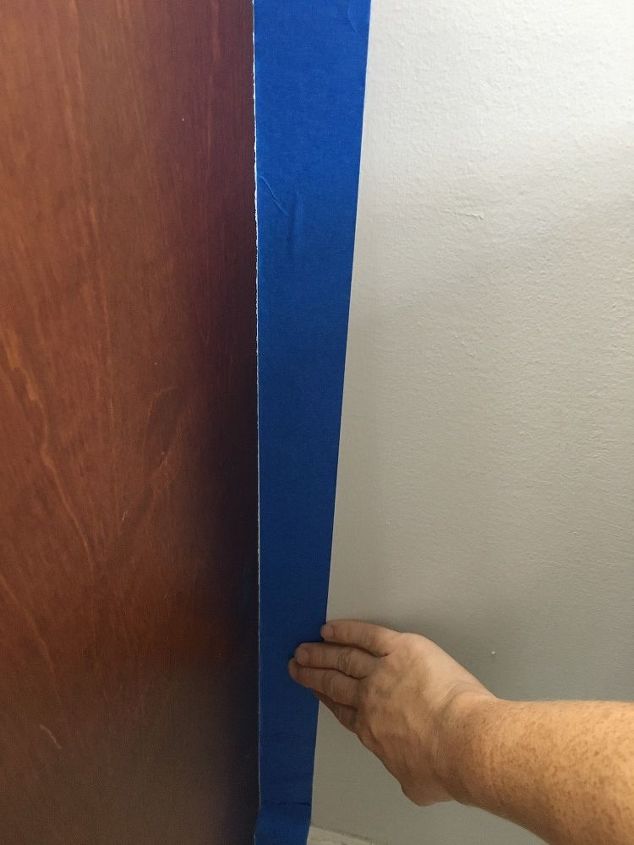
STEP 1: Prep and paint vanity
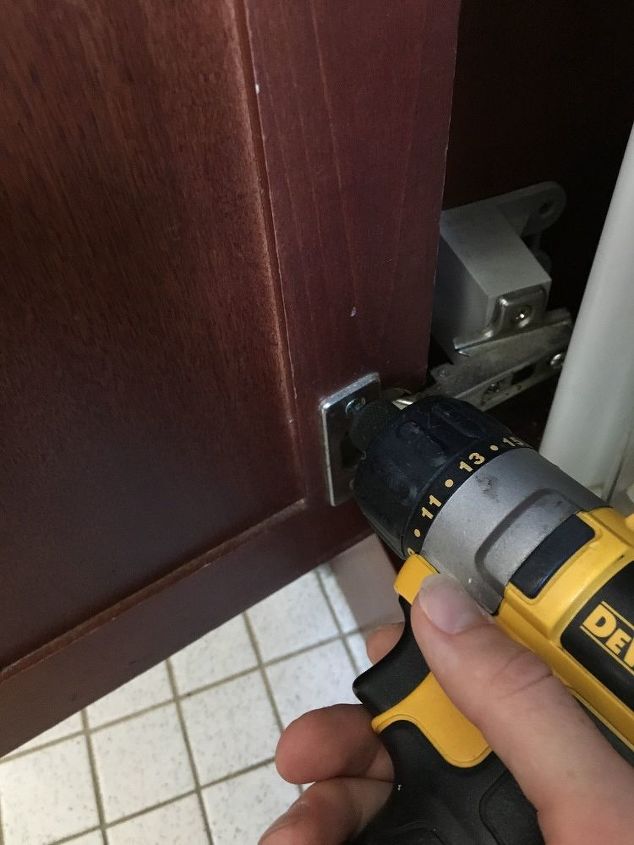
Then, I removed the doors and the baby safety locks from the doors.
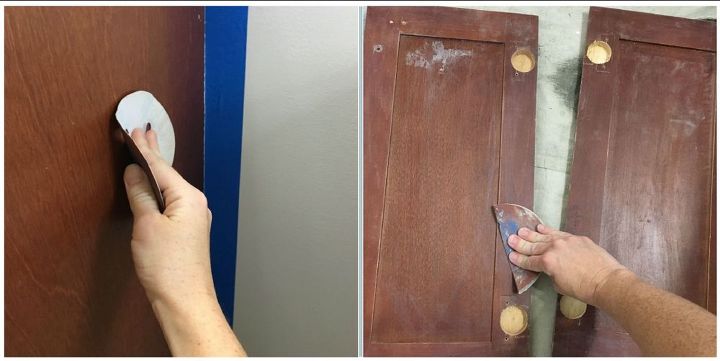
After all hardware was removed from the vanity doors, I sanded the vanity itself and the doors down. *Note: I didn't use a palm sander, but hindsight I would have. I highly recommend adequately sanding all the wood down.
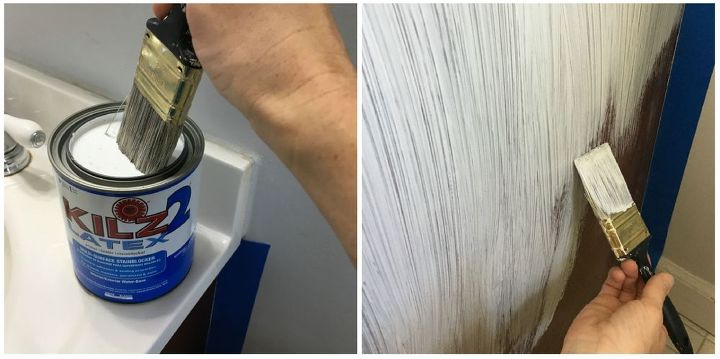
After everything was sanded, I applied 2 coats of primer--letting the first coat dry before adding another.

Then, after the primer was dried and cured (LET THE PRIMER DRY OVERNIGHT), I applied 2 coats of Behr interior satin enamel (the color is called "Rio Sky")--again, letting the first coat dry fully before applying another.
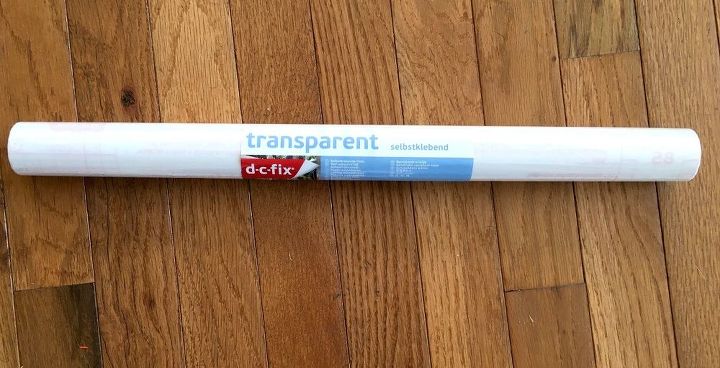
STEP 2: Apply window film
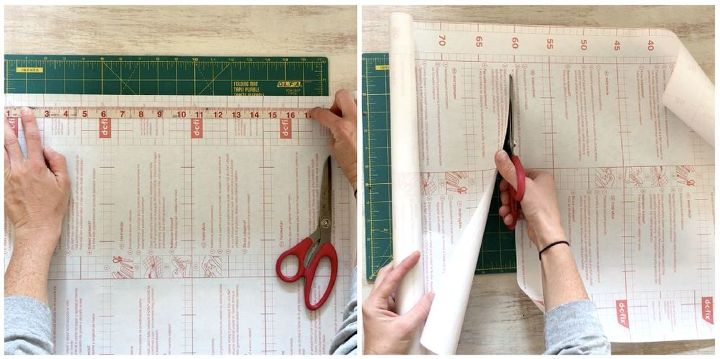
To apply the window film, I first measured each window, then measured the window film and cut it off the roll to the size that I needed it to be.

To prep the shower window, I cleaned it, then took the backing off of the window film and applied it starting at the top of the window. I took a gift card in order to push out the air bubbles as I laid the film on the window.
STEP 3: Add accents
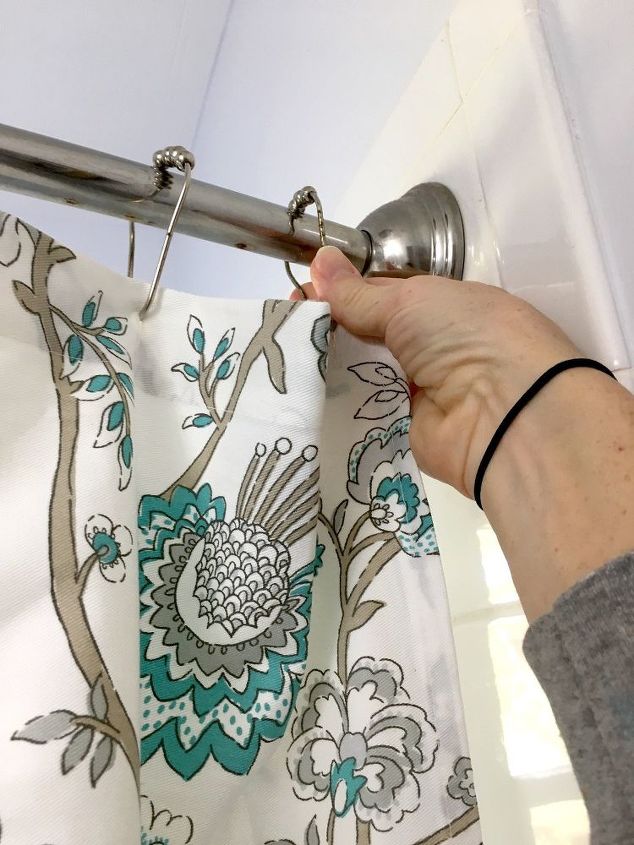
Thankfully, I had kept my old shower rings from before we moved into our house so that was one less thing I had to buy.
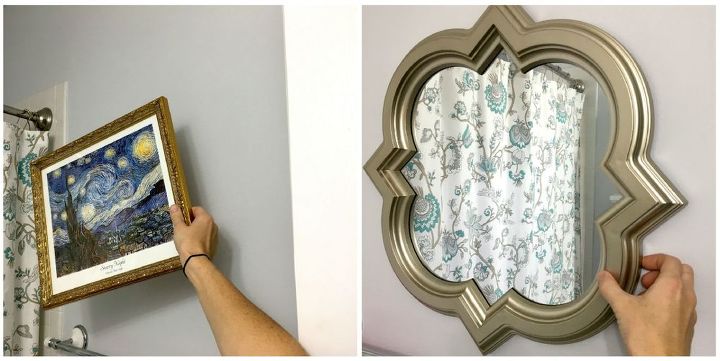
I removed my beloved framed Starry Night picture and replaced it with a muted gold mirror I had hanging in our living room. I also got rid of the storage tower that was between the vanity and toilet, and replaced it with a dark wicker basket I had on hand, filling it with toilet paper. Then, I replaced our old blue rug with a new, light grey one (I still have to go grab another one for in front of the vanity).
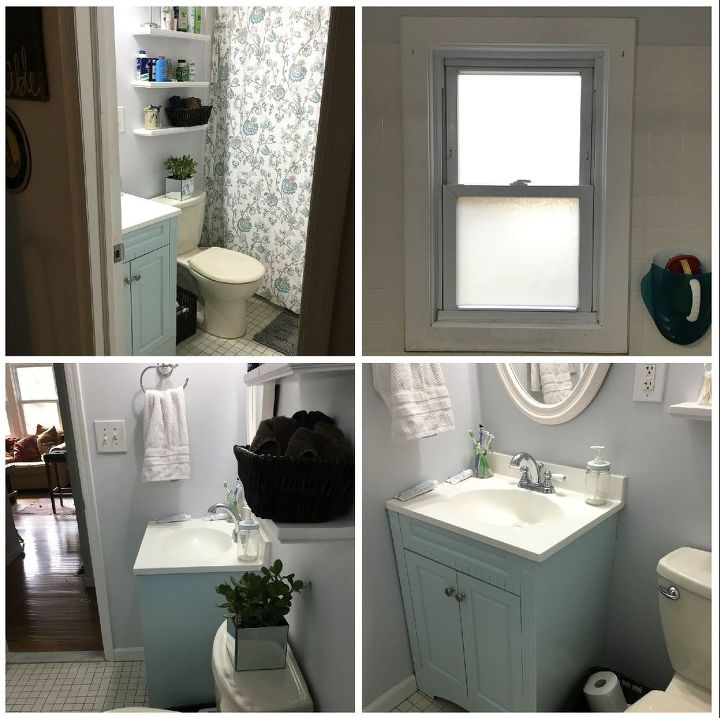
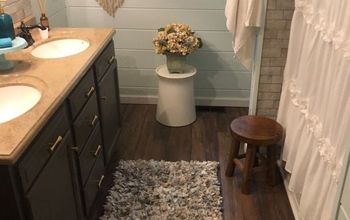
Here is the after photo of Phase 1 finished. I can't wait to share the next few phases with y'all--make sure to stay tuned for those tutorials. :)
Comments
Join the conversation
2 of 55 comments
-
Your bathroom is shaped like mine. I would like a taller vanity, and more storage. Do you have a linen closet for all your towels?
-
A handy person could add a spacer on top of your cabinet then put your top back on to make your vanity taller


Frequently asked questions
Have a question about this project?