


Peel-n-Stick Cabinet Makeover

1 Material
$48
1 Hour
Easy
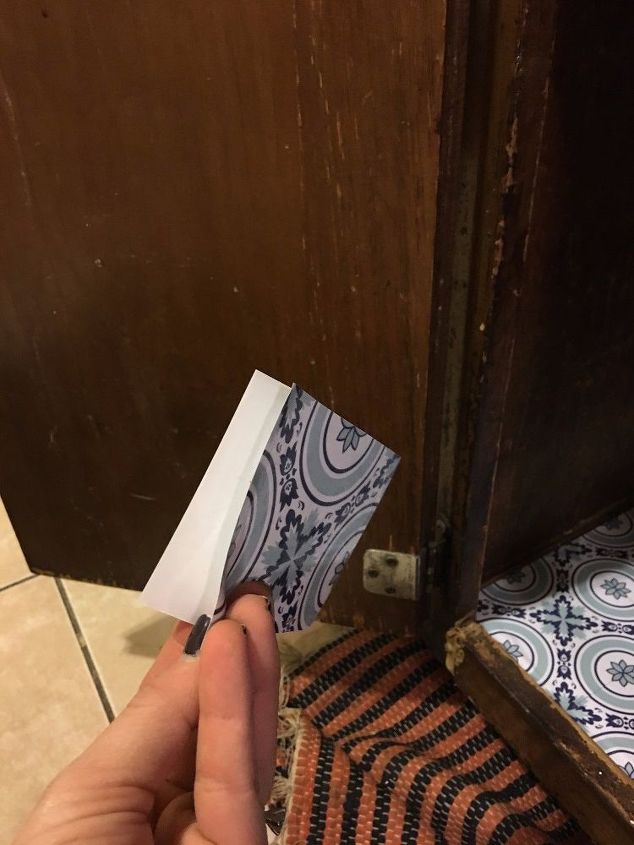
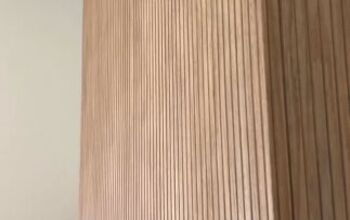
When you live in a rental there is sometimes very little you can do to make it your own. There is also very little you can do to update the space if it's older. My clients love the location of their apartment so they wanted to find temporary ways to make the space attractive and easy to clean. With tons of peel-n-stick options these days, I figured it was the perfect solution to update the bottom of these old cabinets so my clients enjoyed opening and cleaning them! These particular peel-n-stick tiles are 4"x4" and come detached from one another so all you have to do it measure up your space, figure out where you're going to start, peel the tile off of its backing, adhere to the surface and repeat until the space is covered! The tiles will be easy to remove once these clients decide to move on, but I bet this landlord wouldn't mind keeping them in place - they look so good!
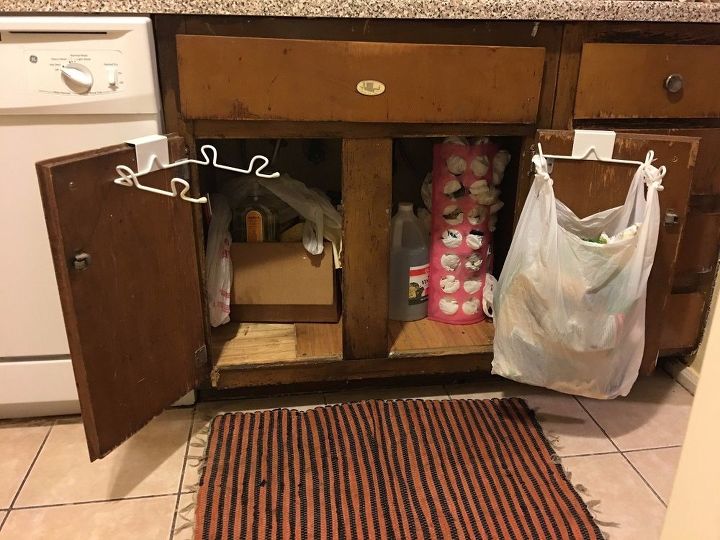
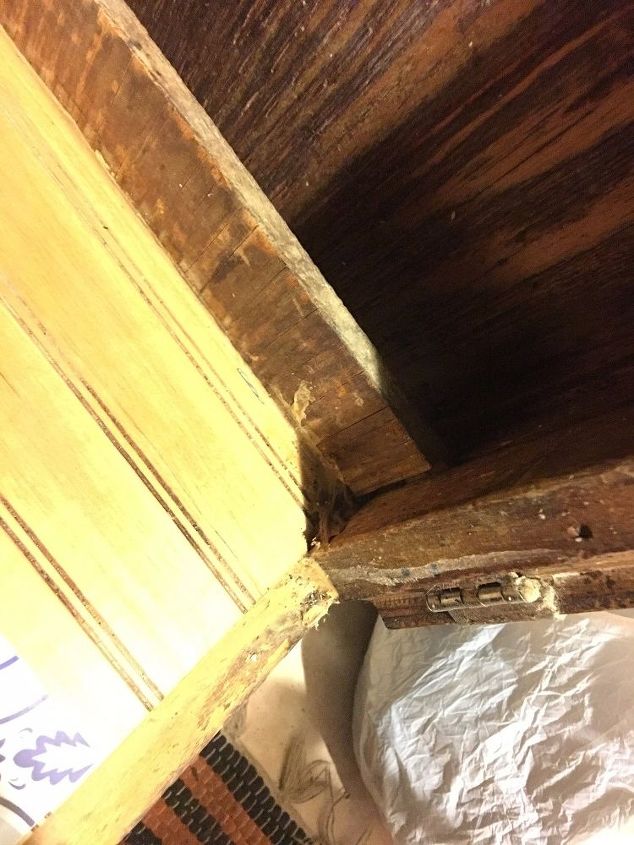
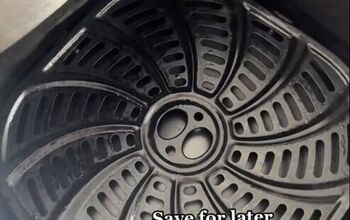
The cabinet before our peel-n-stick update was a patch work of random pieces of wood that had years of caked on grime.
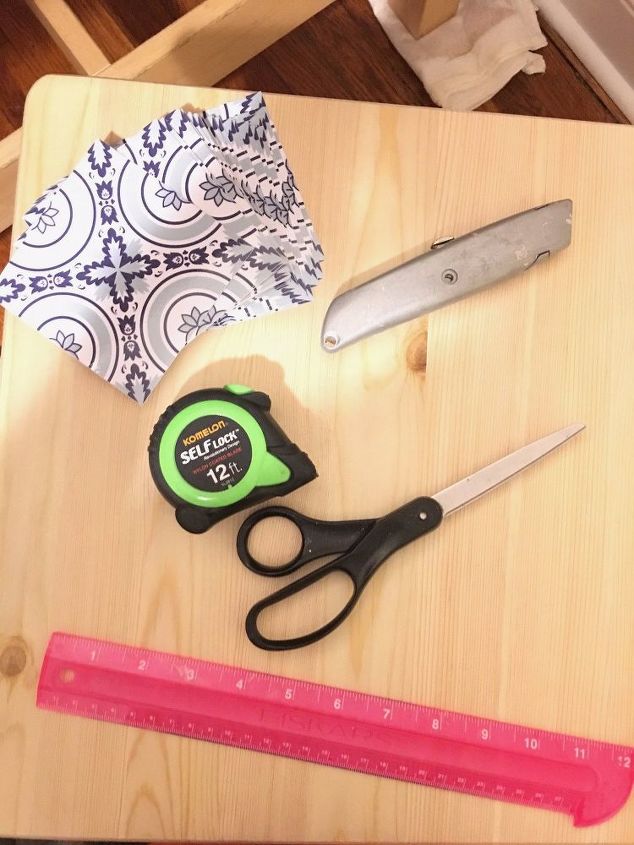
MATERIALS:
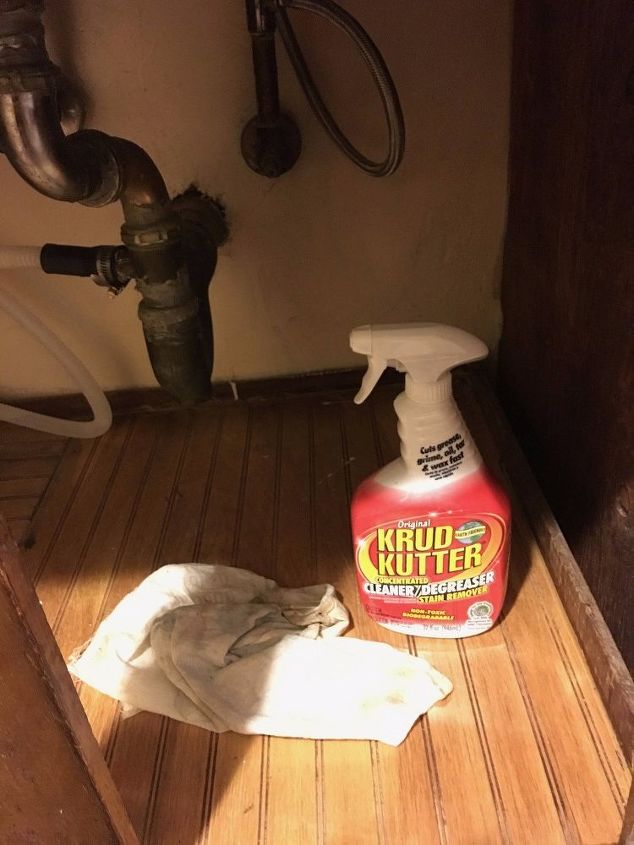
STEP 1: Prep the surface
STEP 2: Rehearse the layout
STEP 3: Adjust tiles for back and corners

STEP 4: Cut the tiles according to measurements
STEP 5: Peel the tile and place each row carefully
It took me about 15 minutes to do 3 and a half rows (I'm pretty detail oriented when it comes to projects like these - the pattern has to match up perfectly!).
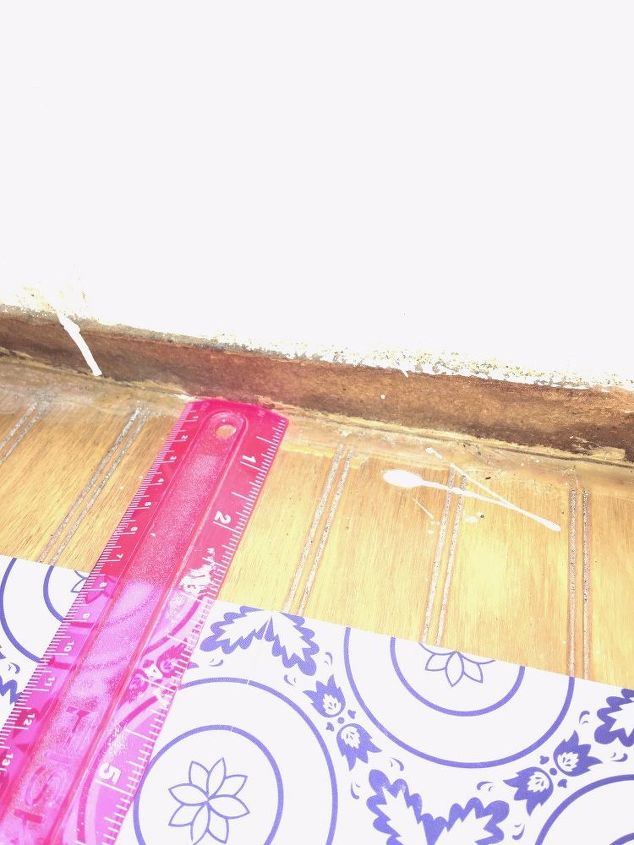
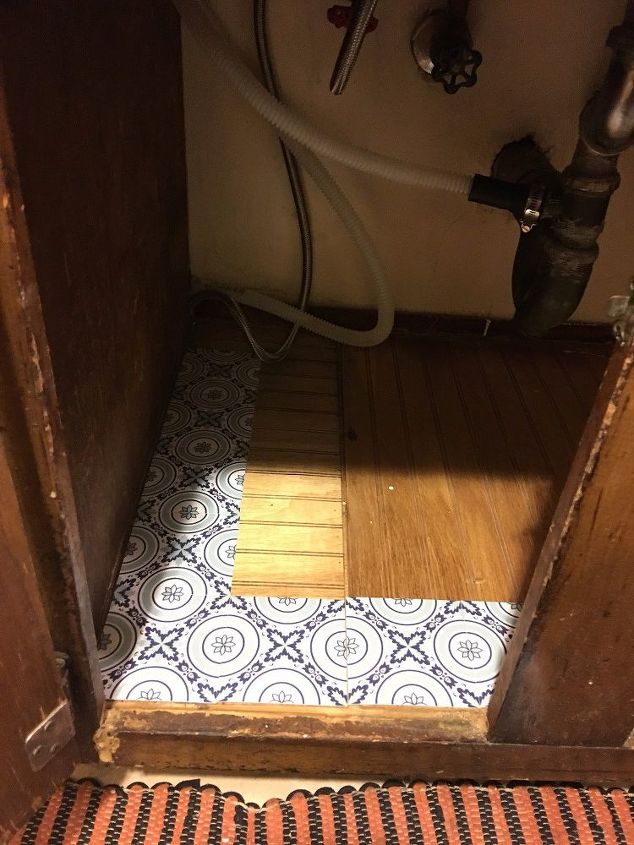
STEP 6: Measure the distance from the back wall to the last row of tiles
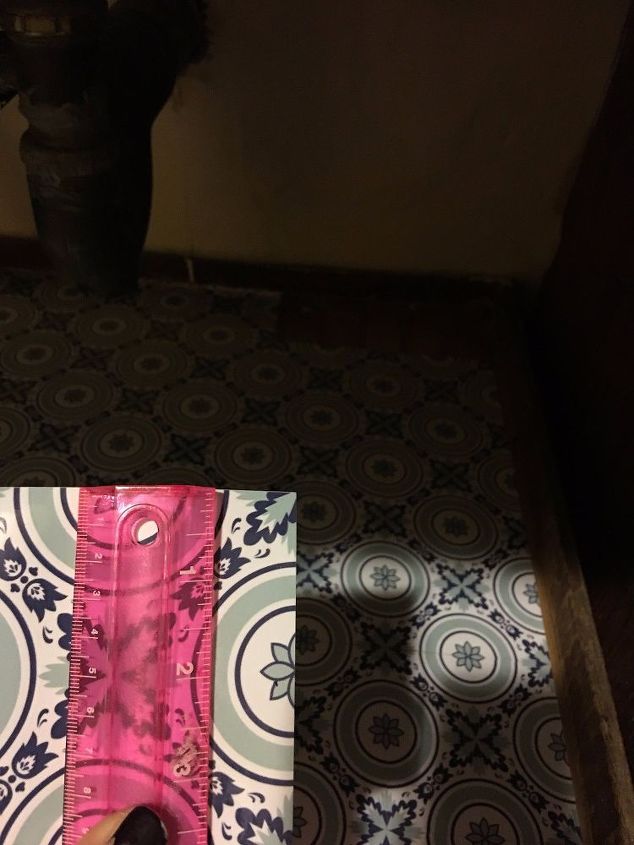
I then measured each tile to match the space it needed to fill. Using my ruler I drew a straight line, made this long cut with my utility knife, and applied each tile carefully.
STEP 7: Double check the lines are smooth
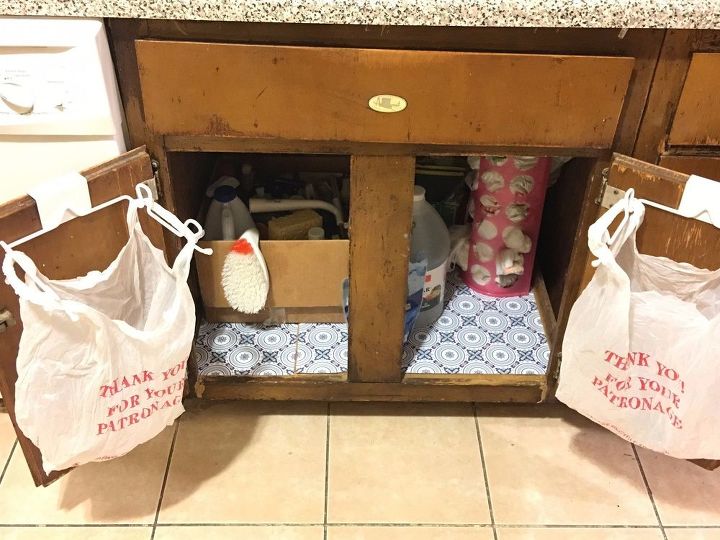
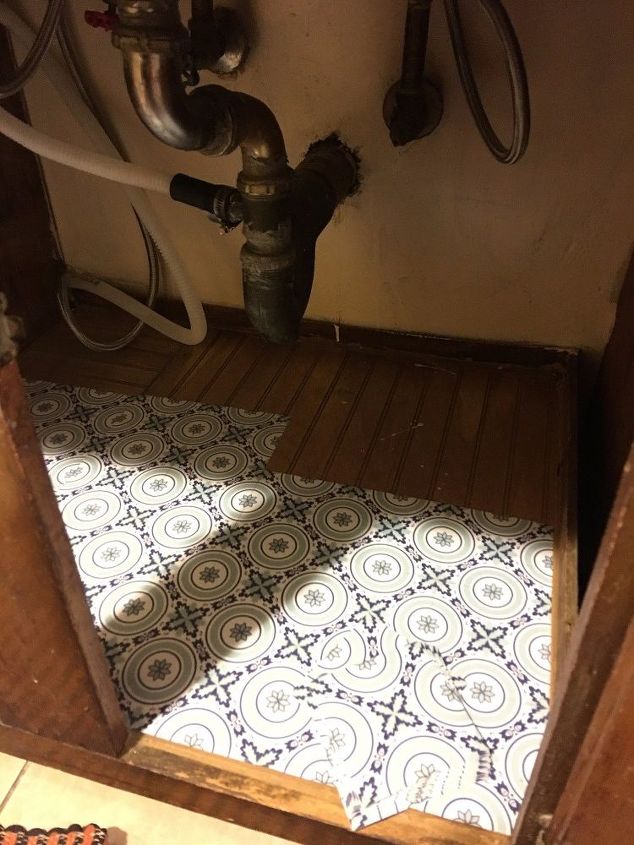
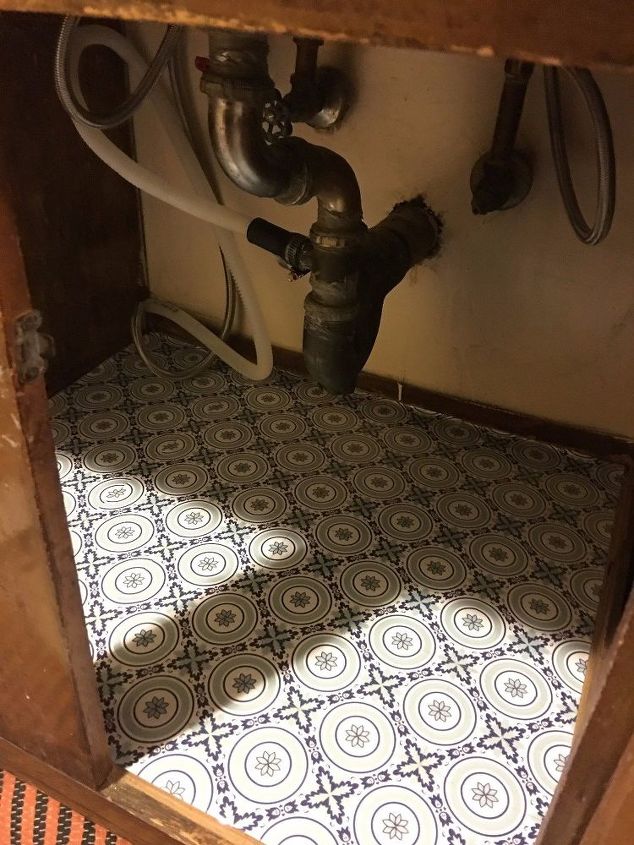
STEP 8: Stock up the cabinet and enjoy!

The cabinet is now cute and easy to keep clean!
Comments
Join the conversation
2 of 41 comments
-
I am going to do the same with my cabinet floors. However now I want to get some pretty tiles like yours.
-
Great idea! I would have painted the inside walls before laying the tile though so everything would be nice and bright.


Frequently asked questions
Have a question about this project?