


Fun Fall Decor: Feathered Pumpkin
Let me start off by saying that in my heart, I DO realize the no carve pumpkin idea I’m about to share– covering a pumpkin in feathers to create unique fall decor– is totally ridiculous. Okay, not TOTALLY ridiculous but about 80% ridiculous… and 20% awesome. It’s always fun to watch trends take over pumpkins. Chevron pumpkins? Check. Gold pumpkins? Check, check and CHECK. However, I had yet to see feathers make their way onto the pumpkin scene so I took it upon myself to give it a whirl. What’s great is they are perfect for Halloween and on through Thanksgiving, decor-wise. Take a look!
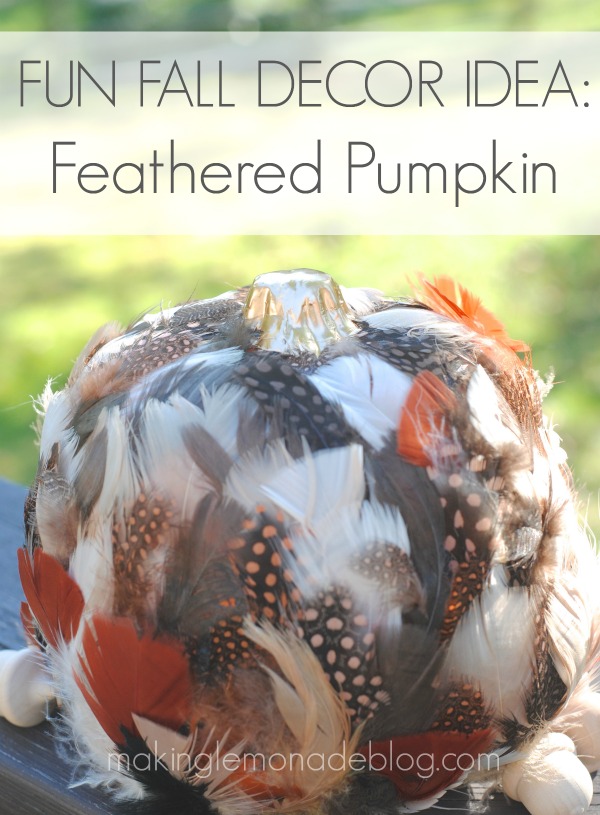
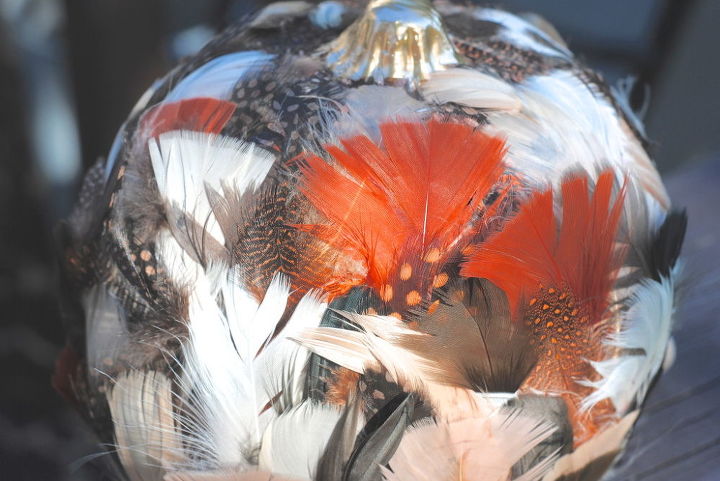
Doesn’t this pumpkin look like it’s in an 80s Glamour Shot session at the mall? COULD THIS PUMPKIN GET ANY MORE AWESOME?
Then, to gild the lily (er, pumpkin) I did something even more RI. DI. CU. LOUS. I added a gilded stem. This is STEP 1.
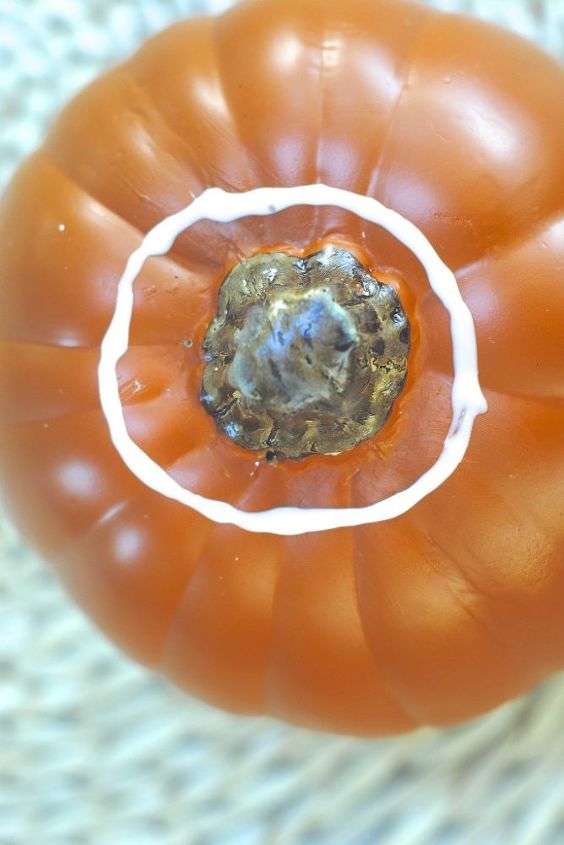
STEP 2: Start at the top. Add a circle of glue around the stem. Glue feathers with the tips pointing up and stems downward. If the feather stems are sticking out then trim with scissors.

STEP 3: Continue to add circles of glue and layers of feathers moving towards the bottom, as demonstrated by my helper.

STEP 4: At some point, you may need to start gluing them individually.

STEP 5: Step Five: As you get toward the bottom, turn pumpkin upside down (so you can see better) on top of a cup to hold it off the table. Continue to glue and trim as usual.
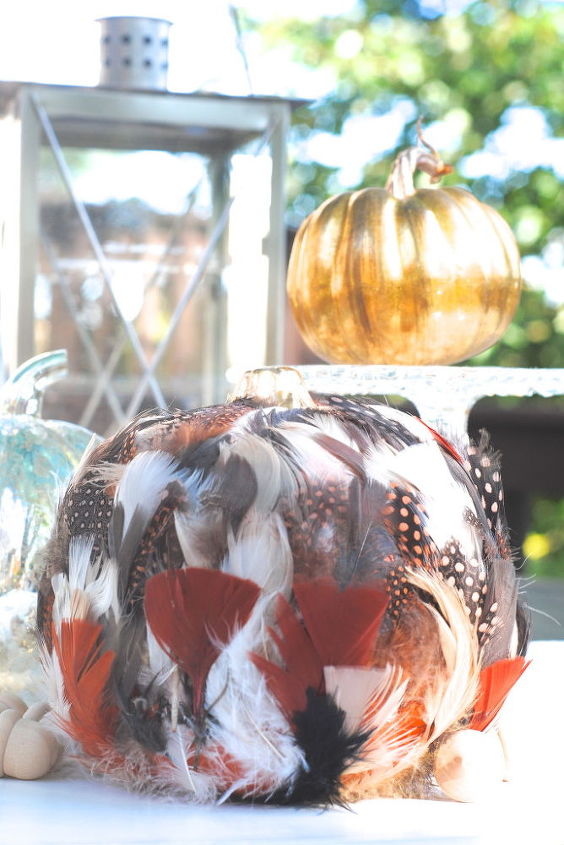
Feathered pumpkins. 80% ridiculous, but 20% kinda awesome, right?

Want more details about this and other DIY projects? Check out my blog post!
Comments
Join the conversation
2 comments
-
How Chic!
-
love this idea, thank you!


Frequently asked questions
Have a question about this project?