


The One Christmas Tree That’s Not a Pain to Store

by
Bob Vila
11 Materials
$22
Easy
This season, transform an unlikely multi-tasking material into the beginning of a new tradition: the pegboard tree. The minimalist design mimics a cartoon tree in shape, using its trademark holes to easily hang hooked ornaments. And after the holiday passes, this snow-white tree disassembles into two 4-foot boards for compact storage, both sturdy enough to last for years.
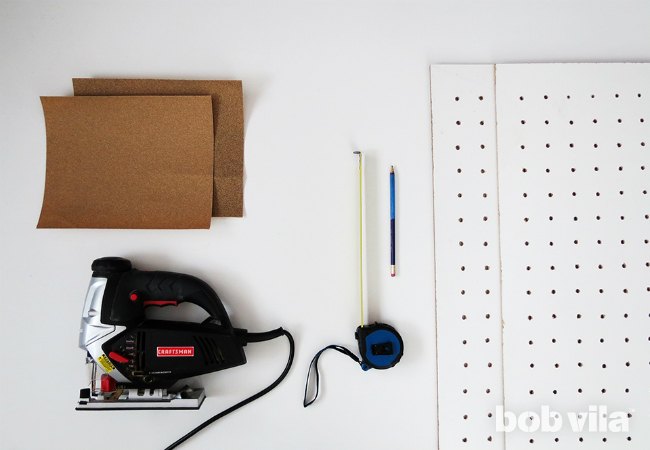
Cut your 3/16-inch white pegboard into two rectangles, each 4 feet by 3 feet. (When we’re finished, these dimensions will produce a tree that is 4 feet tall and 3 feet in diameter.)

To draw the outline of a Christmas tree on one board, it's easiest to first made a triangle. Find the center at the top of the board, and use a tape measure to guide a pencil line from this point to each of the bottom corners. Then, use the triangle as reference to draw the tree tips.
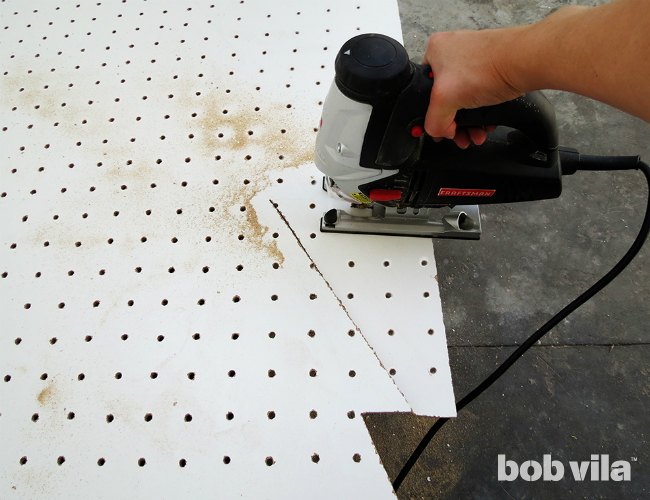
Use the jigsaw to cut out your tree shape. Always start from the side and cut towards the drawing, not toward yourself.
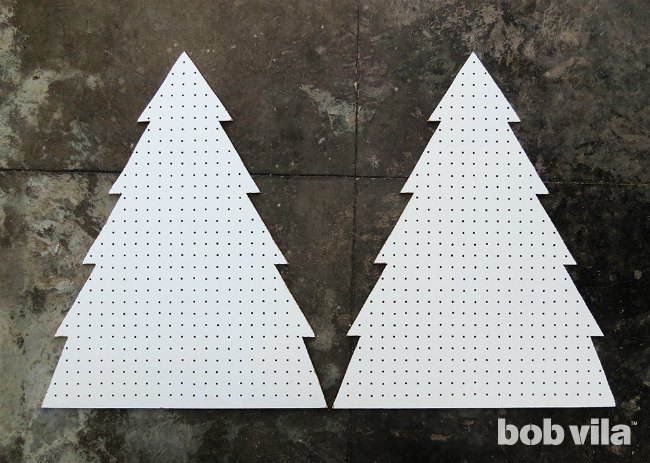
Once the first two-dimensional tree is completely cut out, lay it on top of the second pegboard rectangle and trace its shape. Use the jigsaw to cut out the second tree.
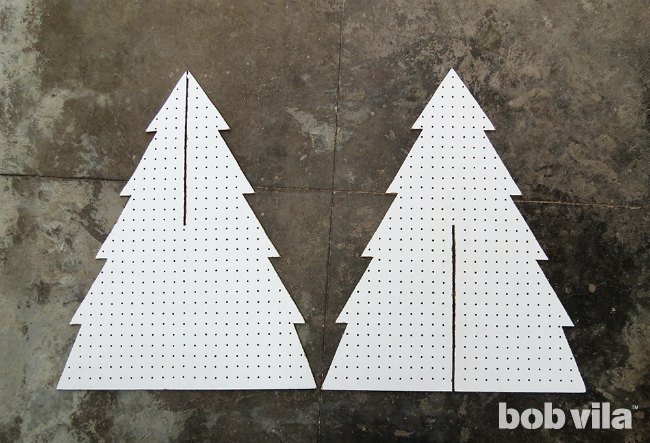
For easy assembly, make a 2-foot-long, 1/4-inch wide notch in each tree. On one, cut from the tip to the very center of the tree; on the other, make the cut extend from the bottom to the center.
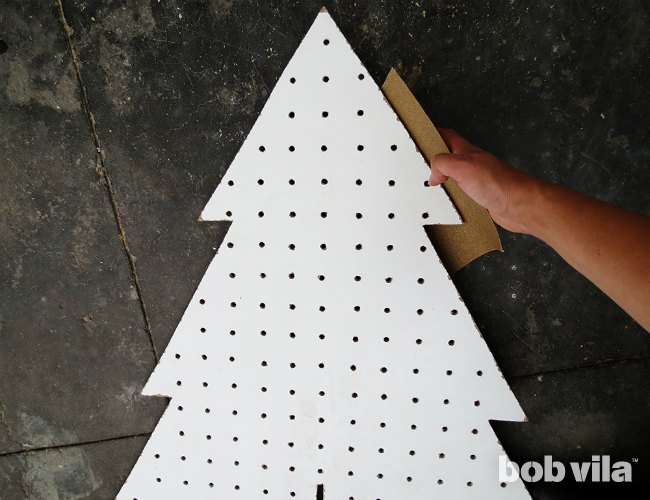
Sand all edges and the notch of each piece so that your holidays don’t risk any splinters. Then, wipe down each shape with an ever-so-slightly damp cloth to remove all the dust.
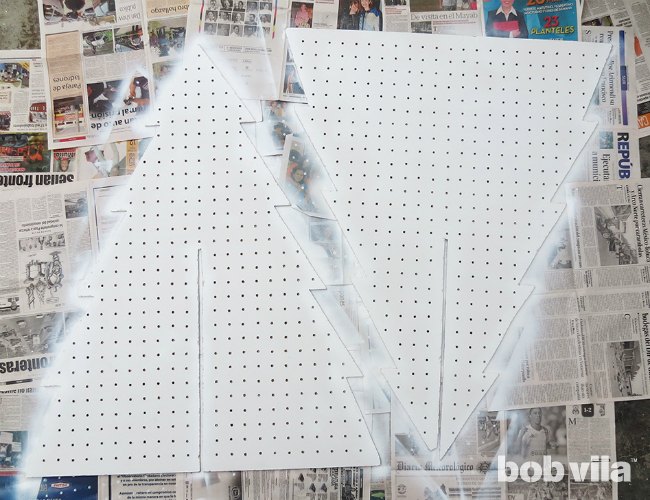
For a completely uniform tree, the back of the pegboard needs a quick paint job to match its white front. Start with one coat of primer and then cover with at least two topcoats for the brightest white. After this dries, you can also opt to paint the edges a contrasting color with acrylic.

Stand the tree by sliding the tree with the notch in its bottom half over the tree with the notch at its top. Your modern tree is ready to adorn with any kind of ornament—just push hooks through the holes in the pegboard. Then, when it comes time to stow all the seasonal decorations, take-down is simple: remove your ornaments, pull apart the two panels, and stack for flat, effortless storage. It’s a Christmas miracle!
Comments
Join the conversation
3 of 14 comments
-
Thanks, definitely gonna try this.
-
I Really like this!! I was wondering could the branches be cut the opposite way........so the branches would turn up to hang garland. I'm gonna check it out.


Frequently asked questions
Have a question about this project?
how do you store this tree?
Is a jigsaw hard to use?
Why wouldn't you paint it green?