


Beachy Elegance With Unicorn SPiT Gel Stain
4 Materials
Easy
I took a pretty (but plain and slightly damaged) conch shell and turned it into an elegant piece of decor for my home in a few easy steps.
I came into possession of a beautiful conch shell. It had a couple of holes in it but I had visions of making it an elegant decor piece for my master bedroom which is done in peacock colours.
I came into possession of a beautiful conch shell. It had a couple of holes in it but I had visions of making it an elegant decor piece for my master bedroom which is done in peacock colours.
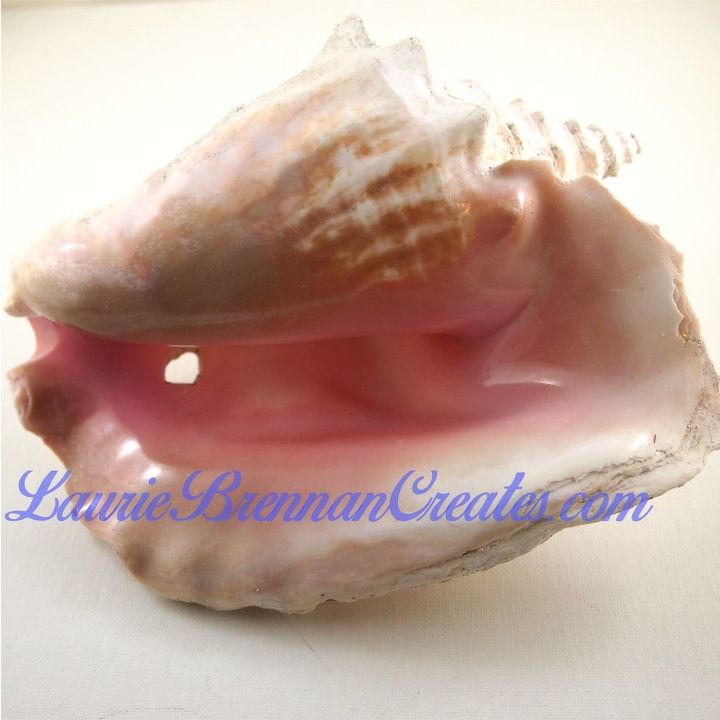
Conch Shell-Before
I saw a beautifully and elegantly decorated conch shell online and felt I could make my own pretty version with Unicorn SPiT Gel stain and glaze.
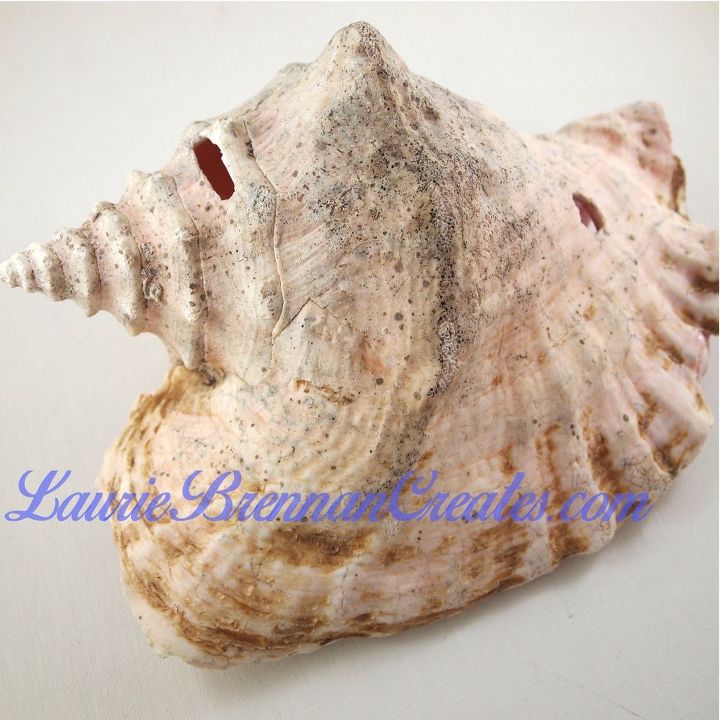
Conch Shell-Before
It was sandy and gritty when I obtained it (I would expect nothing less) and had a couple of holes in it, but that didn't concern me at all...I knew I could make it into a piece of art
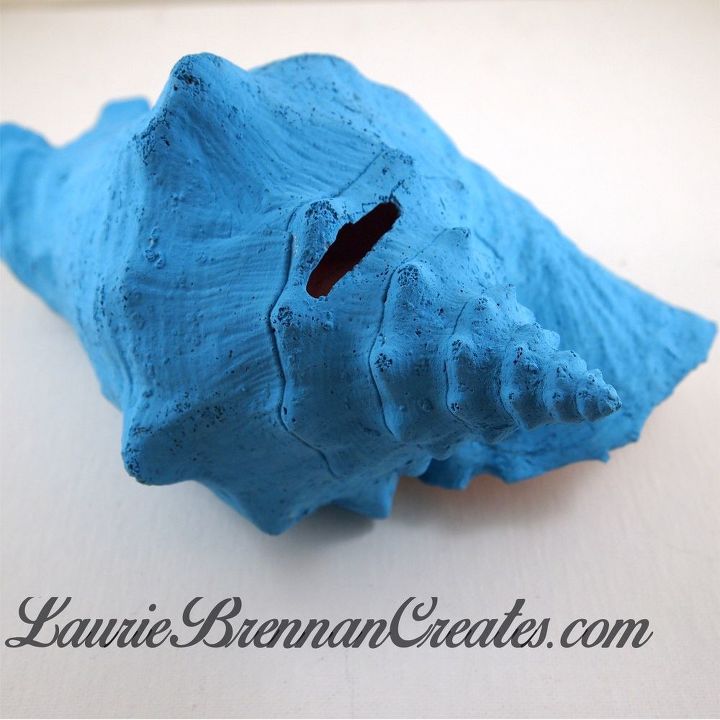
Base coated with chalk paint
I scrubbed it up well with some mild soap and a toothbrush and applied a single coat of chalk paint in a coordinating colour to my final outcome. The colour I used was just a mix of leftover chalk paints from my stash
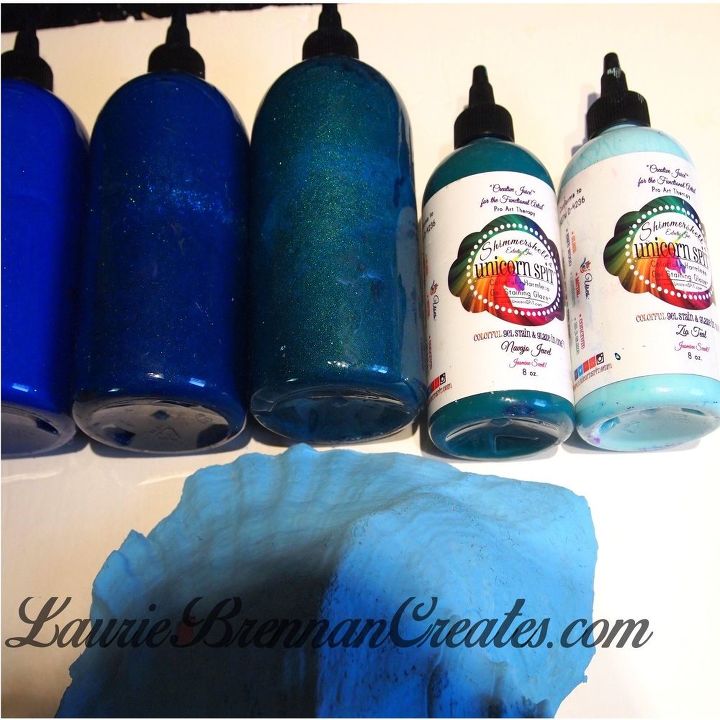
Colour Selection
The room I would be putting this piece in is a mixture of aquas, turquoises and teals so that was the basis for my colour scheme. Unicorn SPiT comes in 15 basic colours at present and more colours are being added all the time. A new version of Unicorn SPiT called Sparkling Stain will be available for purchase in January 2017 (hurray...just around the corner!) I was lucky to be able to try out a prototype of the Sparkling Stain and it is beyond beautiful. It is full of holographic mica that puts the already vibrant colours over the top. The colours I am using (from left to right) are Rock Chock Jayhawk, Hummingbird, Patina Peacock (all Sparkle stain) and Navajo Jewel and Zia Teal (regular Unicorn SPiT). Not shown in the photo, but also used is a Sparkling stain called "Doves Cry" which is a stunning deep purple. I added it as an afterthought to keep with my peacock colour scheme. That is one of the things I love about this product....if you are unhappy with the outcome you can play with it, add more colour or do more blending until you achieve your desired outcome!
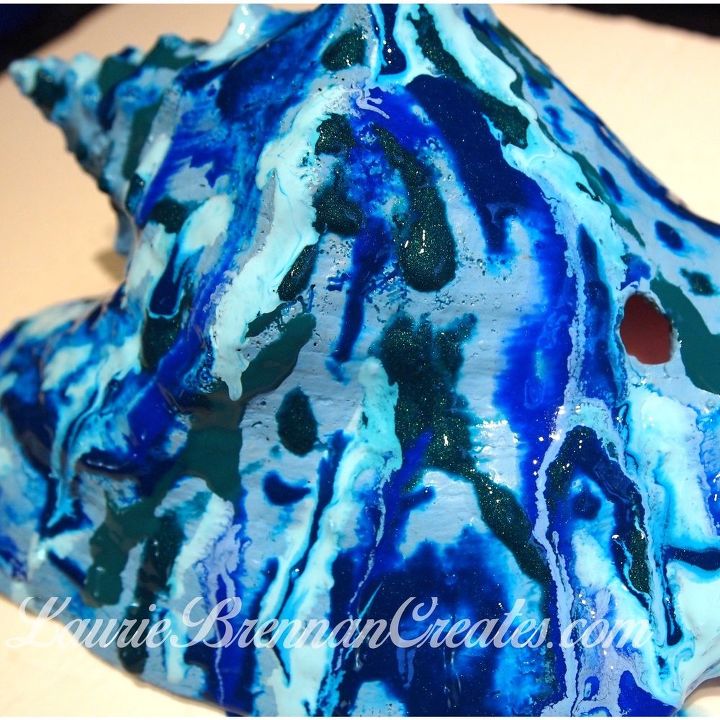
Applying the "SPiT"
Unicorn SPiT comes in convenient squeeze bottles so it was extremely easy to squirt the product here and there on my shell.
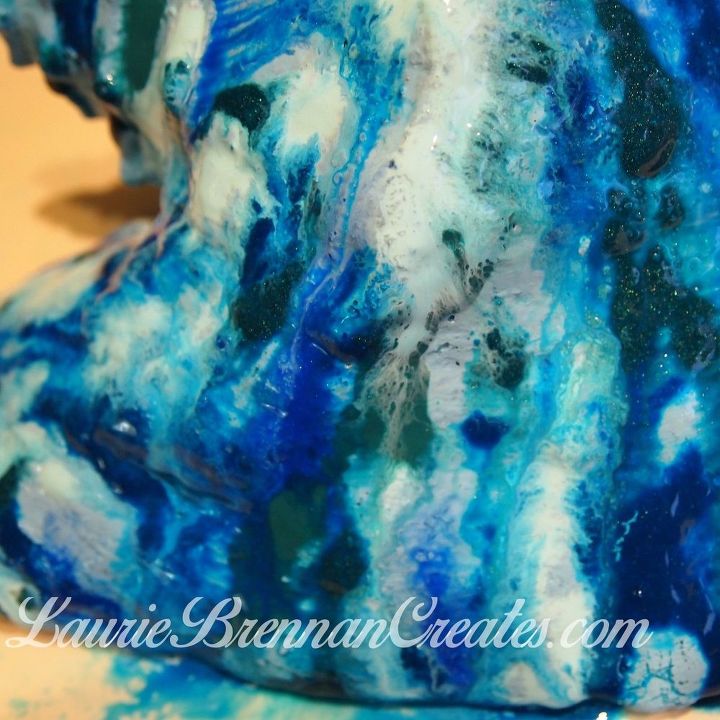
Manipulating the SPiT
I used all of my products full strength (it can be diluted for certain applications such as wood staining) but lightly misted with a water bottle as I worked. After misting with water, I used a plain drinking straw to blow through to make the product move and flow into interesting patterns until I was happy. This is but one of many techniques you can use with Unicorn SPiT. Another of my favourite techniques is to apply a thin sheet of plastic wrap or plastic bag over the wet SPiT and "smoosh" it around (very technical I know...lol). That technique would have worked for this process also. Once the Unicorn SPiT has dried it becomes chalky in appearance. You then know you are ready to seal your piece with a topcoat to protect it and bring back the vibrancy of the colours.
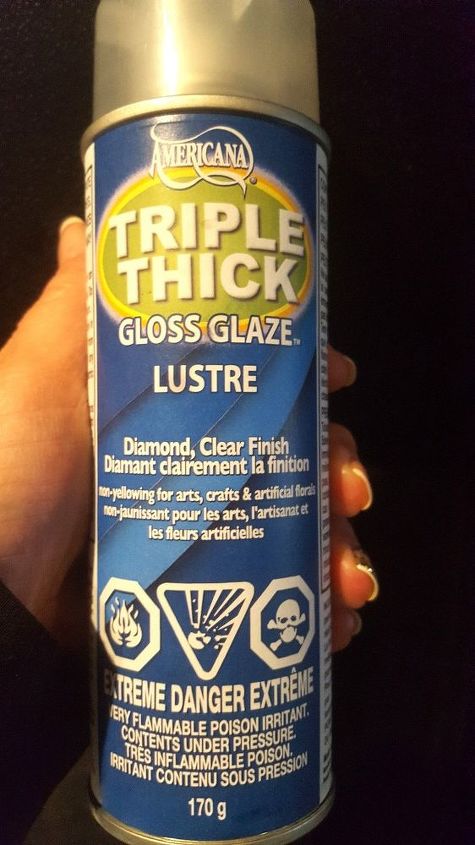
Sealer
Unicorn SPiT, although water based, requires an oil based sealer. If you attempt to coat with a water based sealer, it will reactive your SPiT and lift it or move it so you don't have the outcome you were hoping for. I knew I wanted to use a spray sealer for this project (to easily reach all the nooks and crannies). This is the one I chose which is a high gloss and non-yellowing sealer.
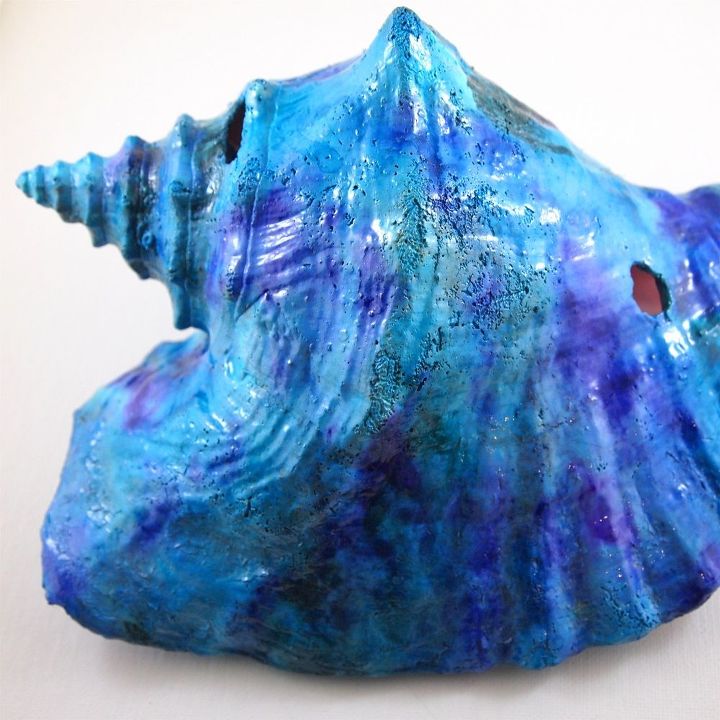
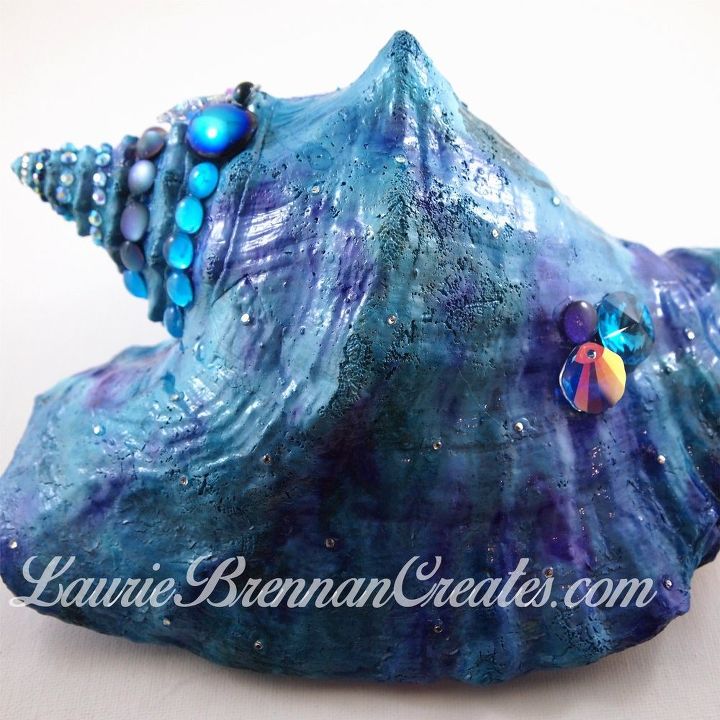
Unicorn SPiT after sealing
At this point I have applied 3 thin coats of sealer (allowing for recommended drying time between coats). The vibrancy and sheen of the Unicorn SPiT has now been restored like magic!
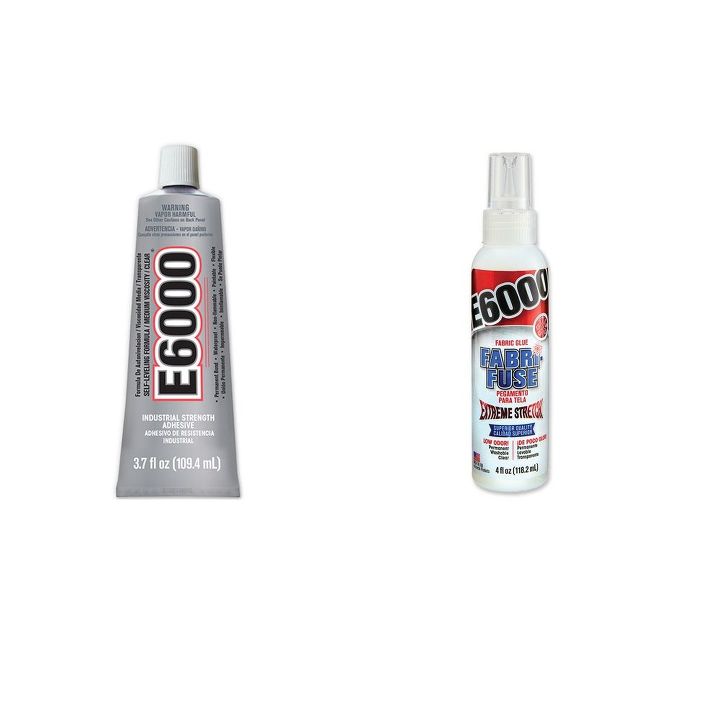
Adhesives
I knew I wanted to add embellishments to my project, so I used the above adhesives that I had on hand. I used the E6000 glue (on left) for larger crystals and the E6000 Fabri-Fuse for smaller crystals. Although FabriFuse is made primarily for fabric, I had used it in the past for applying flatback crystals with good success. Some embellishments could have also been applied with a hot glue gun.
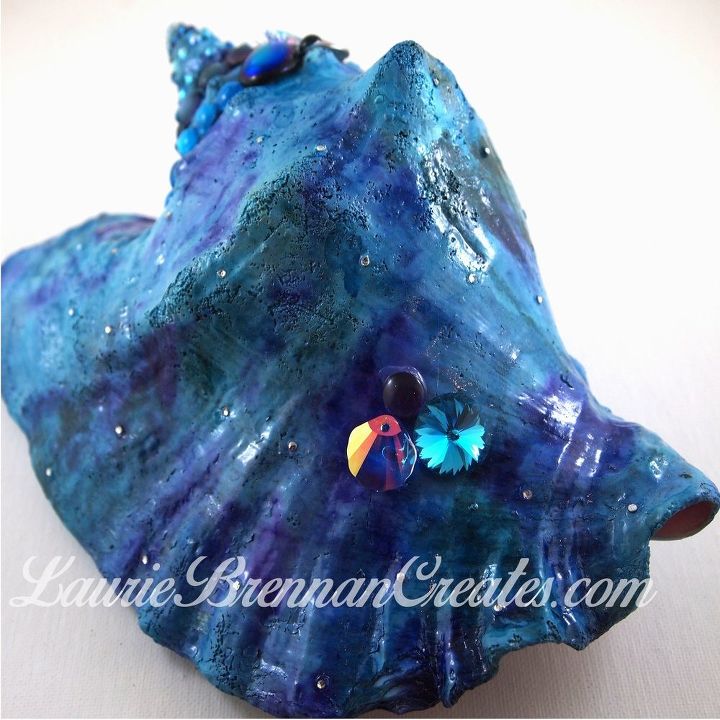
Embellishments
All of the holes that were previously in the shell have now been covered with crystals and beads.
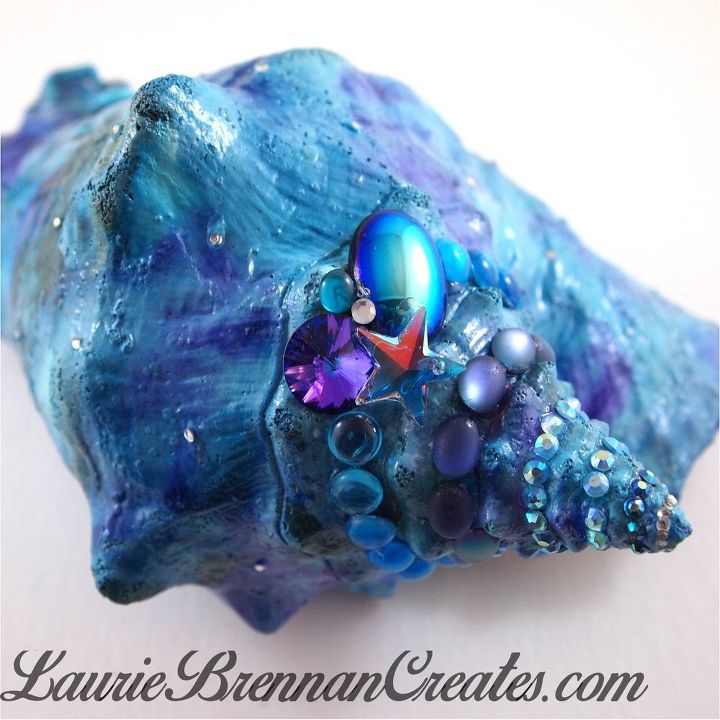
Embellishments
I had many little crystal and cabochon options on hand (from previously making jewelry) but have also seen many pretty options available at the Dollar Store, Walmart, Hobby Lobby or Michael's
I had so much fun creating this little piece of art. It was easy and quick. I hope you will explore the world of Unicorn Spit like I have!

Want more details about this and other DIY projects? Check out my blog post!
Comments
Join the conversation
4 of 27 comments
-
I’ve never seen anyone do this with a seashell!
-
Oh this is so pretty! I am doing my dining room in a beach theme! I think I can do a few of these for the center piece on the table! Great job!


Frequently asked questions
Have a question about this project?