


Vintage Style Hanging Map

by
Lori Greco
6 Materials
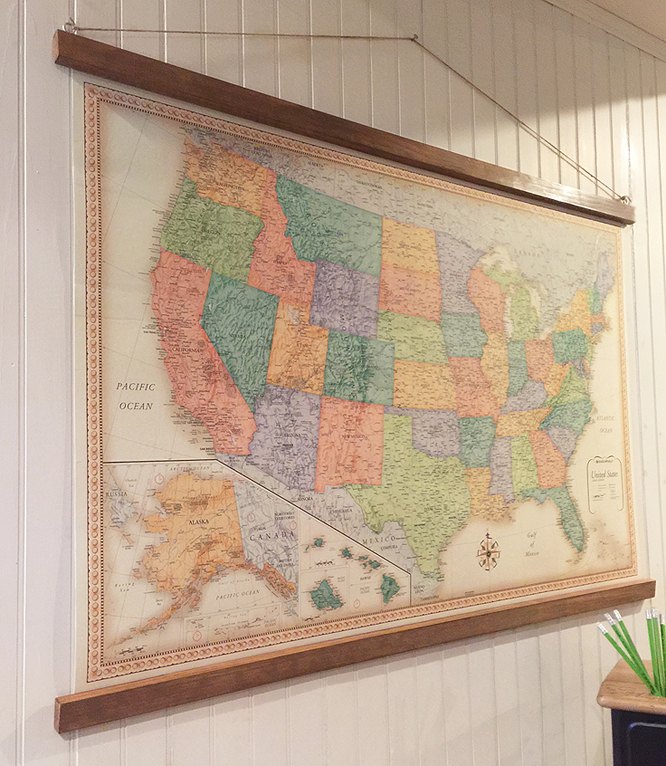
Maps are a fun solution for adding art to your walls because they’re graphic, colorful and can have a lot of sentimental value. Plus they’re educational!! You can hang maps really in any room of your home: a kid’s bedroom, an office, family room or entryway. They can be for fun, a way to document travel experiences, a little inspiration, or as a learning tool.
To create your own vintage-style hanging map you’ll need the following materials:
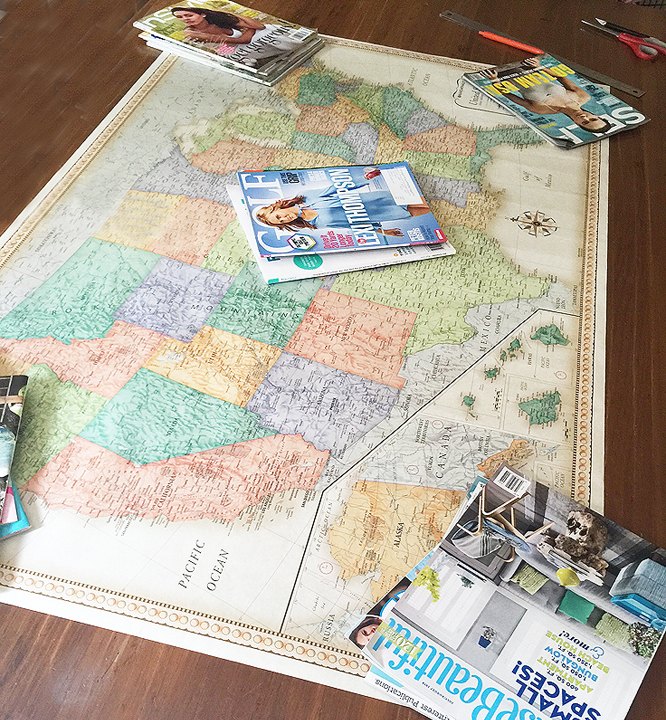
First, since I bought this map rolled, I needed to unroll it and flatten it out a bit. I just placed it on my dining room table and put heavy magazines and books on top. It flattened out pretty quickly and easily.
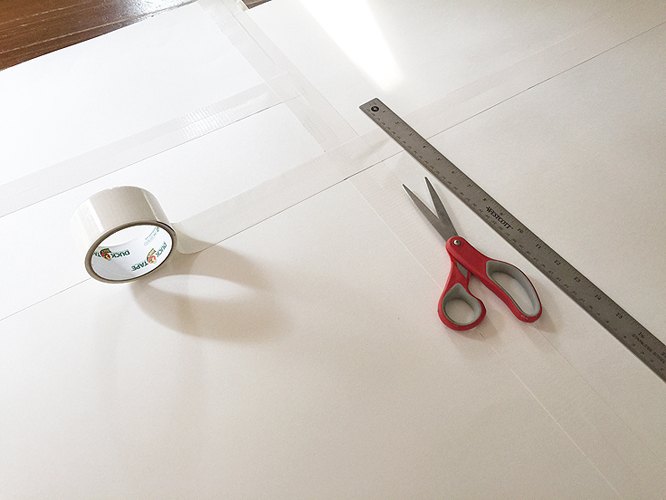
Next, I added a backing to the map to make it more sturdy and durable. I found the best option was to buy 3 sheets of white poster board, tape them together with white duct tape so they were large enough to fit the map. I liked the poster board because it wasn’t too thick and the map still looks like it’s on paper. Once the poster board was taped together, I used a spray adhesive to attach the map to the poster boards. Then I trimmed off any excess poster board, leaving a little extra at the top and bottom for attaching the wood pieces.
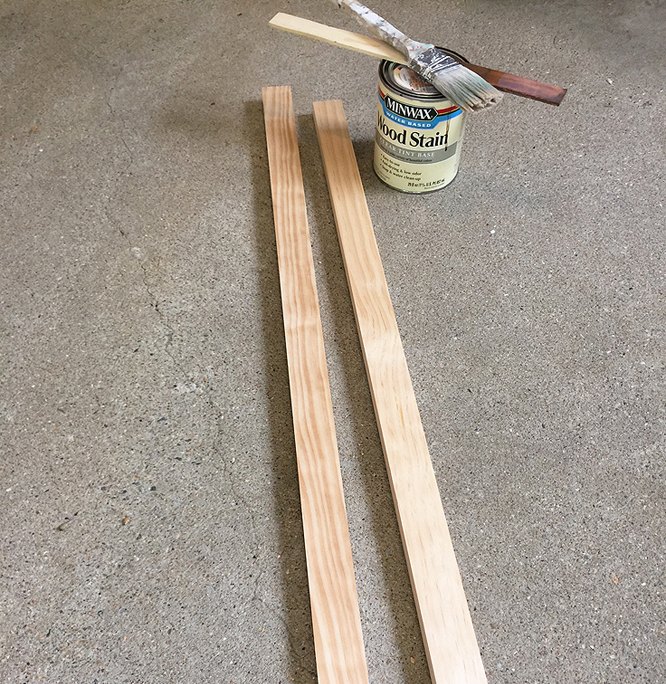
Next, stain the pieces of wood your desired color. I used a pecan stain I had left over from a previous project. Let them dry completely.
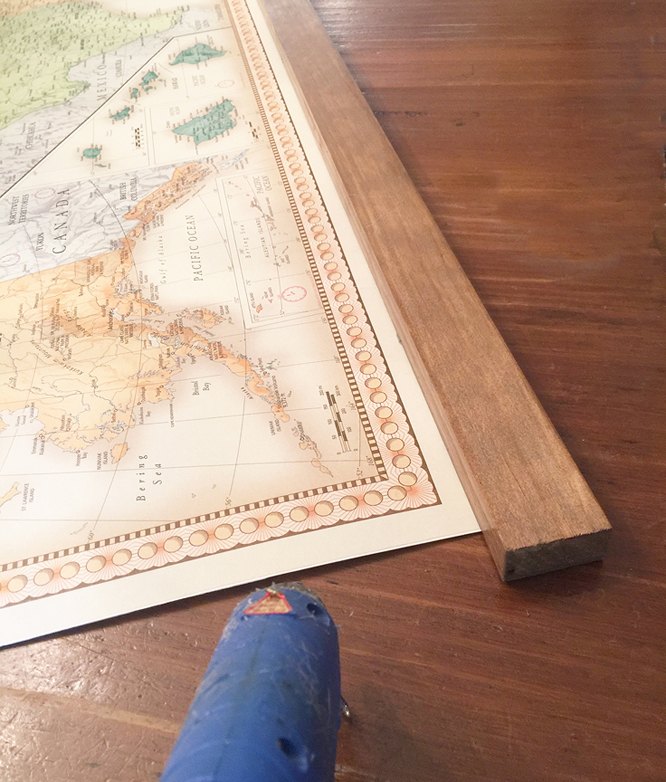
Using your hot glue, attach the wood pieces to the map – one on the top and one on the bottom. I loved the border on my map and wanted it to show so I kept the wood just off the border design. I also left a little over 1″ of the wood longer on each edge of the map. This adds to the vintage hanging style.
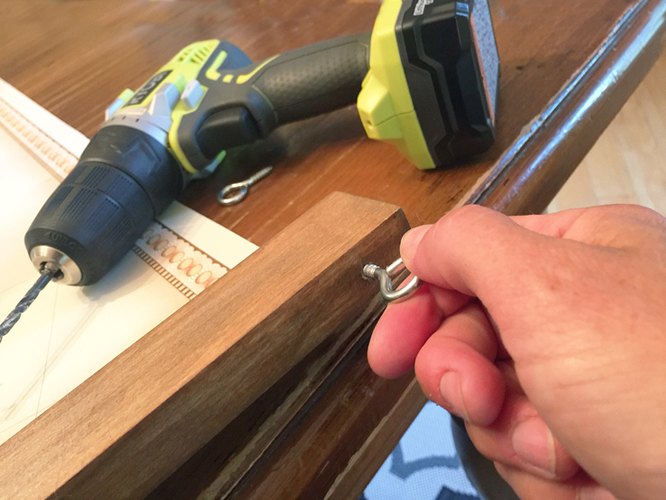
Now you’ll need to attach the eye bolts into the top of the map for hanging – one on each end. I used my drill to start a hole and then screwed the eye bolts each in by hand. I used pliers towards the end to secure tightly.
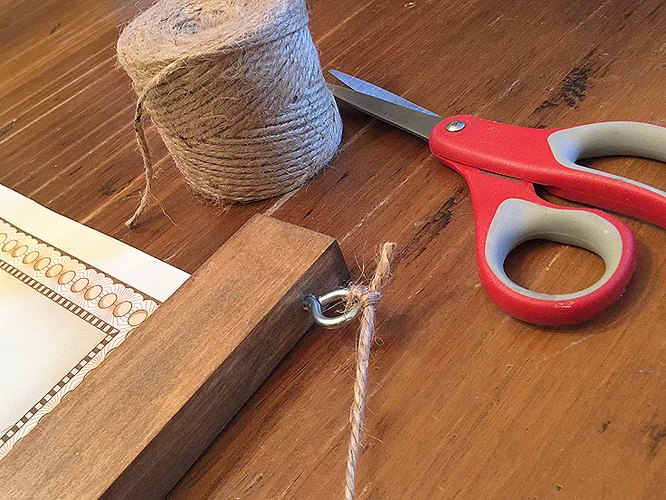
Tie your twine into each eyelet and hang!
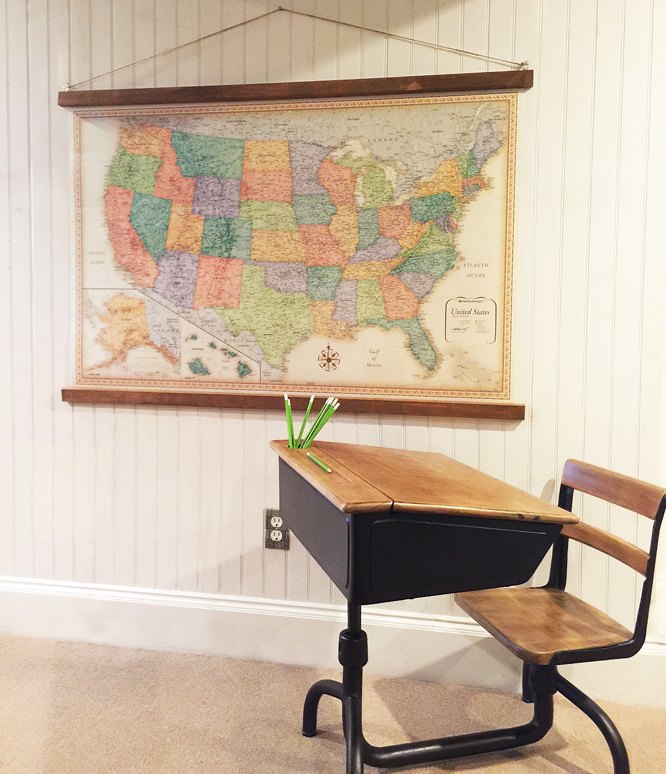
I love the fact that this piece has such a strong presence in the room. And it cost under $15 – bonus!
Want more details about this and other DIY projects? Check out my blog post!
Comments
Join the conversation
3 of 8 comments
-
LOVE this - I've been in most of the states and would love to have this up with a pin in the ones I've been in :-)
-
Love this! Put one in our cabin and we use it to keep track of our travels in our motorhome


Frequently asked questions
Have a question about this project?