


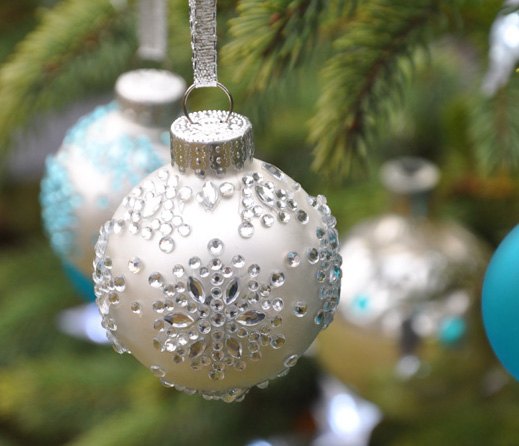
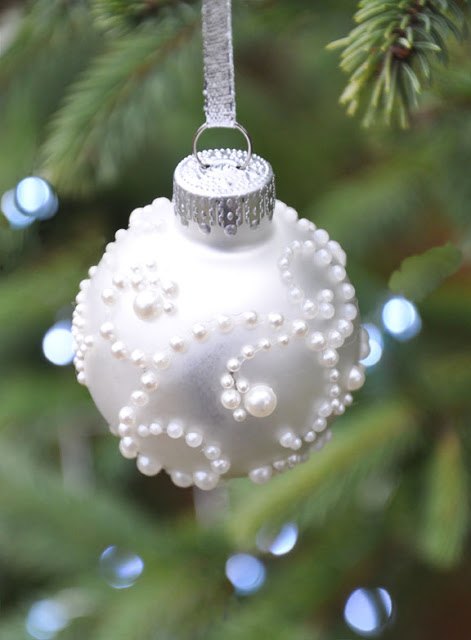
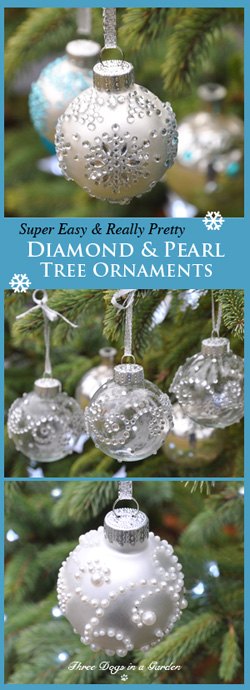
Diamonds & Pearls
This little craft idea couldn't be any easier! In fact these ornaments are so simple to make, you could easily do this project with the kids or grandkids. (When working with kids just make sure to choose large stickers that are easy for little hands to work with.)
The list of materials you need is pretty short in all my examples.
The list of materials you need is pretty short in all my examples.
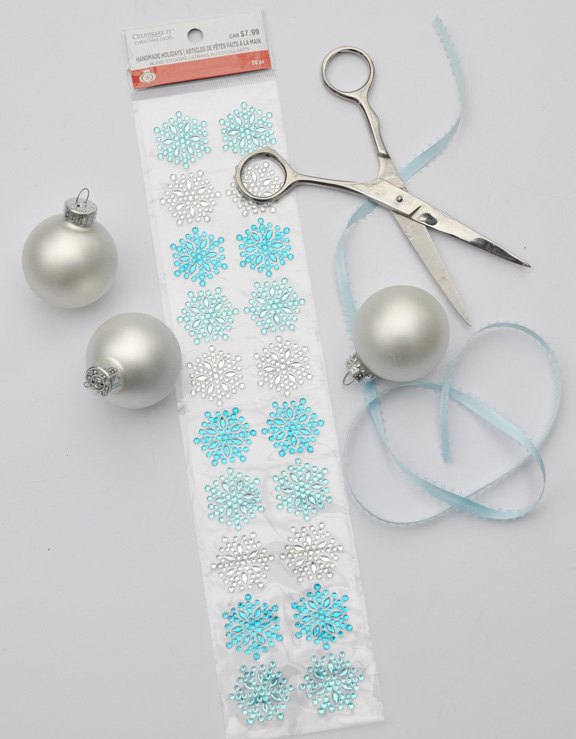
Materials you need for these DIY snowflake ornaments:
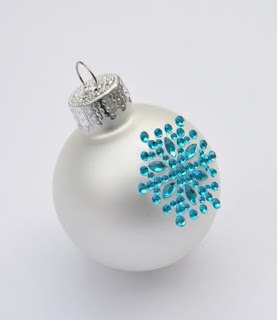
Step 2: The fun in this project is creating your own snowflake pattern on the surface of your ornament. Once you are happy with the layout of your pattern, press the snowflakes down with your thumb to secure them in place.
Let your imagination be your guide in creating your pattern.
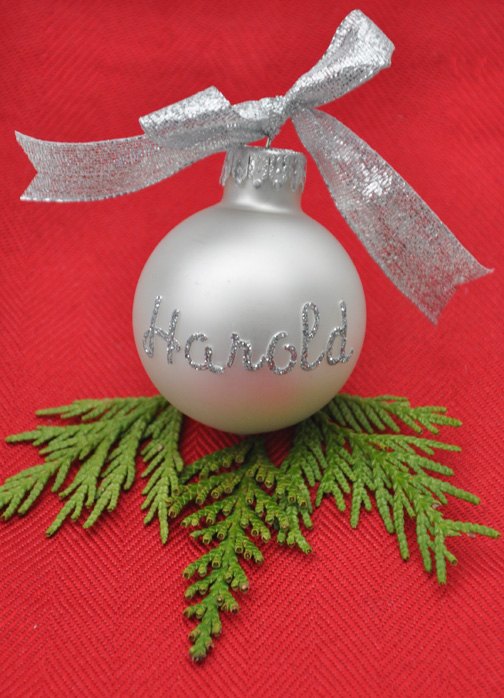
There are an amazing array of stickers on a clear backing available. You can find stripes and swirls as well as individual diamonds and pearls to personalize any plain ornament.
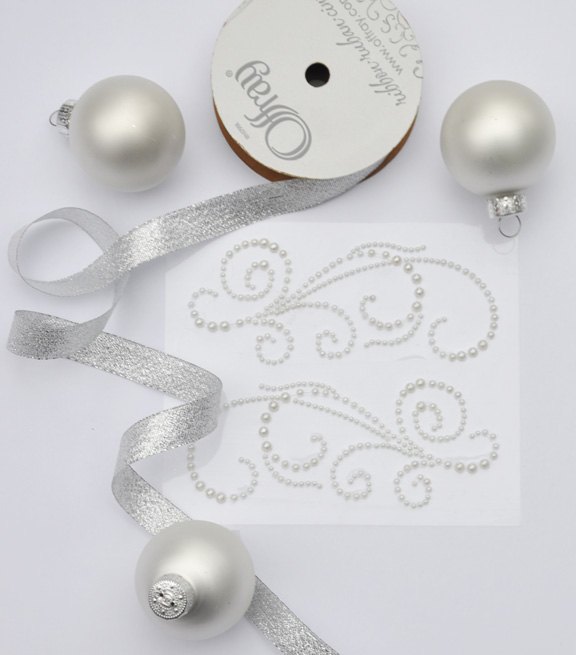
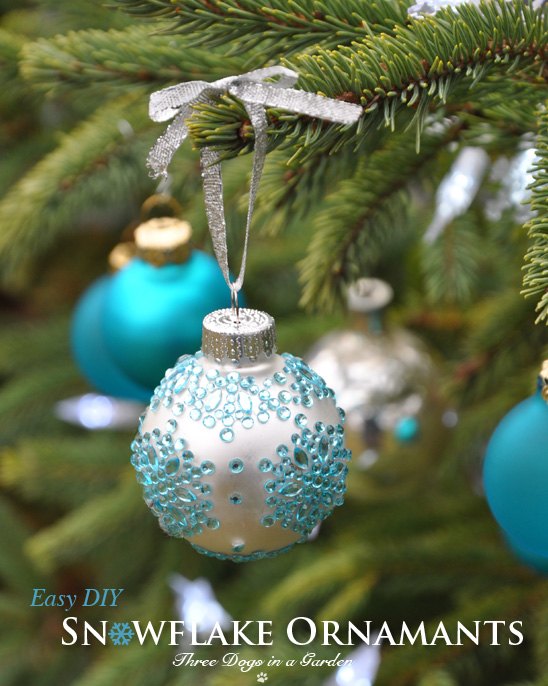
Materials you need for these ornaments with a pearl swirl:
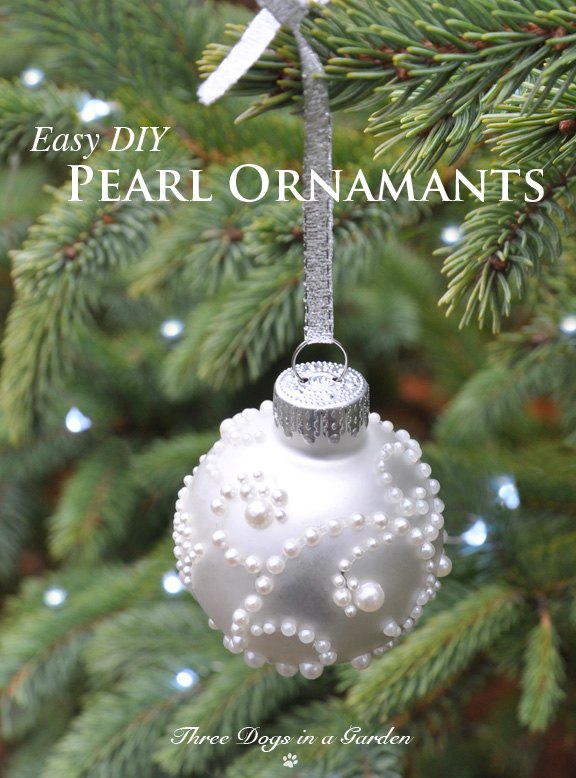
You can find more ideas in my blog post. Click the link below.
Bookmark this Hometalk post with a Pin.

Want more details about this and other DIY projects? Check out my blog post!
Comments
Join the conversation
2 comments
-
So creative! They are so lovely. Good share!
-
Thanks so much!


Frequently asked questions
Have a question about this project?