


Updating Grandma's Cutting Board
Easy
Use joint compound to add dimension to a plain cutting board, painting it and then adding a graphic.
1. I started with my Grandma's Cutting board that I wanted to preserve some how.
2. I tapped a stencil to the top of the board and then added premixed joint compound to the stencil. I added a lot.
3. Let the joint compound dry completely. If some comes off when you remove the stencil, you can use a small paint brush to fill in or to build up your flowers.
4. I painted the board with chalk paint and then distressed it
5. I found graphic on The Graphic Fairy site and applied it using the freezer method.
6. Once it was completely dry, I added a coat of clear wax and then a coat of aging wax.
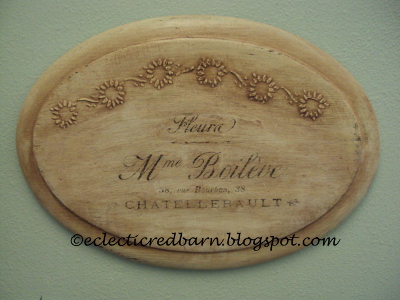
Here is the updated cutting board.
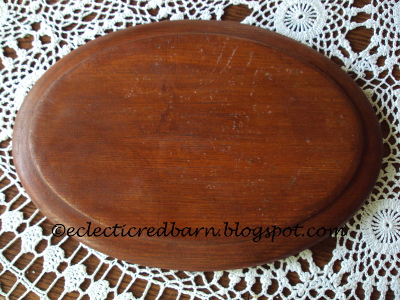
The original cutting board with stain.
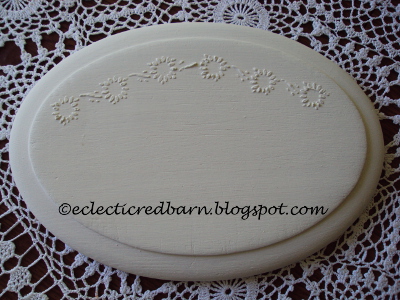
Here I have added some flowers using a stencil and joint compound.

Want more details about this and other DIY projects? Check out my blog post!


Frequently asked questions
Have a question about this project?